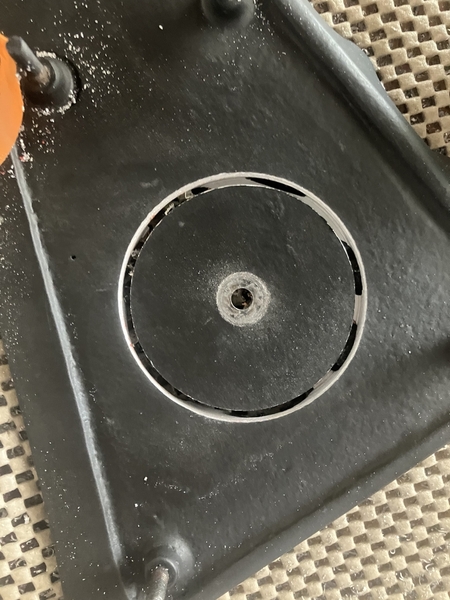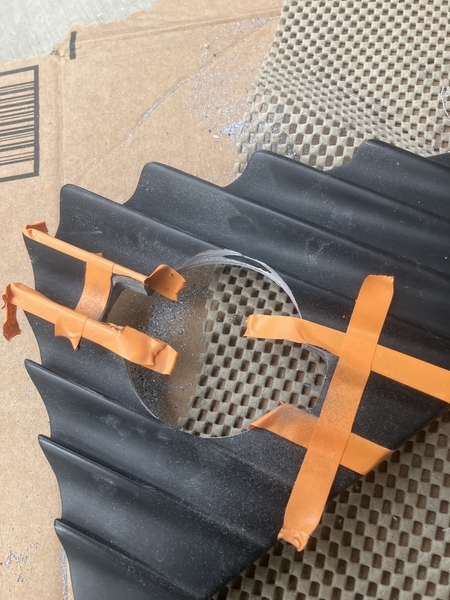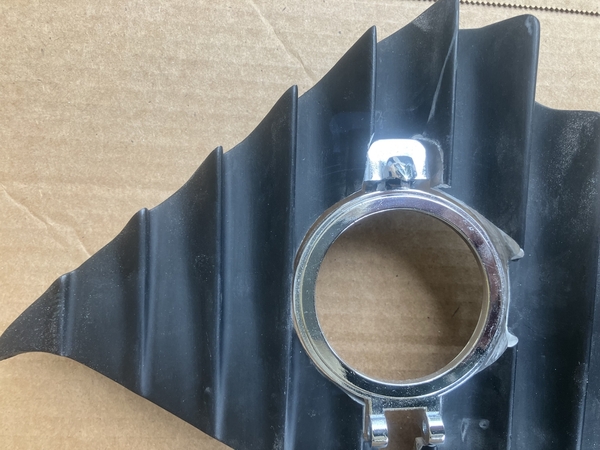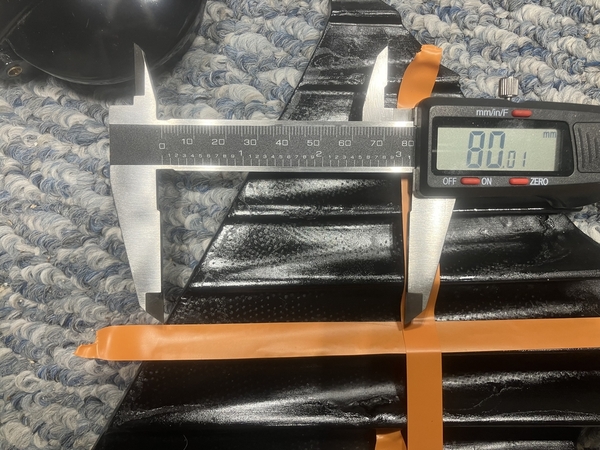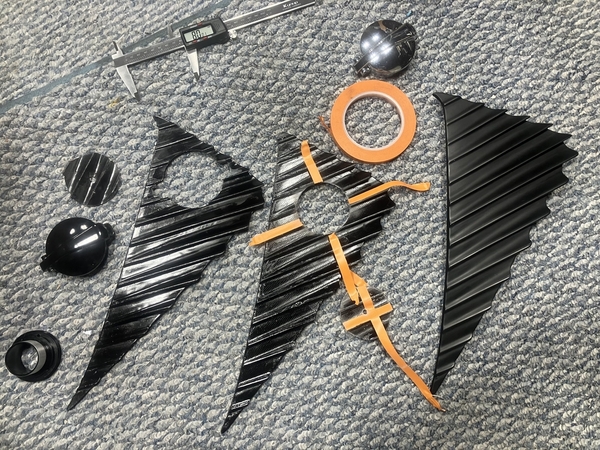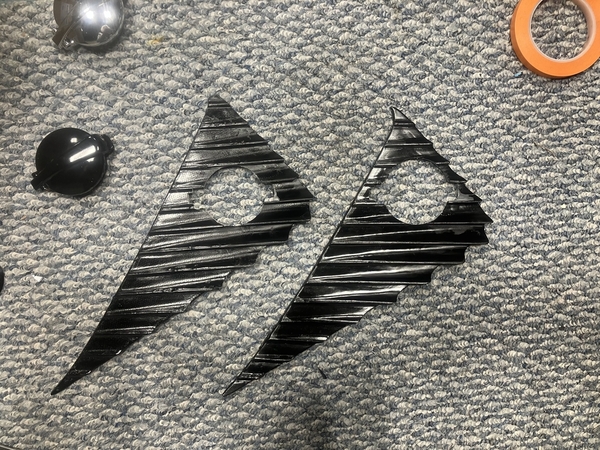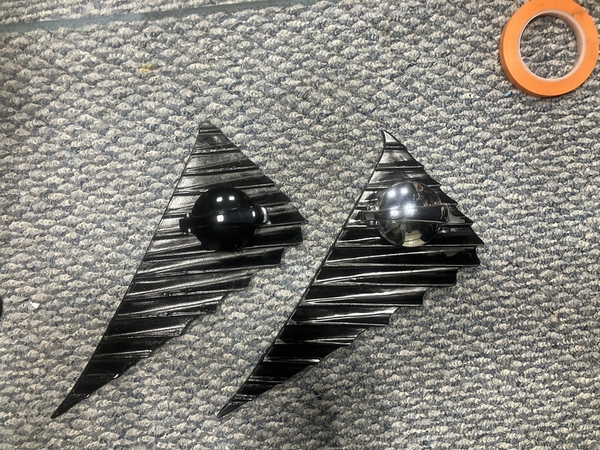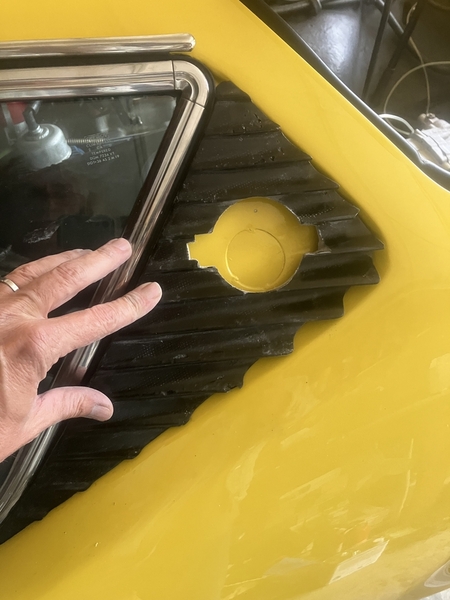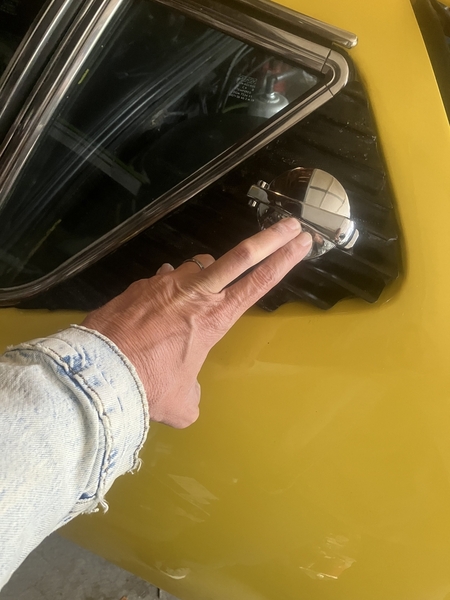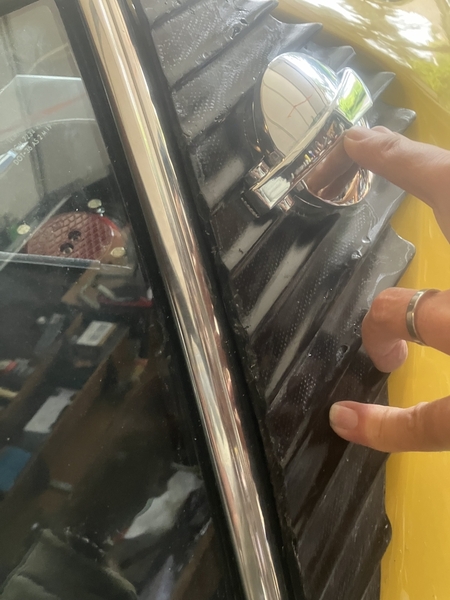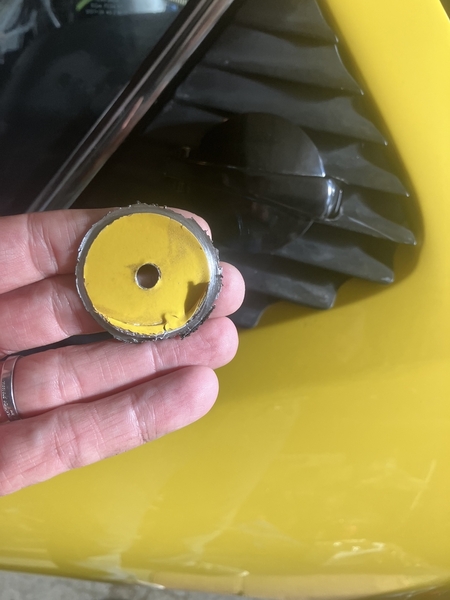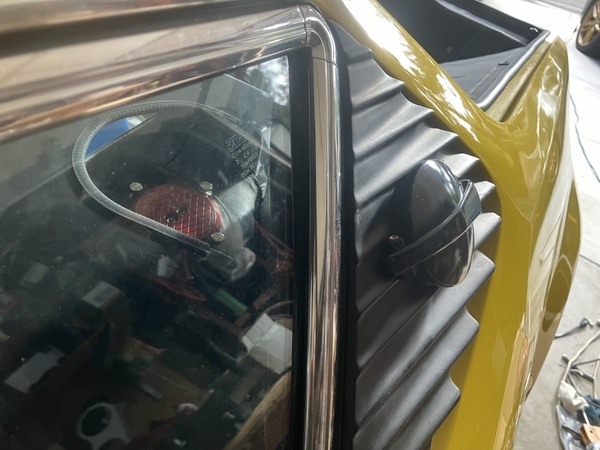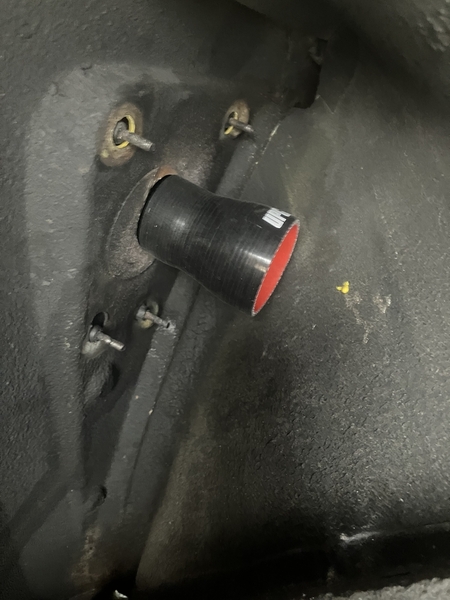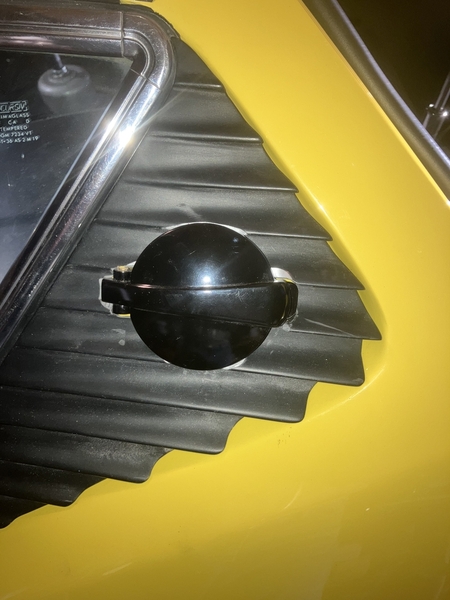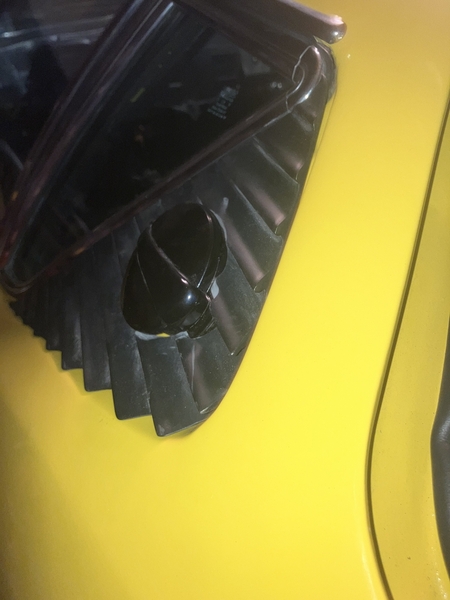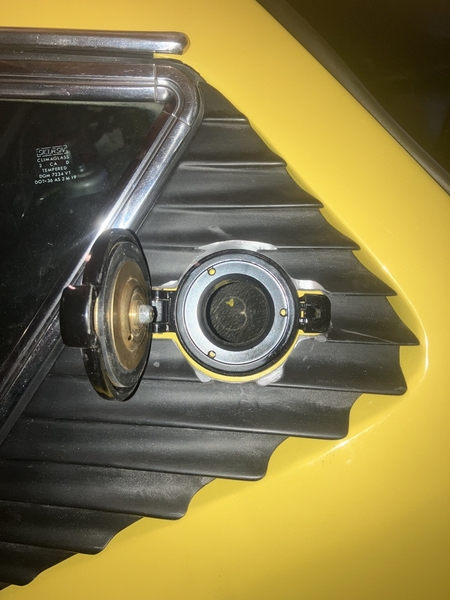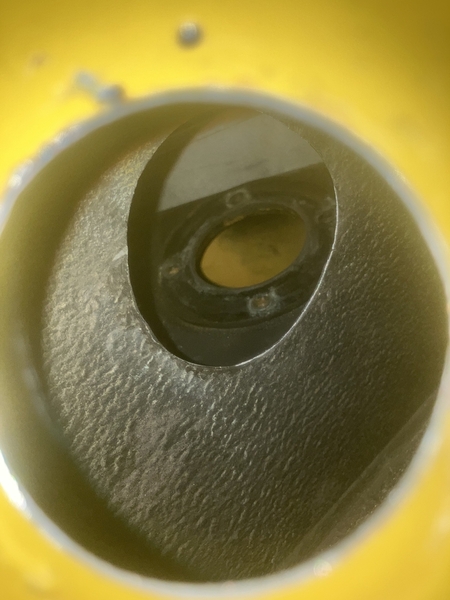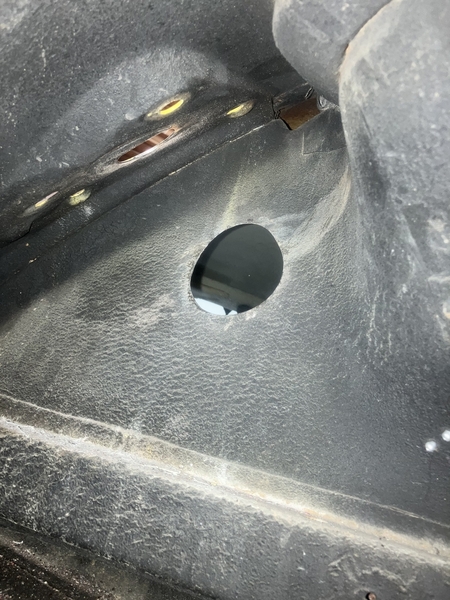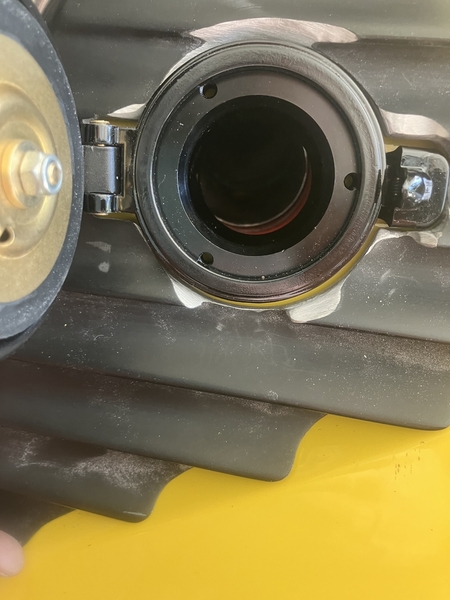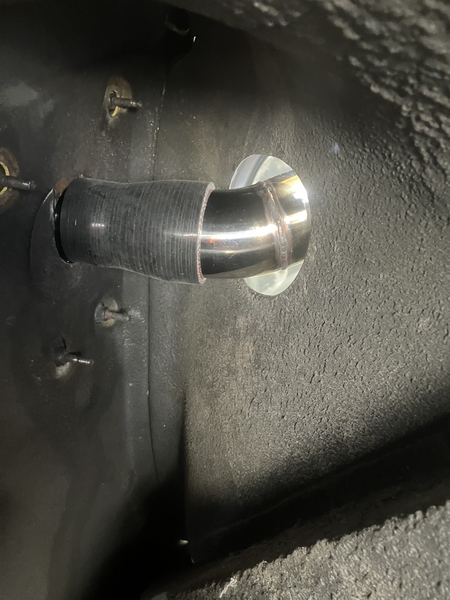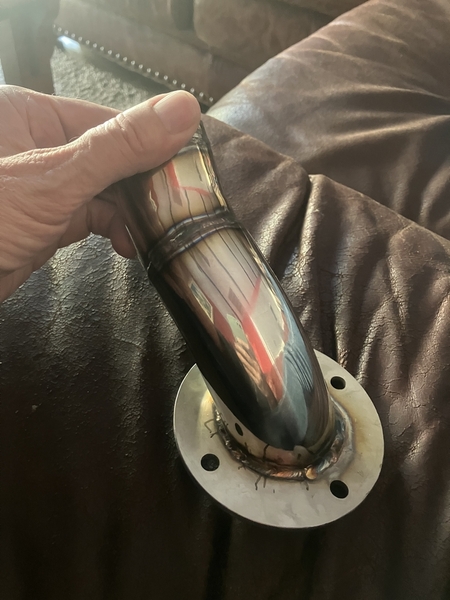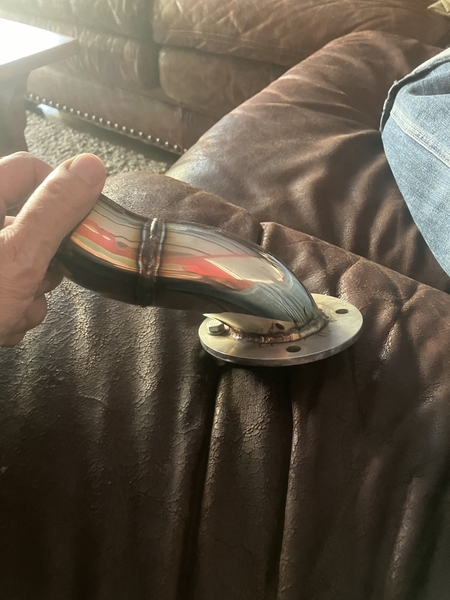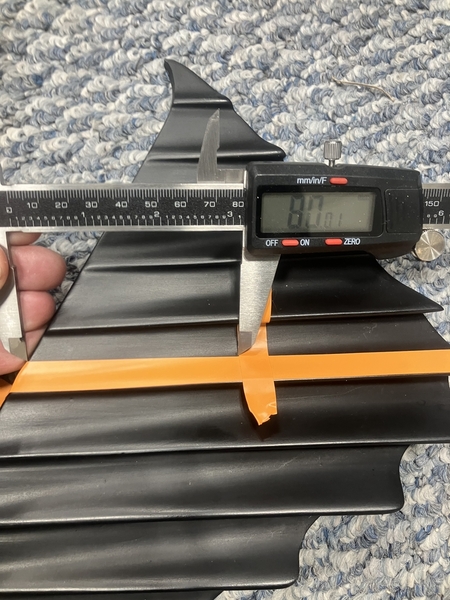
here is again..center between the ribs equals half inch down from the top of the ridge. Then center of the ring 90° to it… X marks the spot, this time with the number to be able to repeat it… 80 mm

then drilled pilot hole and hold sawed with 2 3/4” hole saw instead of the 3” from the back

IMG_0654

IMG_0655


here’s the direct comparison:

IMG_0660IMG_0659IMG_0661

Attachments

Images (5)
  • IMG_0655
  • IMG_0654
  • IMG_0660
  • IMG_0661
  • IMG_0659
Last edited by LeMans850i

2 3/4@ hole is perfect fit! I am happy!

i’m only half inch higher than the original filler location from the factory… that does not make me so happy but (compared to the 1.5 inches I had before ).   well sometimes there’s a trade-off between beauty and super Duper functionality,! it might even work out, it is still more angle in the filler tube than the original ever had!

and once again, I let it simmer in my brain…. And Look what you guys have to say to it and tomorrow - maybe I’m going to poke real holes in the real metal!

(am I glad I made those fiberglass covers!!!!!)

Last edited by LeMans850i

well, it’s done,!🥵
IMG_0669
same as the last time… then drill pilot hole…IMG_0671
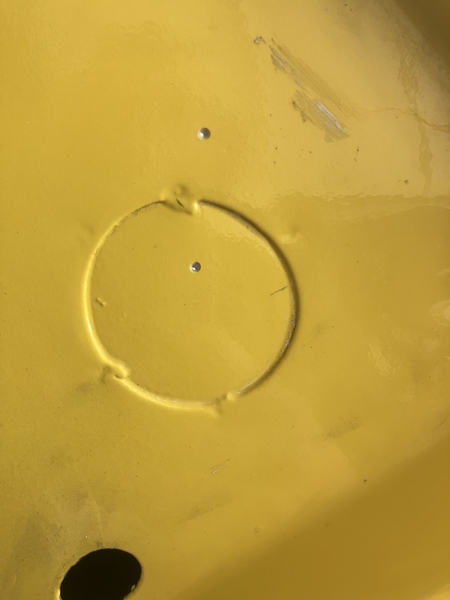
The lower drill mark is the center for the 1 1/2 “ hole at this spot!  It was important to make the mark with the drill through the panel being 90° to that surface and not to the grill outside!  It is angled,!!
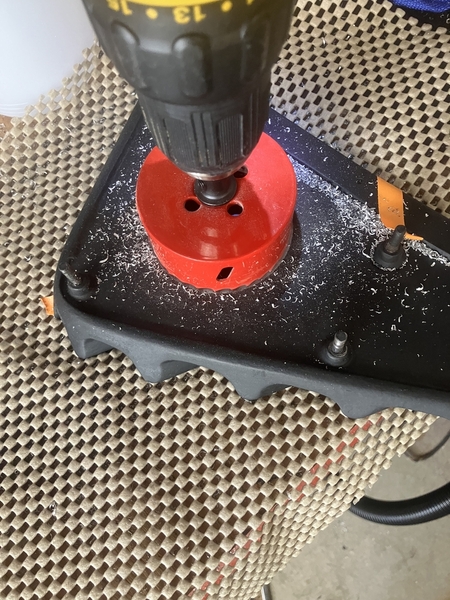
IMG_0673
drilling from the back…
IMG_0674

being very careful with the hole saw so it can’t catch and break a rib in the panel!
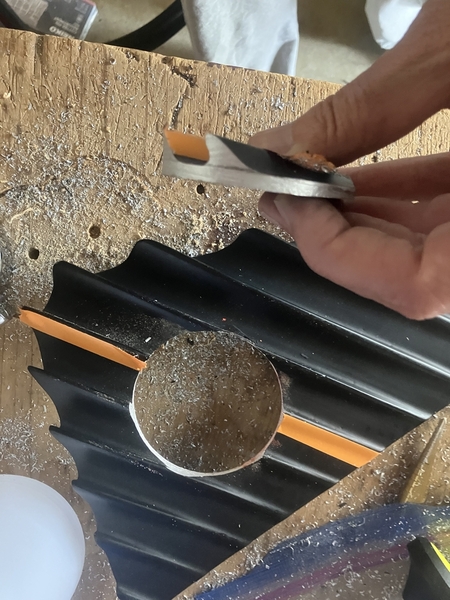
IMG_0675IMG_0679
marked outlines for  Hinge and lock..

and carefully  Filing my way towards them..IMG_0683
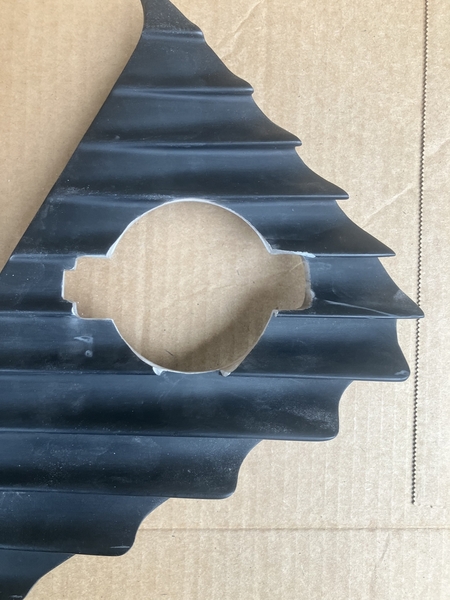
it’s a very close fit! 1/8” around..IMG_0684point of no return…

and it’s like giving yourself a root canal, OMG 😱

at least from here on out, it’s just connecting dots lol.IMG_0685
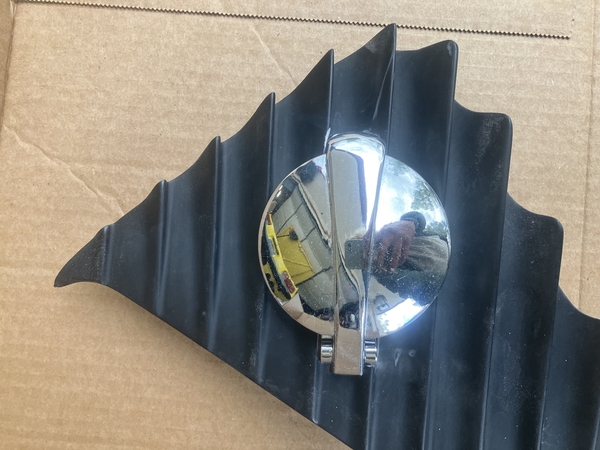
Attachments

Images (10)
  • IMG_0669
  • IMG_0669
  • IMG_0671
  • IMG_0673
  • IMG_0674
  • IMG_0675
  • IMG_0679
  • IMG_0683
  • IMG_0684
  • IMG_0685
Last edited by LeMans850i
@Lardog posted:

You're getting closer.  Now the drill the yellow body and you are home free.  Looking Good!

Next is pilot hole from the outside through the outer skin and inner skin 90° to the Outside skin… then I have an idea with the filler neck goes..

hopefully I’m in the ballpark what I expected where I should end up..

then drill outside 1.75 inches, the inside 2.5 inches!

Last edited by LeMans850i

Here it is:

IMG_0688

covered fuel filler hole with the red aluminum plate… this shows the angle I come in.. not bad..

IMG_0690
the fuel cap is not bottomed out onto the sheet metal… I have to “flair” the ribs for it to come down! I guess another 5mm

IMG_0689I used the long drill I had to mark the spot with paint … the angle of the inner fender didn’t let me drill through in one go!

I going to see if I have a way to get a pilot hole going and then shoot with the hole saw and an extension from the outside in… maybe..🤔

it definitely will be a Chinese puzzle putting the finished project together..

the big 3” hole would have been the easiest but -the gap- no! Patience!

Attachments

Images (3)
  • IMG_0688
  • IMG_0690
  • IMG_0689
Last edited by LeMans850i

Well, making the hole in the inner B-piller was, to say it mildly, an absolute pain in pretty much any part humanly possible and loosing a more or less important body part is always possible till very very last second until the hole is exactly where it needs to be!

I can not make any recommendations how to go about this job…  you are working in limited space, very counterproductive angles of sheet metal ( which is responsible that the hole isn’t really round from this prospective) and Home Depot doesn’t sell a StarTrek phaser (the extra small version) in their tool section!
And tomorrow …a little welding.. tube to flange.. 👍

IMG_0699IMG_0697

Attachments

Images (2)
  • IMG_0697
  • IMG_0699
Last edited by LeMans850i

Tedious little work right now, try to get everything dialed in to the closest millimeter to have enough clearance for the hinge of the fuel cap and the lever for Opening the cap. Nothing to see here… posting updates as i get stuff done.

but simultaneously I’m gonna start the next project… it’s a controversial project….that much I know!

powersteering

Last edited by LeMans850i

Add Reply

Post
×
×
×
×
Link copied to your clipboard.
×