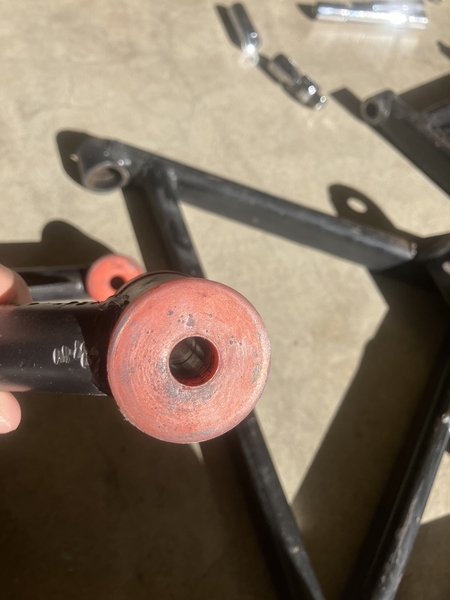
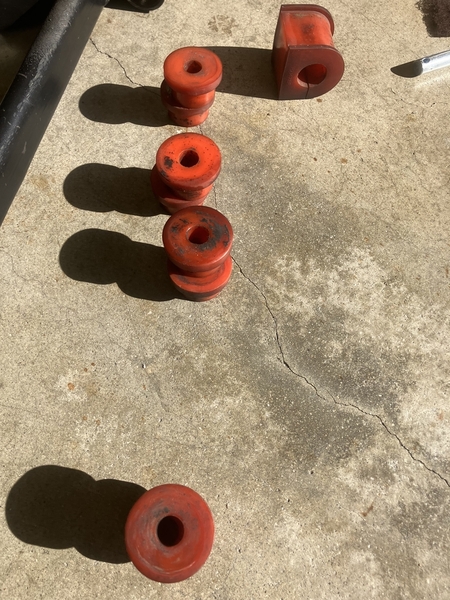
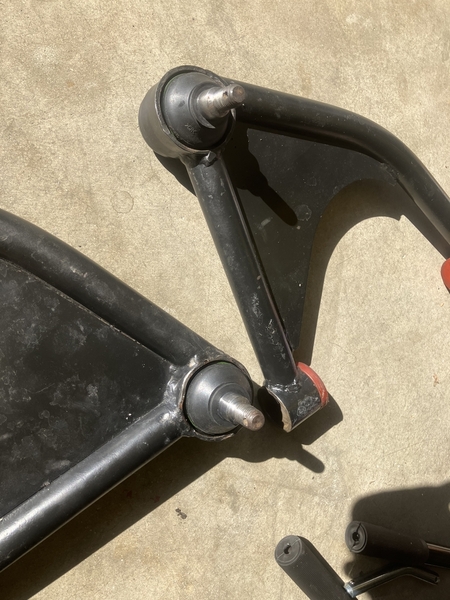
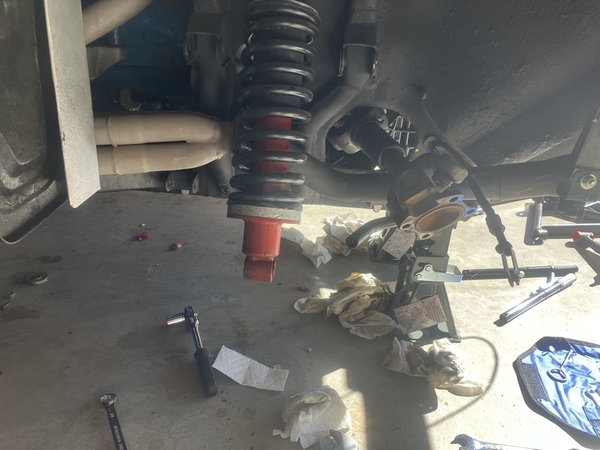
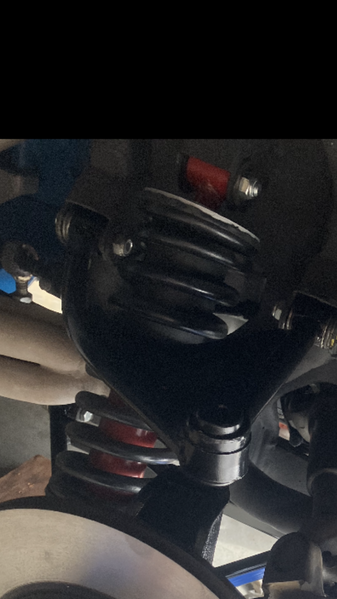
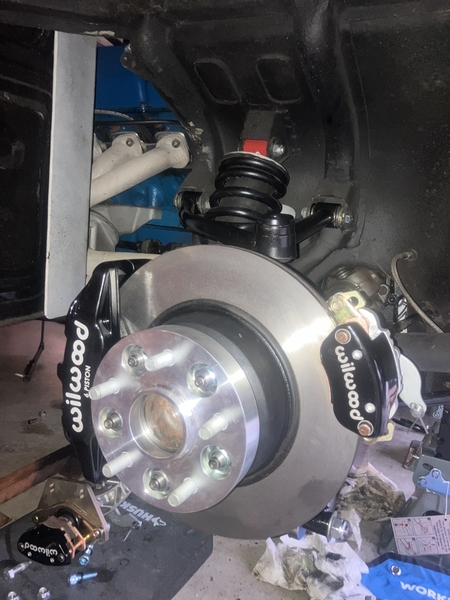
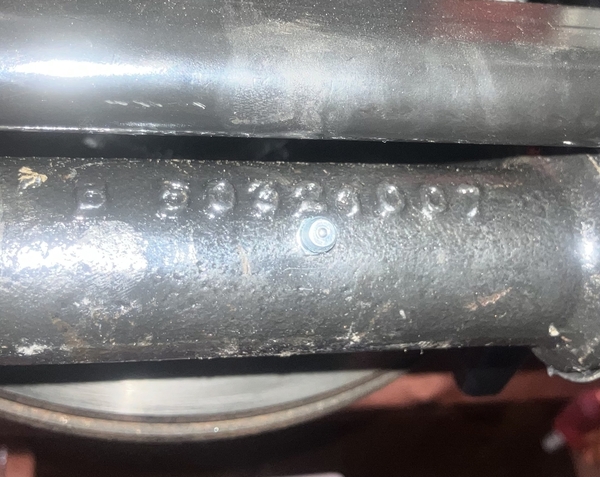
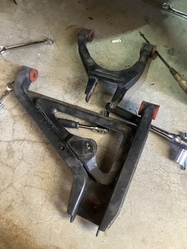
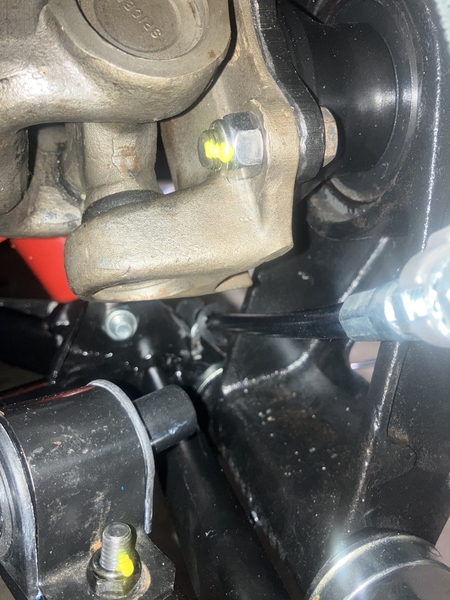
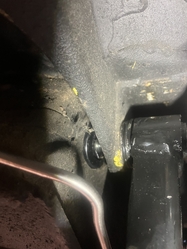
as I am working on the upgrades on my brakes to Wilwood I discovered something really funny and disturbing:

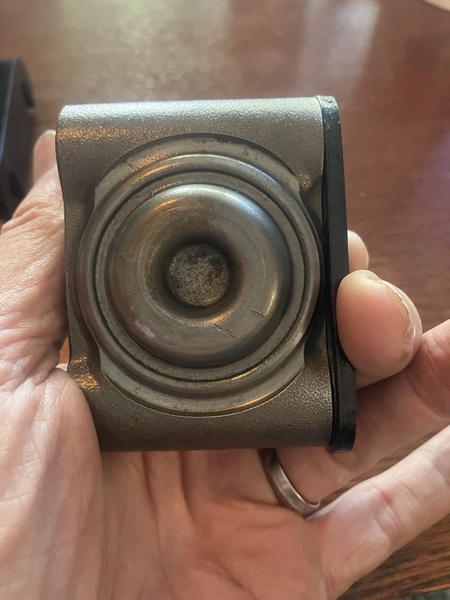
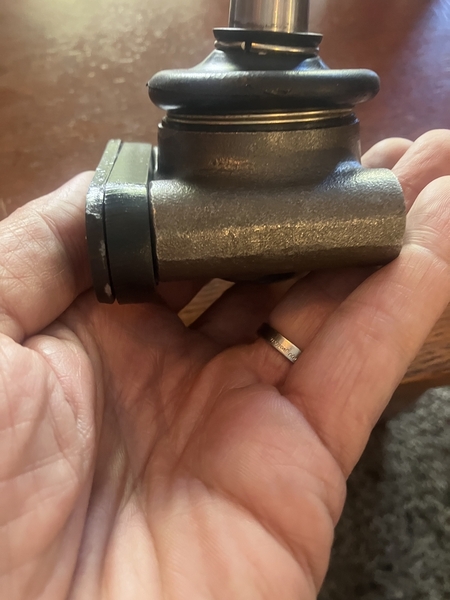
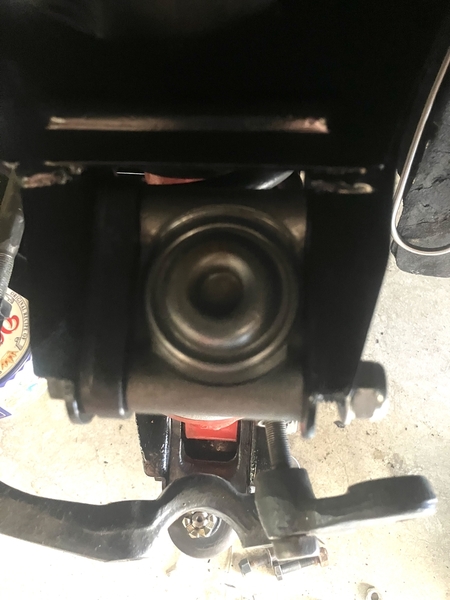
the poly bushings do not have an insert never saw anything like that!

IMG_0198IMG_0199

i’m going to replace them with the original style rubber bushings


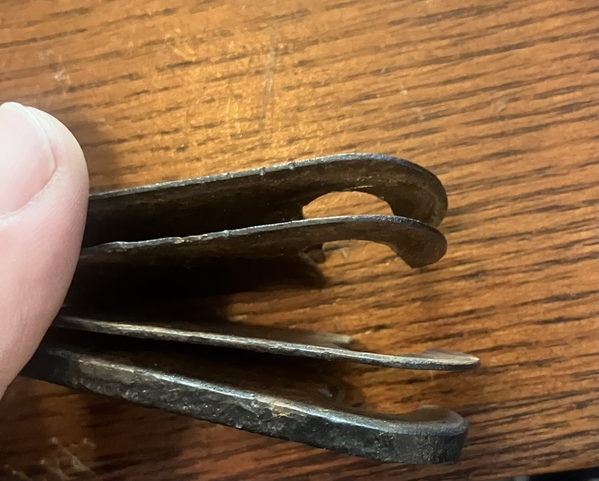
IMG_0200

I also replaced the dust covers on the ball joints (which absolutely felt like new) , which was a very simple and satisfying procedure!  Pulled out  the old remains and took out the spiral spring steel ring that holds the dust cover in place!

cleaned out all the old grease and repack them with new ones and put the new dust covers I got on Amazon on and “screwed “ the spiral ring back in position!

Attachments

Images (3)
  • IMG_0198
  • IMG_0199
  • IMG_0200
Last edited by LeMans850i
Original Post

Replies sorted oldest to newest


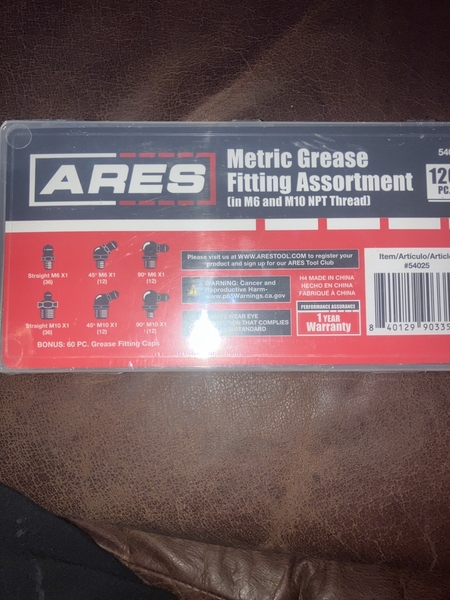
😁 I got my value pack of 120 Zerk fittings today…. Metric!!


IMG_0206

originally I thought I’m gonna go poly bushings, but it makes no sense for me… I hear about too many squeaking problems (Zerk fittings original use) and I’m not racing that car… Just a lightly spirited driver…

I will poke the ball joints front and rear and the bottom of the upright (long bolt axle)! I will also replace the rock hard polys of the sway bars!
Then… it’s time for the new brake calipers and the “NEW” turned brake discs! They will have to do until there is a valid solution to get real new brake discs made!

IMG_0197

Attachments

Images (2)
  • IMG_0206
  • IMG_0197
Last edited by LeMans850i
@LeMans850i posted:


originally I thought I’m gonna go poly bushings, but it makes no sense for me… I hear about too many squeaking problems (Zerk fittings original use) and I’m not racing that car… Just a lightly spirited driver…

FWIW , I have the poly graphite bushings from Dennis Quella pantera performance center. Notable about this version are the metal bushings which are hexagonal in shape and thus do not rotate in the poly bushings.

I know Poly bushings are rightly criticized for often squeaking, but with this version I have driven over 50,000 miles and I’m still waiting to hear the first squeak from my suspension  😉

Larry
Last edited by lf-tp2511

Put back together with grease fittings on the lower long bushing… I wasn’t sure about the ball joints with the detent top center but they have new dust caps and grease! New wheel bearings and bushings!

it was a fight… poly bushings without a sleeve are very dumb idea… it took some careful massaging of the upper ears to get the proper clearance for the bushings!

IMG_0273

Attachments

Images (1)
  • IMG_0273
Last edited by LeMans850i

There is an updated version of the of the factory style bushing that is teflon lined and thus does not restrict a-arm movement as it turns.  It feels somewhat like a bearing and the a-arms get unrestricted full range of motion.

Do you have a link to those bushings?

I still have to take my front apart…

and I try to get smart on the camber lock issue…. to do or not to do…

IMG_0284

grease Nippel

IMG_0285

Attachments

Images (2)
  • IMG_0284
  • IMG_0285
Last edited by LeMans850i

Just want to share a very nice “upgrade” Hans from PI Motorsports told me:

To reinstall the swaybar end bushing caps I got 10.8 grade bolts and installed them from the bottom up to act like studs…

I loosened the nuts on the rear bushings 2 turns and it was not much effort to get the caps on the A-arm studs.. 2 self locking nuts a side… evenly turned in, piece of cake!
on the front I did the same thing (didn’t loosen the 2 other bushing caps) just with only one bolt from the bottom up because there was enough room for the second one, but he was enough guidance to pop the cap on and install the second bolt from the top down.


IMG_0404

I am sure there are quite some cross threaded cap bolts out there - this is a nice way to prevent it!  Unless you are lucky enough to be a mutant with a remote eyeball and 3 Hands and Hulk Hogen strong 💪 .

Attachments

Images (1)
  • IMG_0404
Last edited by LeMans850i

sadly have no mill in my garage!

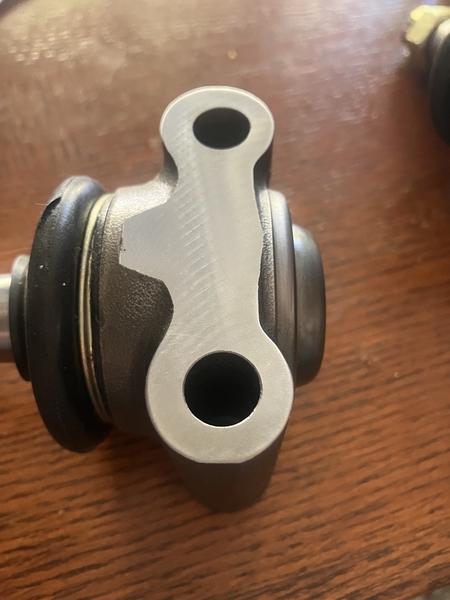
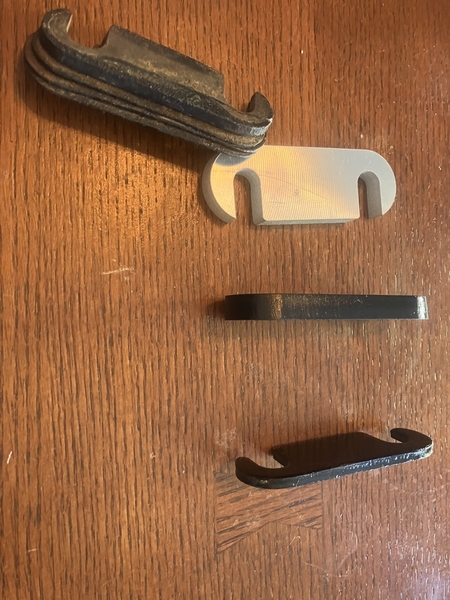
I had three skinny and one thick shim in front of the ball joint

I used that total measurement, and got one shim water jetted and the amount of the thick original shim milled off on one side of the ball joint.

IMG_0463

this shim represents how much got milled off!

IMG_0464

the new package!


if I would have all the tools in my garage I would be so much faster!

Attachments

Images (2)
  • IMG_0463
  • IMG_0464
Last edited by LeMans850i
@rocky posted:

Nice work!

Looks like you’ve got it figured out!  And have skilled machinists you can call on!

Rocky

It takes a village to get everything right…

over time I became friends with many of the people who have business like machine shop, water jet, upholstery, brake/ fuel lines, powder coating .. and so on. Without them, things would take a lot more time… I know enough to be dangerous but to learn all their skills and get the tools to do the job … forget it… I’m already to old for that..

I am very grateful for all the people I can call on when little me is just not enough!

And we always have good and fun times

this forum with all the people who already did what I am doing right now is such a wealth of information… I’m reading and reading…. Picking things that I think may be an improvement and may add my own twist to it.. I love to do some crossover’s from my time working on  airplanes and motorcycles..and spending time working on the project is therapy for me..🤪

Last edited by LeMans850i

This job is done…everything torqued and plugged the last hole

IMG_0557

it took a bit longer because this job got combined with the 6 piston wilwood brake kit.. and that is completed as well.. https://pantera.infopop.cc/top...sc-conversion?page=3

next I’m going for my external fuel filler mod https://pantera.infopop.cc/top...rnal-fuel-filler-mod

thank you for all your help… 🙏

Attachments

Images (1)
  • IMG_0557

Add Reply

Post
×
×
×
×
Link copied to your clipboard.
×