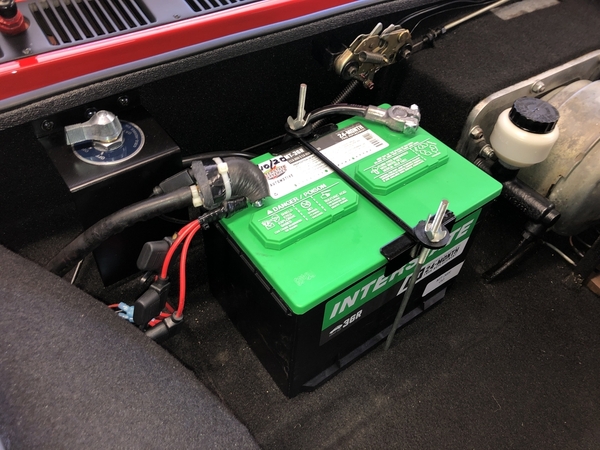
That looks like a quality piece.
I design high power amplifiers for consumer electronics and see many dangerous parts come from China.
Usually, they are marine or UTV type circuit breakers that have high contact resistance or poor terminal engagement. Takes a while for them to catch fire.
I've seen some very expensive boats and UTVs go up in flames as a result.
Definitely can't hurt to check high current connections every once in a while.