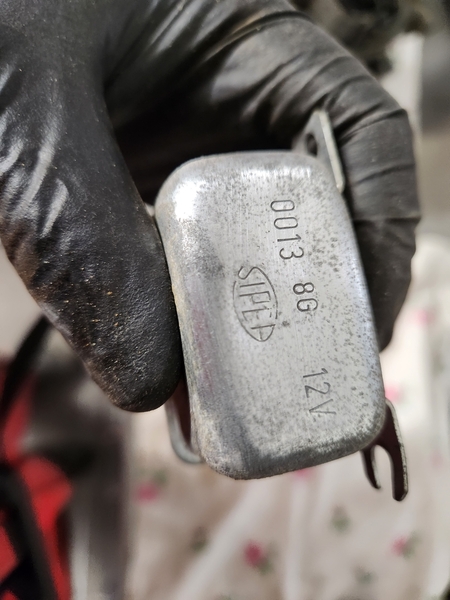
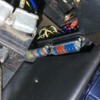
That is an electronic regulator and is an upgrade to the original electro/mechanical unit. As long as your existing alternator has enough capacity there would be no need to change it.
Work continues at reduced pace.
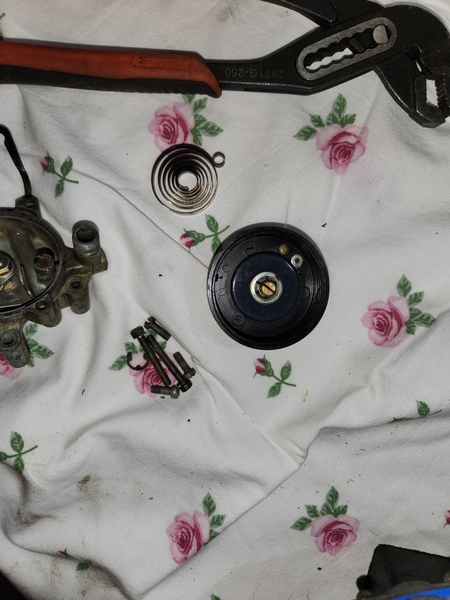
The carb is getting a refurb, and by the looks of it, it was probably due.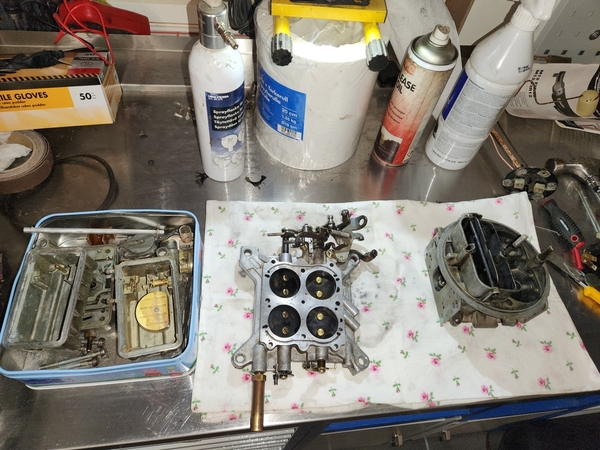
Quite a bit of debris in the secondary bowl. 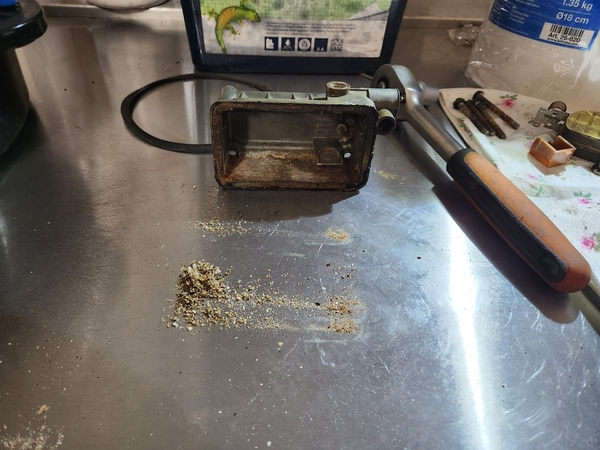
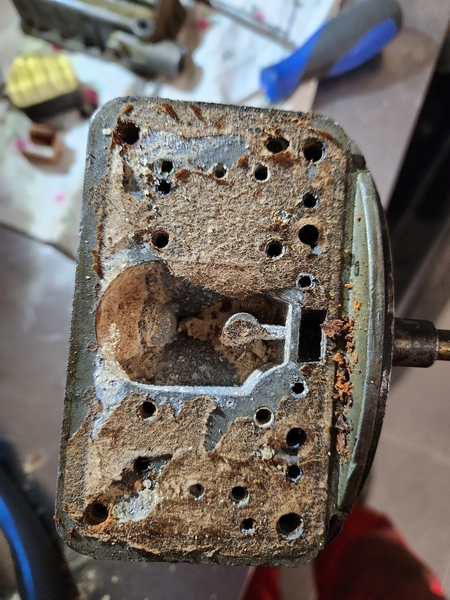
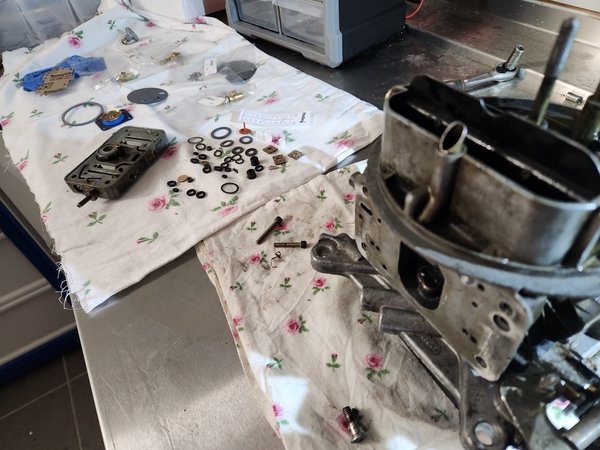
Choke bimetal spring was broken. Not doing much without the central tab.
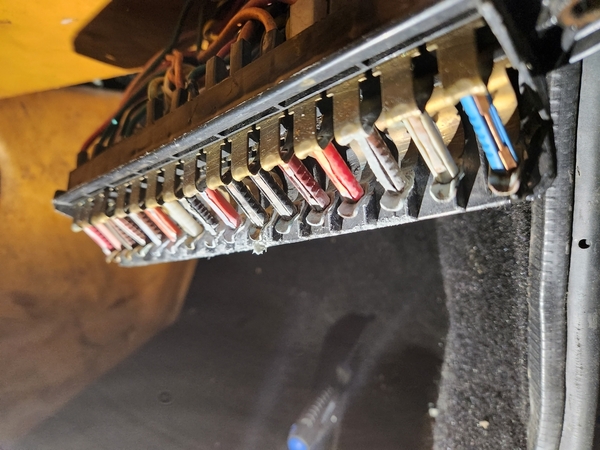
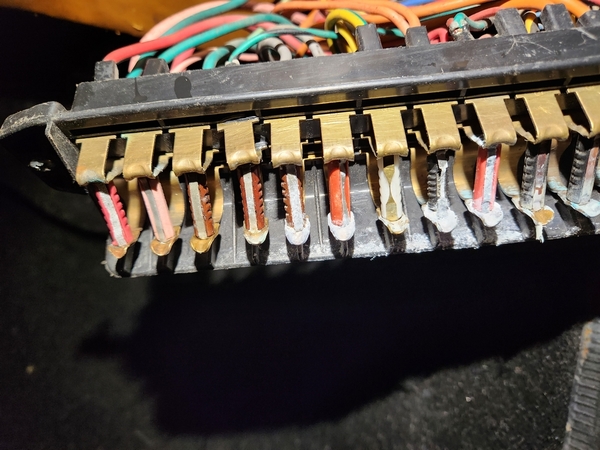
Started going through the electrics as well. Seems to have been a bit of moist in the fuse box, probably coming through a leaky windshield seal.
Heat has been developing around quite a few fuses, and the fuse box has started to melt.
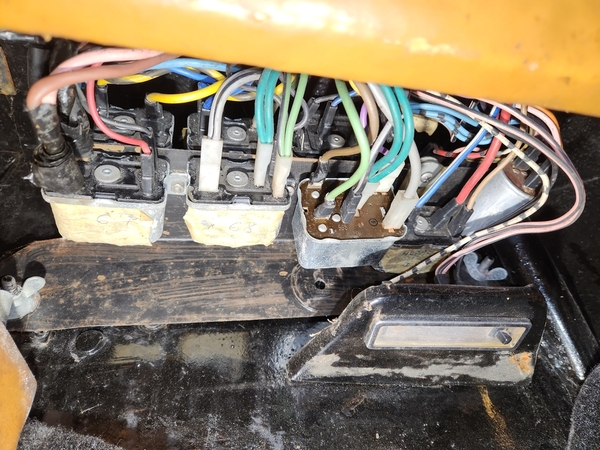
The relays also need a bit of TLC.
The current plan is to replace the entire fuse box / relay board with a more modern system, so if anyone has a wiring diagram for a 78 Deauville that would be much appreciated.
Attachments
My guess is that fuse box is the same as the ones in the Pantera…. There are too few Deauvilles built to come up with a new design.
You may be able to use the Pantera Electronics high-tech fuse box, or if you decide not to get that modern, there is a modified box (I think they came from Pantera Parts Connection in Nevada) that convert to ATO (blade) fuses. They are a wire-for-wire replacement for the Pantera box.
Rocky
On the fuse box...
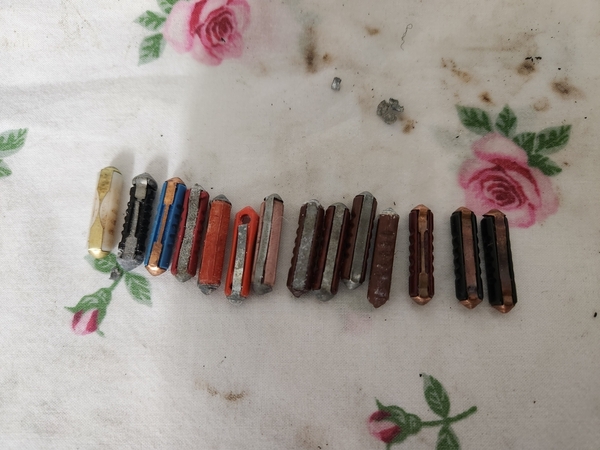
Panteras have a fuse box produced out of BAKELIT an early "plastic". It is very hard and does not really melt. I suggest you make a Foto on the fuse side, take them all out, get new once and add one by one back in AFTER a full cleaning of the connectors. Even a steam cleaner does help besides mechanical of other chemical cleaning. If connection parts corrode the cross resistance will increase hence it start building up "heat". I kept. my old fuse box but added all new fuses. Modern fuse boxes are more reliable as dif fuse design/blade type.
A switch of a fuse box without a full documented wiring diagram is a killer. As you put fuses one by one back see what the fuse controls and COMPARE the result with the very well documented Pantera wireing diagram / see tech pages. AND DOCUMENT every cable !! Use the pantera diagrams to add the color code and wire gauge to it.
The heavy current is related to (so they are the candidates for "burning")
1) Radiator Fans
2) Headlight and motors. you def convert to H4 so heavy current on the ignition swithc!!!
3) Window motors..
4) honk horn!!! sucks easily 20 amps! if stuck may be 30 plus
You need to rewire these anyways as all current is running via the ignition switch a BAD resign of the old days. All need to set up via new relays. Existing wires serve just a Relay control signals! So keep all in place!
On the Relay panel well, as above take a foto take one by one out and test it. Panteras have this complex relay for the head light motors, I do not see it in your picture. The old relays are good and reliable but can be replaced by modern once 5 USD China stuff/Hella or Bosch. The old type metal housing type is hard to come by and costly. Relays in general nothing wild, simple on off, active on or active off you need to test it. The numbering on the relay connectors are standard so you can easiy figure out that type of relay you deal with. Also new relays optionally work on sockets so you can build a nice socket set up. ..and DOCUMENT what you did
Mat
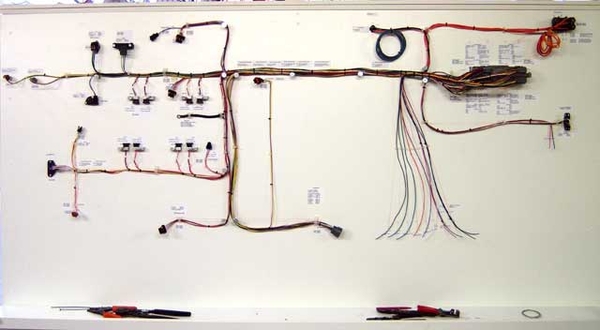
As the car will be completly restored, I am considering to remove the entire harness, and create a new one, preferably with a under-hood fuse box in addition to the one in the cabin. Always preferable to to keep relays/fuses close to the heavy consumers.
In my head, the project setup would look something like this,
I've been looking at this setup, as it looks quite flexible. If anyone has experiance with other, similar setups, please let me know.
Waterproof Power Distribution Centers
I replaced all the fuses when I inspected the fuse box, as well as cleaned all the contact points. I also removed all the connectors and cleaned their contact surfaces.
I'll do the same with the relays - open them and clean the internal contact surfaces, but I've noticed that a few of them allow movement of the stationary contacts (pressing on the connectors pushes the contact point upwards inside the relay), which is not ideal.
Attachments
Hi Stefen,
There is only 1 wiring diagram for the Deauville and that is the one in the back of the owners manual. This is for series 1 with 12 fuses.
It is mostly the same, lets say 80% usable for our series of Deauville. As far as I know all updates and expansions on the wiring were done as needed and not documented. In fact, the man who made the looms was an outside contractor who was hired as needed. No one, other than him worked on the looms so he had all the knowledge.
I remade most of the wiring in mine with a homemade blade style fusebox.
Nice to see you are making progress! keep it up.
Attachments
Thanks Chiel, unfortunately I do not posess the owners manual, but I realize I'll might have to acquire one.
Your setup looks very tidy. I'll might do something similar to make certain the car won't catch fire while awaiting restoration.
Would it help if I made a decent scan from my owners manual? I could e-mail that to you. I think I even made a translation from Italian to English for all the items listed in the diagram.
That would indeed be very helpful.
Chiel, I have a Deauville wiring diagram on PDF , I cannot find your Email address.
S.Hafsmo , when you send your Email address with PM i also can send to you.
Simon
simonvels@kpnmail.nl
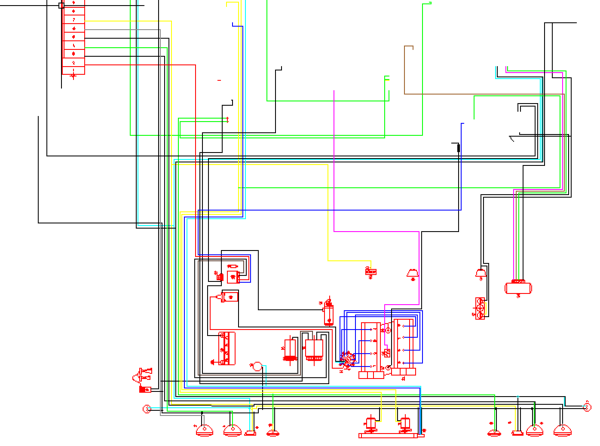
I've been slowly working my way through the wiring diagram, to make a coloured, vector-based diagram with a bit more detail. But I have stumbled upon a couple translation issues.
While I do know most italian colours, I cannot seem to figure out what colour OC refers to?
These also create a bit of confusion; RS and RO (Rosso and Rosa?)
Attachments
well think I told you to do reverse engineering..start with the Pandera diagrams, they are good and your car is NOT much different in respect of "what goes where". The diagram you posted might be good for an overview but a night mare to really fix the loom.
on color code well I did try Italian restaurants..![]() ,, look for an older fellow ..no honestly this did work.
,, look for an older fellow ..no honestly this did work.
And again USE the PANTERA tech diagrams. All you need is there, as it is a logical view (in Architecture terms) (shows all needed links without if it is front or rear or any. and it splits it up in "subsystem" level..) this is waht helps you to rebuild the loom not a physical. I did the full loom on my basement table is a peace of hard work and top organization required ..
What I saw from above is right put the loom out AFTER naming all ends to from where they come from. Have a big ply wood or sort of thing add nails in the needed bend corners etc..that will work. I added/replaced app 500 meters of new cable.! Also as you replace with the CORRECT COLOR you can reduce quite a bit of the cable diameter as modern cable is more Amp "resistant". This helps to make the bending of the loom as it goes back more flexible..
..also as a above RE-ENGINEER head lights and cooler fans..
my 6 cents..happy to help..get you some pictures of my set up later..on a run..
Matthias
Currently I am just refreshing the original De Tomaso Deauville drawing. Has nothing to do with my own car. That will come at a later stage.
Ps: I am by profession an Engineer, so I'm certain a bit of Engineering will be fine.
excellent ..nice then...
Regards from an EE.
Matthias
Hi Steffen,
I think the abbreviation OC is short for ocra, which is a real groovy seventies orangie yellow colour. ![]()
Thanks alot Chiel. I've actually used orange as a temporary colour (as it seemed to be missing), but now it's permanent. ![]()
Probably a solvent based two-stage laquer.
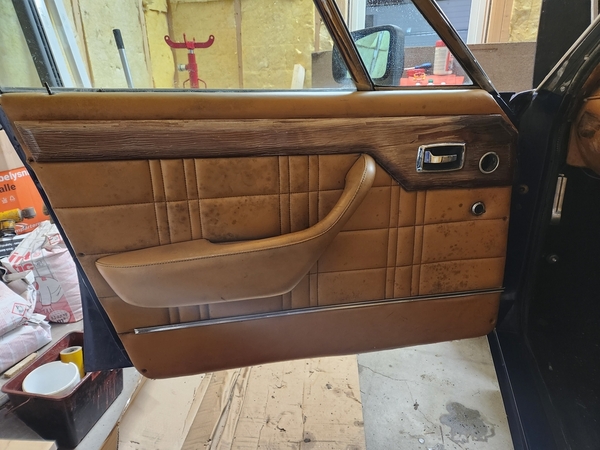
Mine were peeling also and I refinished the ones on the doors years ago. I still have to do the dash. I used a high quallity single stage boat varnish and brush applied it in 3 or 4 layers. The final coat I did it with a spraygun with diluted varnish. Looks great but slightly lighter in color since I didn't use any pigment in the laquer. For me that looks better with the black leather and silver velours that I have.
Thanks Chiel. How did you remove the old lacquer? Just alcohol/thinner?
No, old fashioned sanding with a fine grit on a small sander and the final stage by hand. It is sollid wood so no need to be as carefull as with veneered wood.


