
Black friday happened, and I bought a new tool (not the Lego Ferrari).

It's an Einstar 3D scanner, which I'll attempt to use to design new headlight surrounds, as my car currently has none.

So I've scanned the front of the car, and quickly realised that it is fare more amusing to create some sort of a GTS-like lip, just to see how it would look. Turns out, designing things that look good, is hard. And I am not very good at it.

I was trying to recreate the shape of the Pantera GT5-S, but I need to scan the whole car to get a proper impression of how it would look.

In the end I will probably end up trying to replicate the stock (?) lip, or something similar.

Attachments

Images (4)
  • mceclip0
  • mceclip1
  • mceclip2
  • mceclip3

That is a really cool tool, that scanner!

Nice to hear that C&C came through on the brake parts. I bead blasted the callipers myself and painted them with a 2-pack paint and clear laquer. They look like new.

I have an extra set of used original headlight surrounds. I know the Jehle front is altered from the original so I don.t know if they are of any use to you.

Let me know if you think you might be abled to use them.


Chiel

@dutchie2 posted:

However, the pitting is at the point where the piston rests in the cylinder,

That is a very valid point. I'll check the condition of the Ferrari 308 master cylinder.

I don't suppose anyone would remember how the small springs were located within the assembly? My "before" picture seem to have disappeared, and however I place them, they don't seem to have a proper surface to push against.

IMG_20231229_143714111

Attachments

Images (1)
  • IMG_20231229_143714111

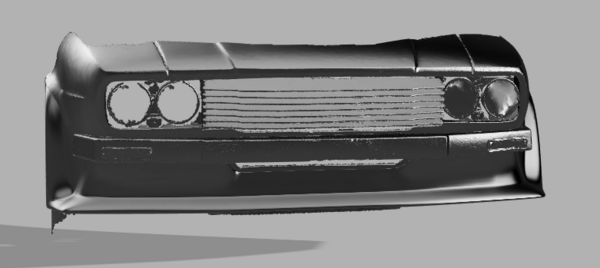
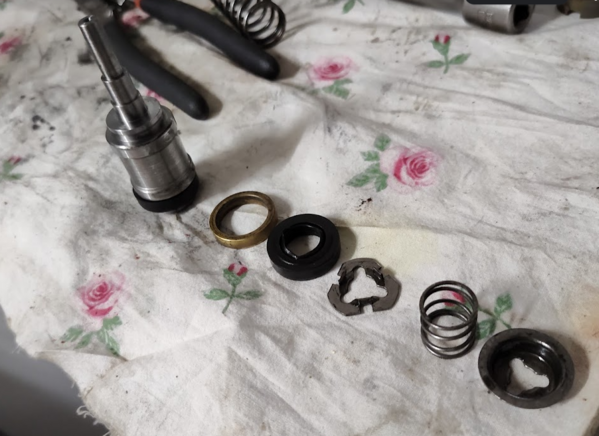
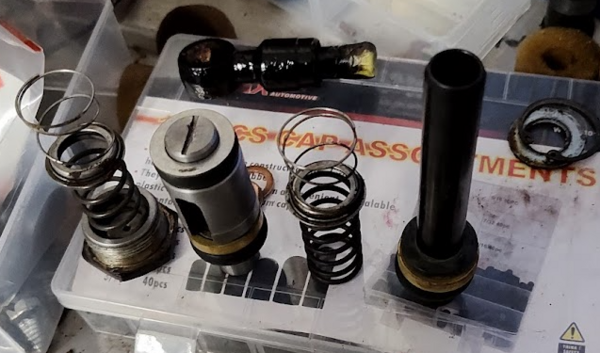
This is the contents of the Ferrari 308 GTB/GTS master cylinder.

It's similar, but certainly not the same. The seal mounts and spring guides are different, and they lack the slimmer, secondary spring.
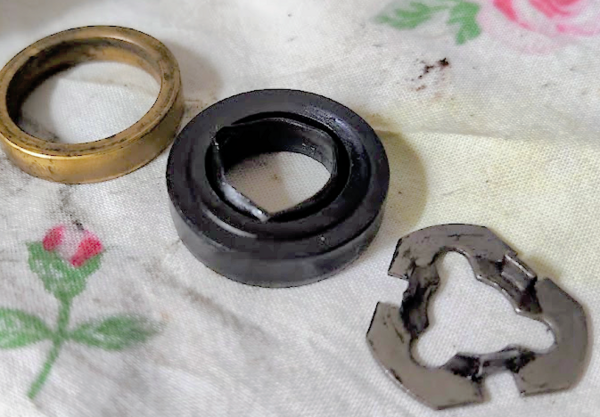
Seal assembly,

The bore of the master cylinder does however seem to be in good condition, and not pitted like mine.

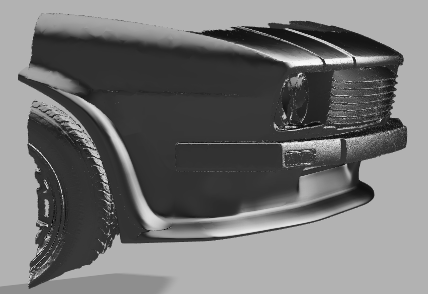
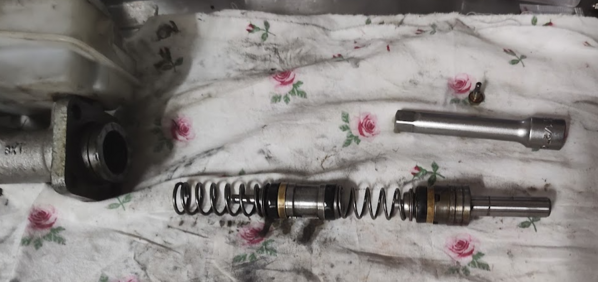
I also did a closer inspection on the original MC, and it seems that I cannot install it in this order,

As the inner piston would hit the end cap and thus not allow proper movement. The inner piston also has a slot for a flat head scewdriver to help align the piston slot to the set screw, which I seem to remember was accessible when the end cap was removed.

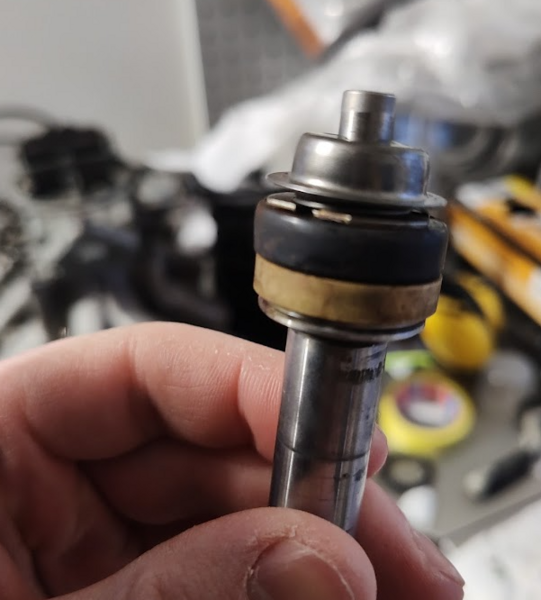
Edit: My memory is, as usual, a poor source of information. The inner piston must indeed be positioned as in the above photo, as the adapter plate between the springs will seize on the larger diameter of the protrusion with the slotted head. It seems that the thinner springs purpose is to put pressure on the D-ring seal. The Ferrari 308 seals have a different arrangement to ensure spring pressure on the seals (see separate post below).

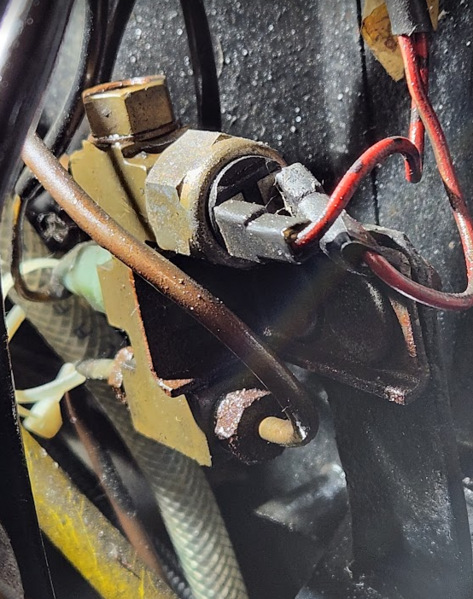
The pittings in the old bore were also on the opposite side of the master cylinder, so it could probably be used with the risk of some internal leakage.


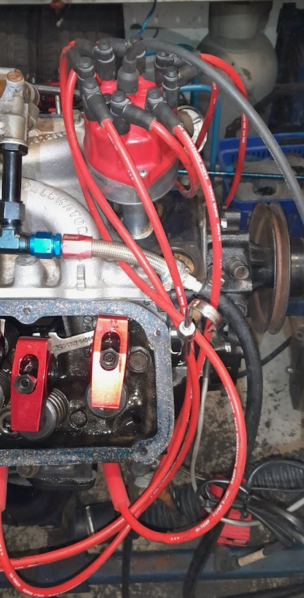
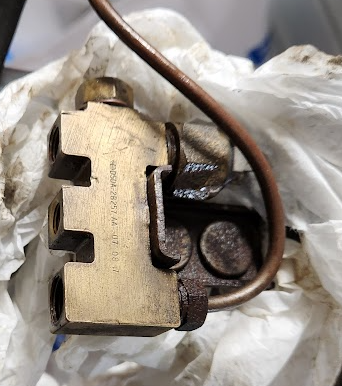
To ad a bit confusion to these last post, Here's the content of the brake pressure differential valve, which you can read about here, GROUP 2B527 - Brake Pressure Differential Valve

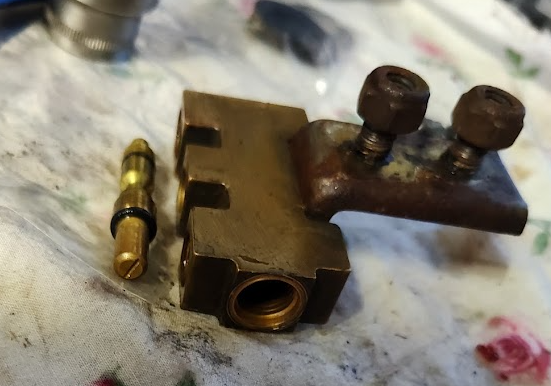
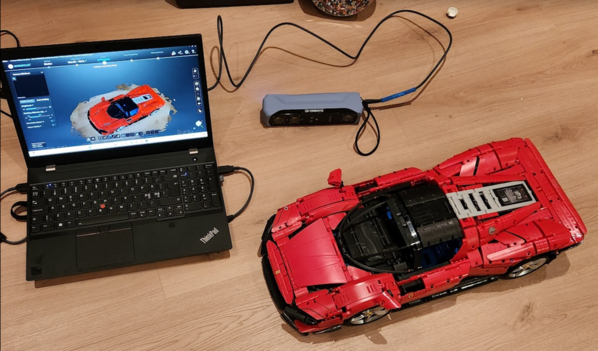
I've ordered a spare part kit for it. We'll see if anything fits.

1970+ Ford Disc/Drum Brake Pressure Differential Switch Kit

Attachments

Images (7)
  • mceclip0
  • mceclip1
  • mceclip2
  • mceclip3
  • mceclip4
  • mceclip5
  • mceclip6
Last edited by S.Hafsmo

I did a conversion from hydraulic to an electric brakelight switch. Any 1980s or 1990s Volvo 700 series switch does the job perfectly. I made a bracket to mount it behind the brake pedal and used the original wiring pulled back through the firewall. No modifying other crimping on new connectors.

I can make some pictures of it if you need them.


Chiel

google Ford  brake pressure differential switch Ebay motors.usa.

replacements available for $20-$30.

those plastic switch is leaking when the inner O rings are leaking.

the plastic switch dont protect you for leaking.

when this is leaking it's hard to see , but you notice when the trunck floor is wet from brake fluid.

you also can close this hole ,or delete the complete bronze switch, that protect you from troubles and brake fluid leaking.

Simon

Christmas gift to self. Those are always the best.

This was built as a spare engine to a street/strip 69 mustang, but the owner realised he had too many projects, and sold it. He built two 351Cs of the same recipe, and the other put down around 485 crank hp. I chose to not have this one dynoed, as I recon there are better ways to part with $1000.

What's interesting is that these builds sport the supposedly woeful 2V open chamber heads. Heads are ported, adjustable rockers (machined), domed pistons .030 over (10.5:1 static comp), Weiand X-CELerator intake etc.

In its current iteration is has not been broken in, so before installing it in the car, I'll do some checks just to confirm piston to valve clearance, rocker geometry, bearing clearances, timing chain, etc.

Attachments

Images (1)
  • mceclip0

Add Reply

Post
×
×
×
×
Link copied to your clipboard.
×