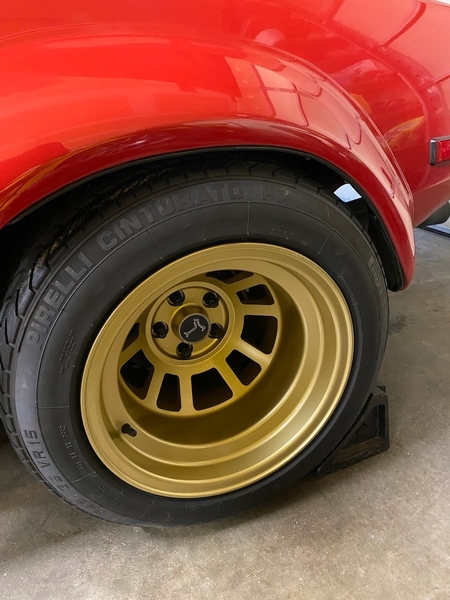
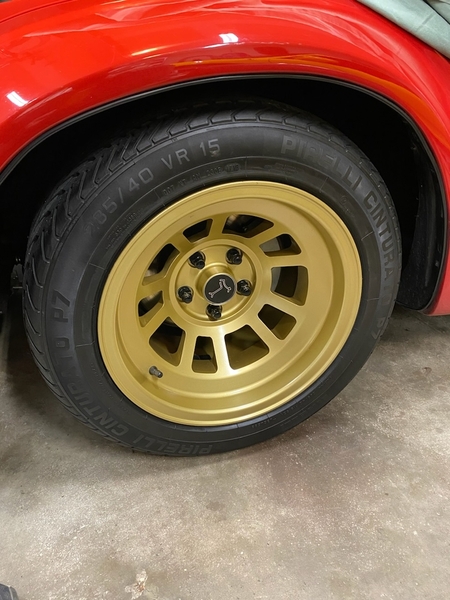
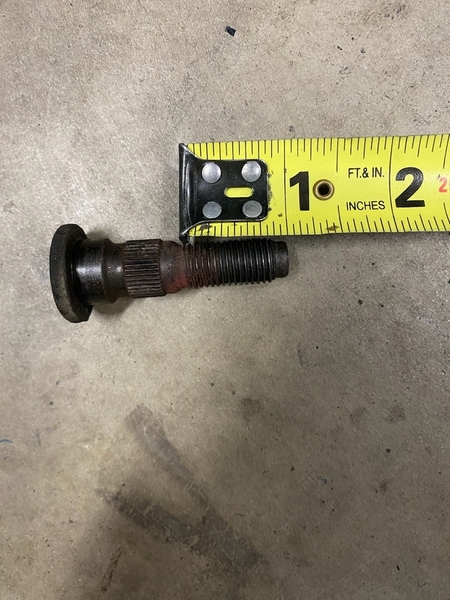
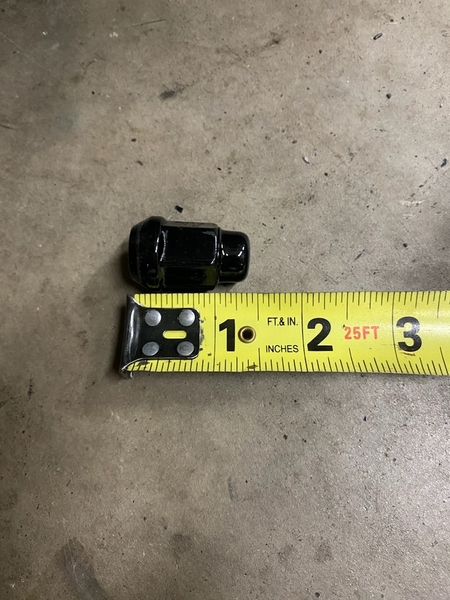
You mentioned suspension upgrades while everything is apart, but another upgrade in the back end that Dennis sells is a CV conversion kit that I know a few have been quite happy with.

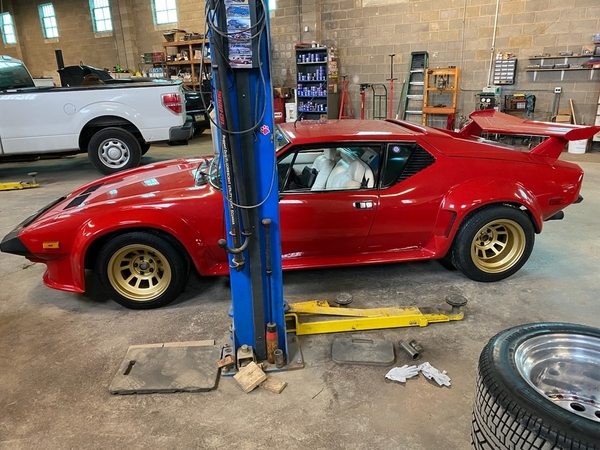
Good luck with your project. The wheels are beautiful and the car will be exceptional when it's all buttoned up. Mods are often a roller coaster of emotions.

@ehpantera posted:

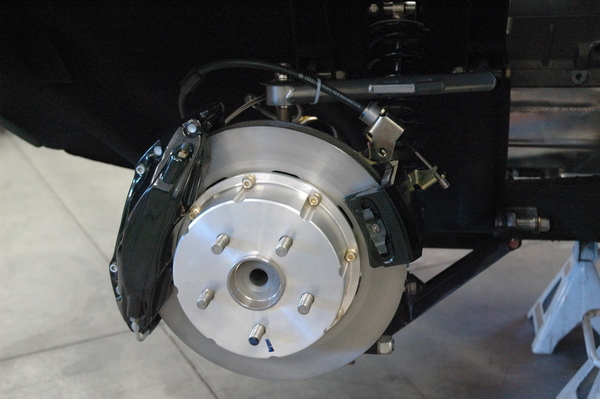
If you are installing new  brakes, you might want to consider having the rotor hats installed on the outside of the axle flange. It makes much easier to machine the rotors when needed.

Mark

I have my rotors mounted on the outside of my hubs (like 99% of all other cars) but the really big advantage of doing this is on the rear. I believe Dennis Quella sells the appropriate Wilwood hats. Keep in mind, this mod will space your wheels outward by 1/4". You can avoid this on the front by using IPSCO hubs but it can't be avoided on the rear.

Like others have said, mounting the rotor/hat assemblies on the outside of the hubs is worth considering. This mod can save you lots of grief during later maintenance. If you decide to do these mods and upgraded your brakes, pay close attention to the adapter bracket offsets and fasteners. Buying all the parts from one vendor is the best bet for getting it right the first time.

I have the IPSCO hubs on my car. They are aluminum and very nicely made.

bosswrench, good to know.

racecarmike, do you have a good photo of what it should look like with the rotor/hat assembled outside the hub? What are the benefits?  According to Dennis Quella, one of his customers has over 100k miles on his Wilwood brakes and he has never had the need to shave the rotors.

All help is appreciated, as I consider myself a novice in this area.  I plan to order the brakes from Dennis Quella today.

Thank you in advance.

Fuzz, As David said above. Also with aluminum hats, it make more sense (to me) that they are placed between the hub and wheel.

I agree that the likelihood of rear rotor maintenance or replacement is low, it's nice to know it can be done much easier. Stuff happens.

Our rear weight biased, fat rear tire cars use more rear braking then their counterparts, but it's still relatively light with normal street driving. Track use is a different animal.

Either method can work. What's more important is that your upgraded kit is designed and sized correctly. Changing any aspect (or parts) of your brake system can (will) affect the brake balance. The change in balance can be positive or negative or diabolical.

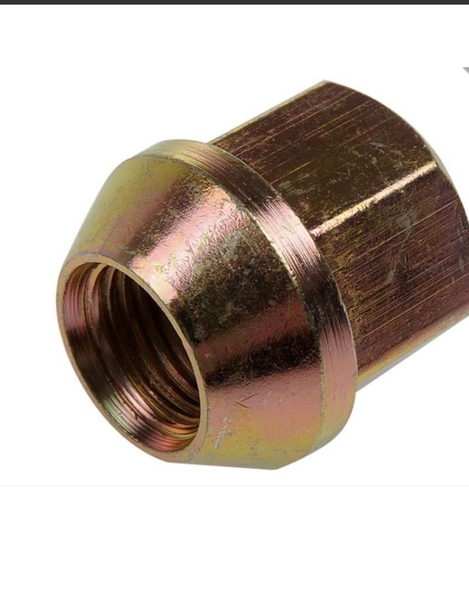
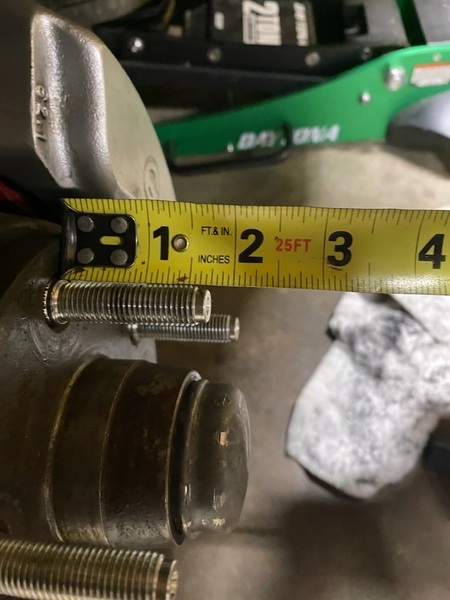
To add to what Boss said above, the threads being exposed beyond the lug nuts rule is in place primarily for the techs to be able to do a quick visual. You would be surprised to see some of the weird stuff people do at the track.

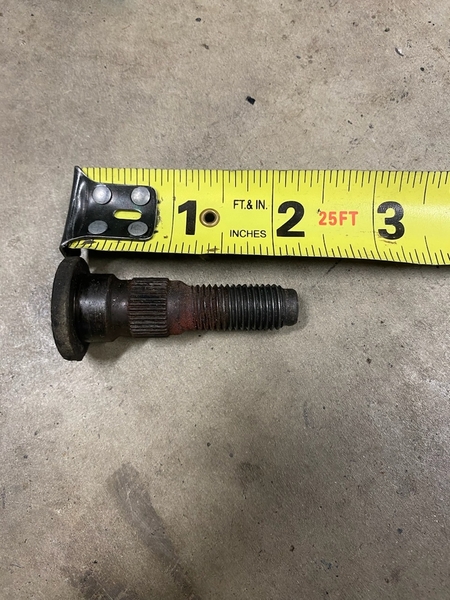
Dennis' outboard mounted rear rotors will not fix his too-short wheel stud problem. I think those rotors ALSO require longer wheel studs due to how they're mounted. Also know that there are a few 'gotchas' in R & R-ing the whole rear suspension, not the least of which is, each upright assembly weighs around 50 lbs and has pinch-y protrusions everywhere. NOT a job for rookies!

@Fuzz posted:

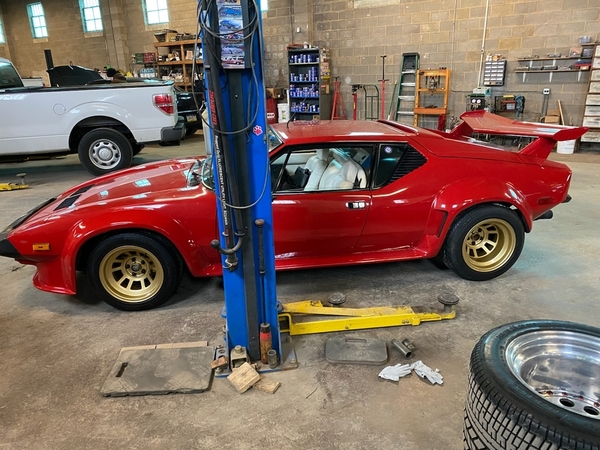
Here are the closeup photos of the new wheels' stud holes I promised earlier...IMG_0393IMG_0394IMG_0395IMG_0397IMG_0398IMG_0399

I have the same rims (10" front and 14" in the back), from Roin. In the front I installed 15mm bolt on spacers from H&R to get the wheel out in the fender, and to avoid replacing the oem studs to longer. In the rear the studs was long enough to use the nuts as always used.

Tiptop, that is very interesting.  So I did just try on the rear wheel.  So far I only had looked at the front, and figured the rear would be the same.  But I was wrong, as I often am.    With the stock studs I got 7 1/4 turns with finger tightening alone.  So it appears that the rear studs don't need to be replaced.  So I compared the back of the front wheels to the rear wheels, and the fronts definitely have a deeper stud hole from the rear, which gives it less exposed threads.  Looks like I only need to change the front studs after all, which is a much easier task.

Panterapatt, the pressed in steel seats are definitely 60 degree angled both for the front and the rear.

This project just became a whole lot easier.  I am still going to invest in the Wilwood brakes.

Last night I finished installing all new brake lines and a new brake proportioning valve I bought from Jerry at PIM.  Everything looks so clean and tidy now.

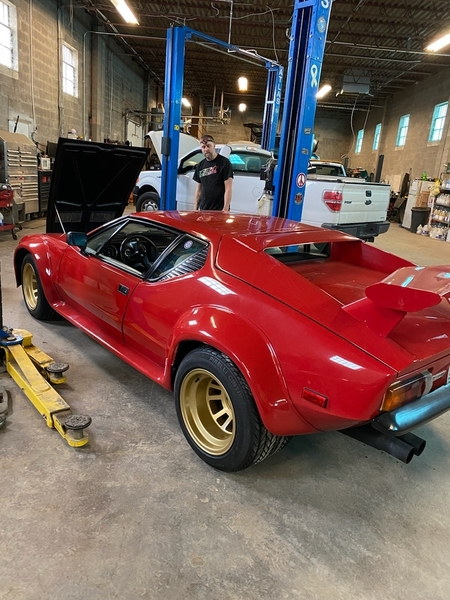
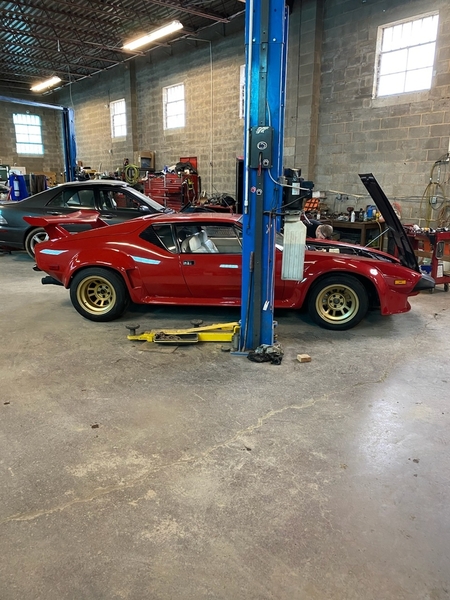
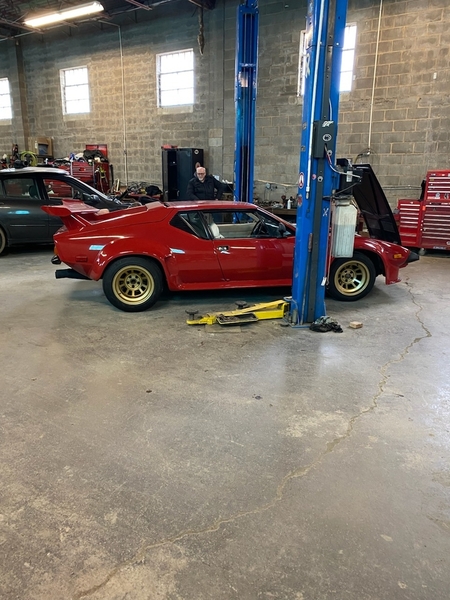
Time to order some front studs, replace them, and put these bad boy wheels on and take a few photos.

The Momo Prototipo is the OEM GT5/GT5-S steering wheel. If you'd like the steering wheel to be a bit closer to you, they have a dished version of the Prototipo called the Mod.07. Otherwise, just go to momo.com and pick one you like the looks of. You'll want a 350mm diameter wheel. I have a Momo Competition and love it.

Thank you for your responses. Yes, I love that Momo steering wheel, so definitely will go with that one.
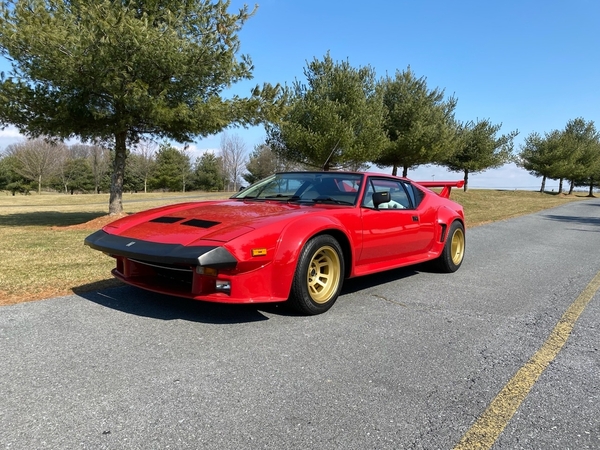
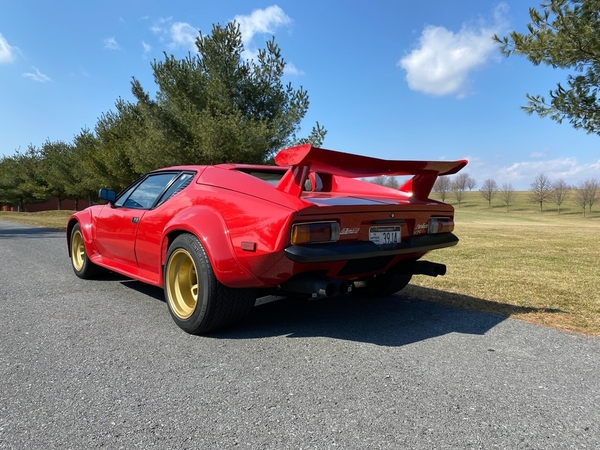
also, was looking at my exhausts today and was thinking stainless ones would look so good, so that is all the encouragement I needed. It will be done in short order.

steering wheel first, then exhaust, then brakes. In that order I think. Easiest to hardest,

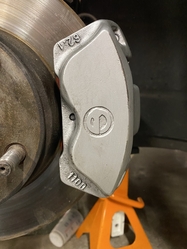
When you rebuild frt or rear calipers, know there are two places for leaks, one of which the seal kits will not fix. All Girling calipers built '60s-'70s used mild steel pistons with chrome or nickel plating, and they rust under the plating from old wet brake fluid. This produces a row of pits that, if they're in certain places, produce a leak with brand new seals. Some pits will tear up new seals as well.

Supposedly, someone sells stainless pistons. I made my own out of 312-stainless bar stock. Porsche guys strip the plating off old pistons, braze/weld the pits, remachine and re-plate. NOT cheap!  PanteraParts.com in Carson City sells reconditioned front & rear calipers on an exchange basis, and he has a pickup truck full of pitted pistons. Good luck.

Add Reply

Post
×
×
×
×
Link copied to your clipboard.
×