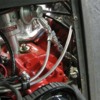
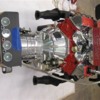
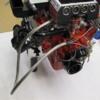
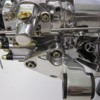
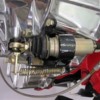
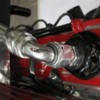
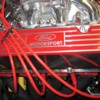
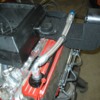
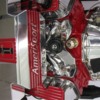
Here is a better detail---you can see the water pump mount loop for the oil and fuel pressure lines. The fuel pressure is connected and the oil pressure feeds to a connection just above the oil filter.
The gauge cluster can be removed and located as far back as picture shows---rear of the trans axle. If you are working the engine, this gives you great info at your fingertips and a great back-up if the power fails to the main gauge console.
Attachments
This shows the new wire looms and changed the color to black. This shot also shows the inner air box with the vapor seal flapper valve vacuum control pod on top. At the back of the box, you can see the stainless fitting the a bit of the tube which feeds the break booster up front.
Attachments
Wayne has original paint on his car. I had to repair some door dings and of coarse the front spoiler was damaged---fortunately blending the paint from the damaged area into the original color was successful.
We sanded the entire car with 600, 1200, and 2000 grit in sequence. Once sanded, the buffing started and rubbing out 25 year old paint is not easy but was well worth the effort. The improvement was amazing--clarity improved 10 fold just by getting rid of the orange peal.
Here it is sanded---first stage 600 wet work.
Attachments
Here's a fender after some of the buffing. You can not really tell in pictures about paint so those of you who see the car in 3-D will be able to look and see the original paint sanded and buffed. Wayne and I were both very pleased.
Attachments
Here is the last airbrush work I did from the era. This was an add I painted poster size and the car was placed into the background---cut and paint tec. unlike today where you can just plug in any item conceivable. You can barely see the Pantera GT5-S in the stars on the left---maybe I can manipulate the brightness using today's technology. MANY YEARS AGO.
Attachments
I would have never guessed that Wayne's GT5-S had the orginal paint. Once again, your work is very impressive.
let me bow to you in all humility!
Not my style but what a craftmanship !!
Not my style but what a craftmanship !!
Thanks for all the kind comments.
Wayne
Wayne
I second the thank you.
Here is a shot of Wayne's exhaust. The muffler catalytic converters were black porcelain finished and the tips were kept black. I did my best to talk him into going totally black with everything---even wheels.
Here is a shot of Wayne's exhaust. The muffler catalytic converters were black porcelain finished and the tips were kept black. I did my best to talk him into going totally black with everything---even wheels.
Attachments
Here is a lid detail. I quad pined the corners so the lid re-indexes on the box without issue. Allen bolts were used with small turned aluminum sleeves as the contact material inside the air-box lineup holes. The bolt heads were tapered for easy indexing. Now for tapering the head---put the thread into a cordless drill and use a 6" grinder with a DA pad and 240 grit paper. Spin the drill into the spinning grinder at the right angle---there it is.
Attachments
Add Reply
Sign In To Reply


