
I have enjoyed and learned so much from this forum, it's time I contributed my share. Hopefully other owners or prospective owners may benefit from my efforts - and avoid some of my mistakes. I'll start with a few pre-restoration photos:


What I have here is a text book 30 foot car. My goals are modest; to have a clean, straight driver of a car, yet I have no illusion that it will be easy to achieve. I know I have rust and accident damage, and I'm sure I will find more problems as I go on.
Last edited {1}
Original Post

Replies sorted oldest to newest

Now let's take a closer look -


Look closely between the lens and bumper


Not Good


I think there is some bondo here. Actually, the paint just recently came off; it did not look nearly this bad till now.


Not Good


Bad


Really Bad


Ugh


More Ugh


Seriously Bad


The other side is almost as bad


I had to show this one; this is the only dent I have made since I bought the car in '96. Backed into a fire plug hidden in weeds.
Last edited by ufo-low
David, Rob and I have already been in touch. All was set until MY daughter uncovered the plot, and the gig was up. I did buy a few pieces from him though.

Mikael, I am sure you know the warning - never buy a rusty Pantera. That is unless you can weld and have a lot of time - or money. I can weld.

Larry, yes, that's my shop and I built it with this project in mind. The chassis is on a rotisserie now, and all the parts are in boxes. Lots of boxes.
OK - I've been officially busted. Dang. I was going to post a flurry of activity here and have you all believe I'm some kind of restoration super guru. More like the Wizard of Oz. Oh well - the show must go on.

I started with the deck lid, as it seemed pretty straight. I had an annoying pimple dent to deal with.


Hard to see in a picture, but obvious in person.

I also want to square up the left rear corner:


Compare it to the right side:


Notice how the left side has kind of a wedge shaped gap. The infamous paint chipping problem is obvious, but a new latch striker and chassis stiffening should fix that.

As for the latch striker, the early cars had a really weak affair with no lateral support; I don't have a pic of it handy. Here is where it goes:


I also have one broken strut mount support:

Last edited by ufo-low
I'll start with the strut mount. The broken bracket puts all the load on to the bolt cantilevered, and I can see it is bent. To see how much, I put a long straight steel rod through the hinge pin holes to use as a reference. Laying a straight edge across them shows me how much.


Compared to the other side:


First to cut off the remains of the bracket:


And clean up the area:


Next I put an allen head cap screw in the mount nut, and found a jack handle that fit snugly over the head. Applying some O-A torch heat to a dull red, I carefully straightened the mount nut:


See - good as new:


Next I'll measure the strut eyelet, and set the position of the new bracket:


Now to make a paper template. The metal is curved, so I had to find a way to match it. A large plastic can lid did the trick:


Here I mark the size of the bracket and the location of the bolt hole:


Now the screw head is bigger than the hole I need for the shank, so I need to find the center:


Also I want the bracket just a bit bigger than the eyelet, so I mark the radius and finish the template:


Transferring the template to 16 gauge steel, drilling and reaming the hole for a nice snug fit, and finishing the bracket:


Finally, to weld the bracket in place, I used washers to space it out, and had to use a different screw because the allen head was in the way of my welder:


Same for the other side, and done.
Last edited by ufo-low
Next task - fit a new latch striker. The one that came with my car, not sure if it was a factory item, but it was useless. Next time I see it, I'll take a picture of it before I throw it in the garbage.

Here is the mounting area:


I bought a new one from Panteras East, but the later models mount differently. I had to adapt my deck lid to accept the later style striker. To do this, I reinstalled the deck lid and the latch mechanism. I set the striker in place, and marked the new bolt locations.


How did I get this photo? Remove the A/C condenser and grille, and there is enough room to look up inside.

I drilled the holes, and found these nifty "T - nuts" in 8 x 1.25 mm (IIRC):


Remember to grind off the plating from the area where you intend to weld, or it will not weld well at all. The original studs were buggered up, and no longer needed, so I cut them off.


Here is how it looks, awaiting only some primer and a bit of cosmetic touch up:

Last edited by ufo-low
Here are a few pics of squaring up the corner. I felt it was a bit too much to just slap some filler on. It would be too fragile, and might chip off if bumped later on. I decided to put some metal behind it.


A few tiny spot welds on the wire give it the strength and stability I need:


After grinding them smooth (no pic of that), I filled in with JB Weld.


After the JB weld set up, I sanded to the desired shape.
Last edited by ufo-low
Mikael - no tricks - I wear gloves. Cool
When my hands are really dirty, I try to keep them out of the picture. Also not good to handle a camera with greasy fingers.

Thanks for reminding me about those decklid securing tricks, I remember seeing them both.

These pics show how useless the original bumpers were:


Last edited by ufo-low
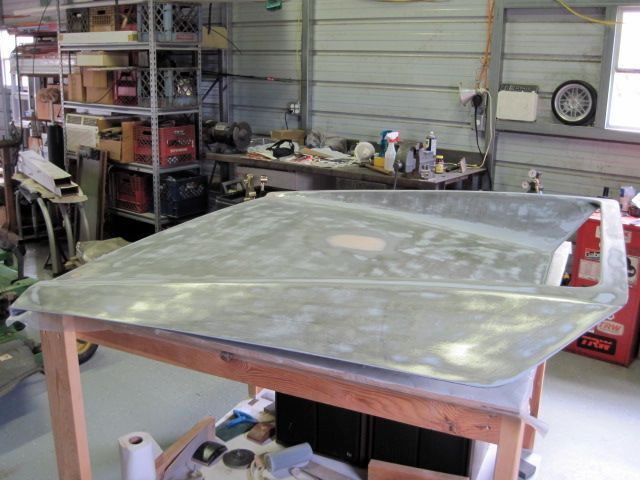
Finishing up the deck lid metal work:


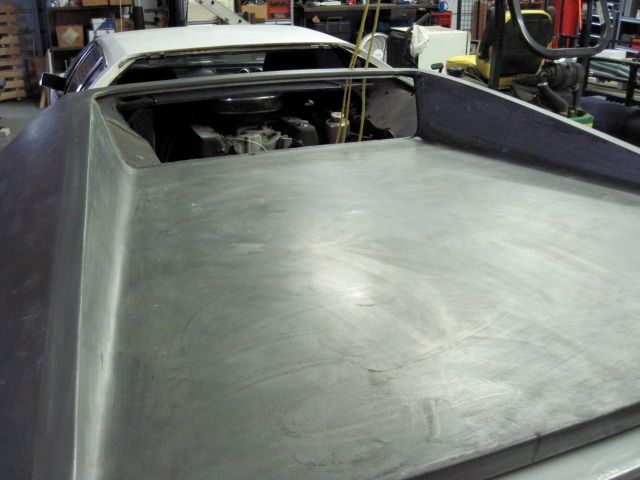
Finally getting all the old paint off reveals a very clean original piece.


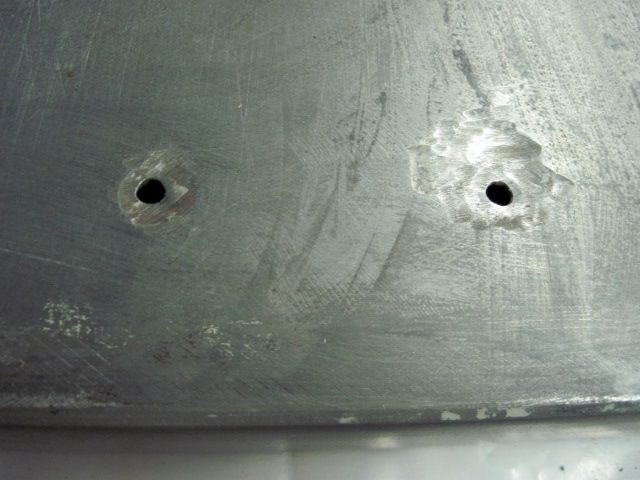
The "Power by Ford" emblem mount holes


And a couple more on the left rear upper surface


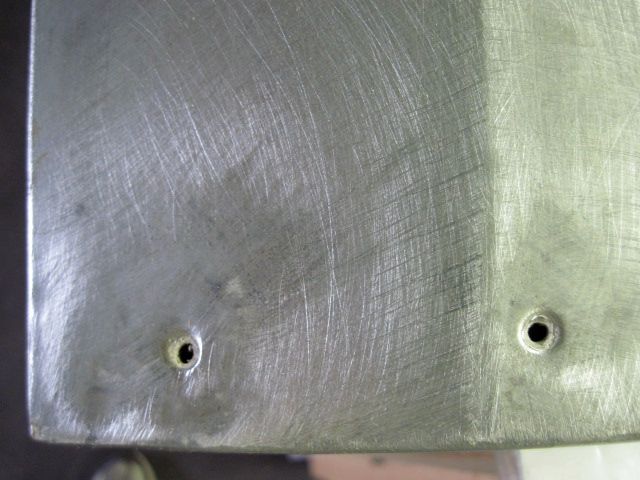
Funny, there were no similar holes on the right side; like someone started to mount a wing and gave up. Strange. All these I welded shut.

These recesses are a bear to get paint out of:


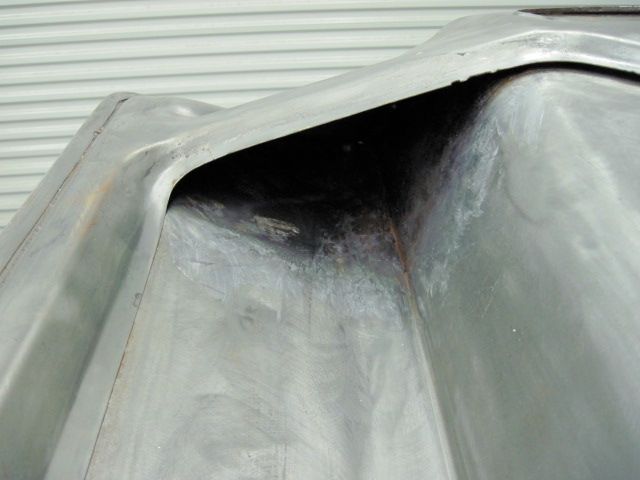
You can't sand blast in there - it just blasts right back out at you. Too small for a power tool. Just paint stripper and scraping by hand; sometimes using a mirror to see what I am doing. Lots more work that it's really worth.

Finally ready for the first coat of primer, and my first OOPS:


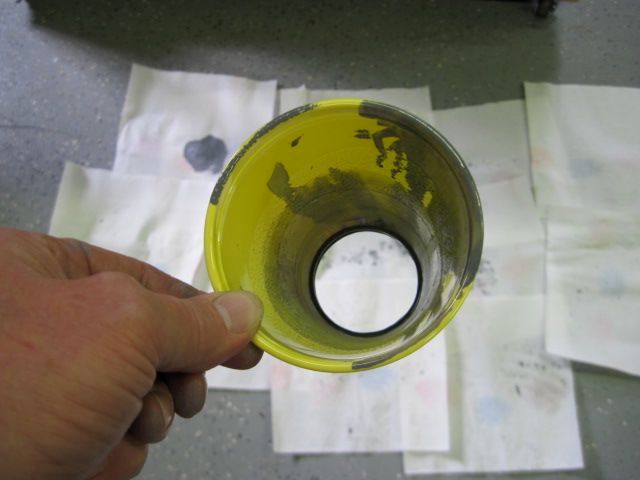
Do NOT mix epoxy paint in a plastic cup.

OOPS #2 - same day:


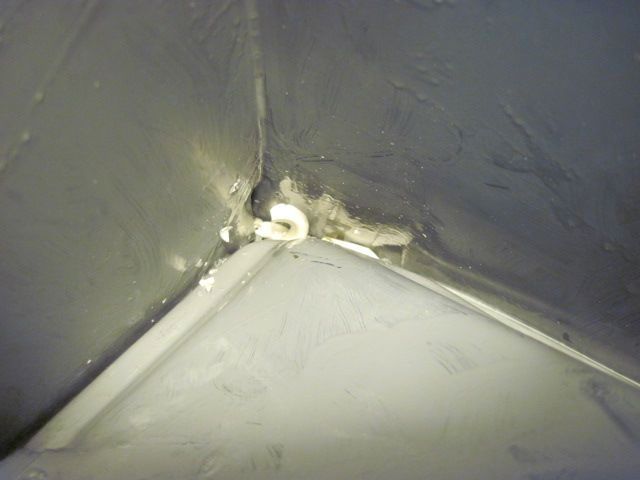
Do NOT drop the trouble light into freshly applied paint deep in one of the least accessible places on the car. (see above).
I reached in with a needle nose pliers to get the big pieces, and put double sided sticky tape on the end of a ruler to get smaller bits. After the paint was dry, I scraped out everything I could, and applied another coat of paint to cover anything I might have missed. UGH - several hours of extra work.

I brush painted in the really hard to reach areas, then sprayed the first over all coat:


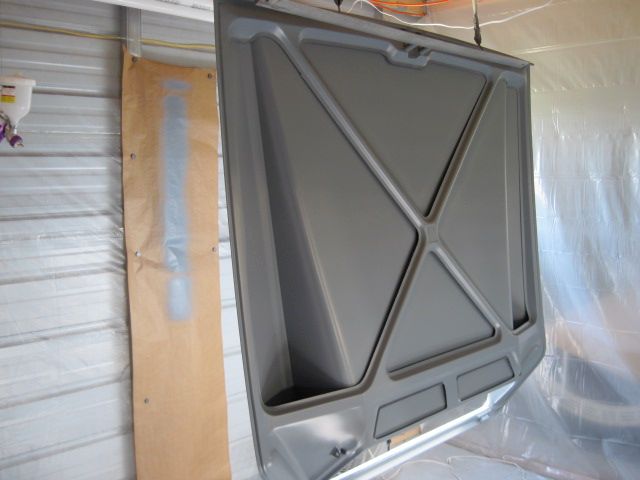
My make - shift paint booth did not work very well. It came out OK, but was a pain to set up and tear down. The deck lid is the only piece I did this way. I came up with a much better method later.

This bad boy is heavy, here it goes back on for some test fitting:


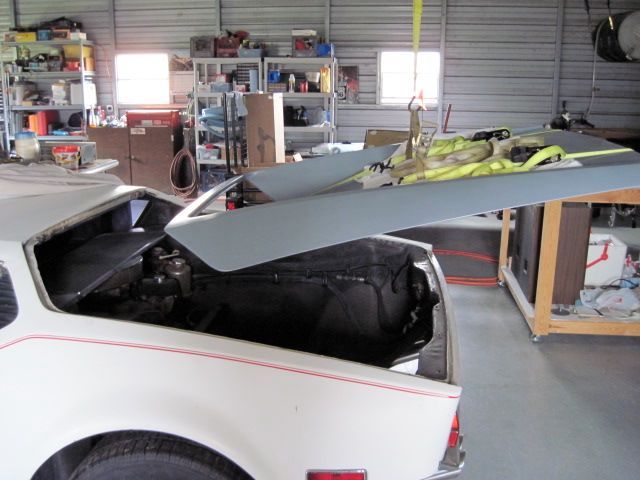
I sanded off most of that first coat; you can see little patches of it in this photo:


Thought I had a pic of it all done - but maybe not. I'll take one next time I get it down.
Rodney
Last edited by ufo-low
On to the front trunk lid. First to survey the damage, find what needs fixing, decide how to repair it, and in what order. Working on anything you have bought used is a bit of a mystery. It takes some detective work, looking for clues, to uncover the hidden faults.

This piece is going to be harder, that is for sure. It seems to be sprung - bent - on the right side. It does not sit level with the fender. Only 1/4 inch, it does not show up in photos much, but easy to see in person.

Rust on the lip; more so on the right side:


Here is a clue that the problems are more serious than they first appear; first the left hinge:


and the right:


Bent.

After stripping the paint, more problems are seen:


Dents in the frame near the right hinge mount.


Rust pitting along the lip inside and out.

And the last clue - dent puller holes:


On the right front. Hmmmm - a pattern is emerging.
Last edited by ufo-low
First I want to try to straighten it out. I think if it is bent, the frame and skin were bent at the same time and by the same amount, and I should try to straighten them together.

To find the damage, I decided I should measure the trunk lid carefully.


Here I've put it up on my 4' x 4' table. The tape along each edge is marked every inch from the back to the front. It is just over 51 inches long. I put cabinet shims at the corners to get them an equal height up from the table surface.


Here I am measuring, at each inch mark, the height from the table to the surface of the metal. Each measurement, and the mark at which it was taken, is written down; over 100 data points in all. Now a table of numbers is not very easy to see the trends, so I put the data in a spread sheet, and printed a graph. Now it is obvious where the damage is:


The horizontal axis is inches, with 0 at the back (near the windshield), and 50 at the front of the car. The vertical axis is in 1/1,000 of an inch, so "500" means 0.500 inch, "1000" is 1.000 inch, and so on. Clearly the right is bent up almost 1/2 inch compared to the left.

Now, being an engineer, I wanted to use a precise method to straighten the trunk lid. So ... I got up on the table, put my foot on the high spot, and stood my weight on it until I felt it "give". I was really afraid that I had made matters worse, but I shimmed the corners and took the measurements again:


Wow. Got it perfect on the first try. I actually put the trunk lid back on the car just to prove I wasn't fooling myself. Fit great! Declare victory and move on!
Last edited by ufo-low

Add Reply

Post
×
×
×
×
Link copied to your clipboard.
×