Here video
So thank you all for the nice comments and help this last 2 years![]()
And a special thanks to Marc and Simon for the help with the papers!!!
Now i am going to drive and enjoy my cars this summer!
I am not on the forums as frequently anymore and I completely missed the finishing of this car. My hat off to you. The finished product is incredible and sounds glorious! Your attention to detail is inspiring.
You are Welcome again ! And thanks for the visit.
I'm so glad to see this project inspire others, it's always nice to see someone having fun with a Pantera, opposed to being scared by keeping it so stock that it remains an under-driven garage queen. This car takes everything to the extreme but wow what a great result.
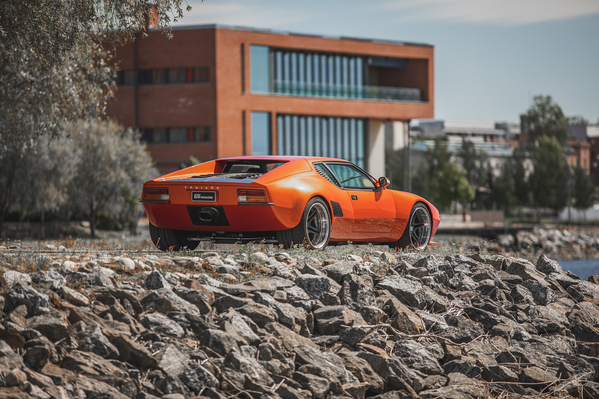
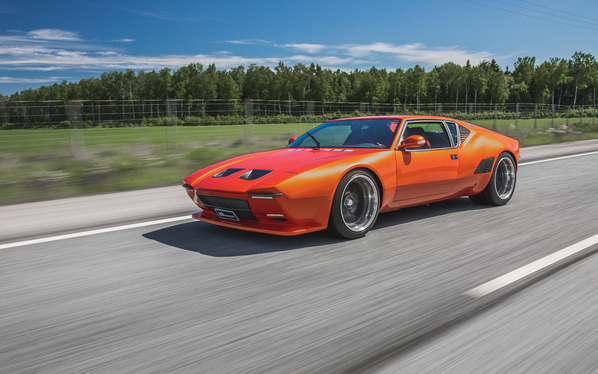
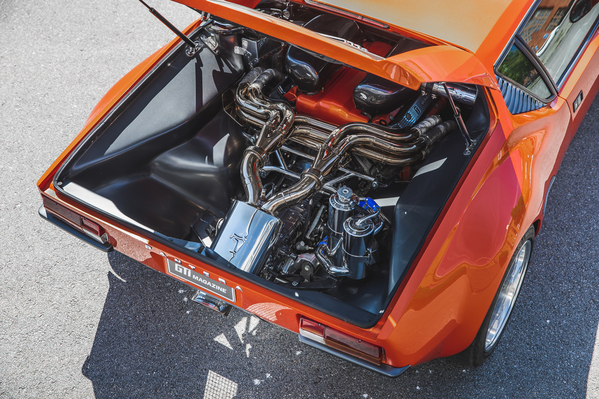
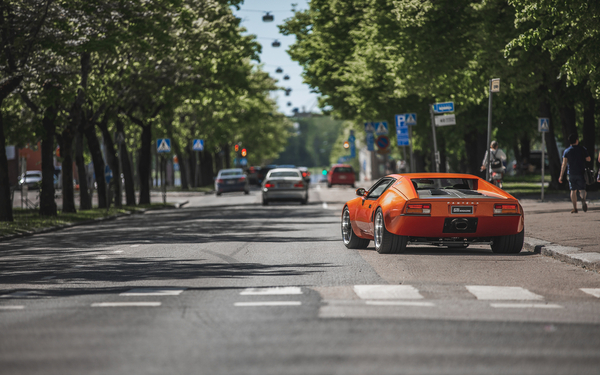
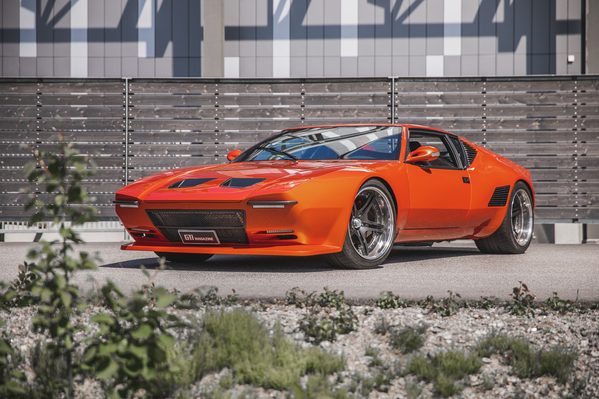
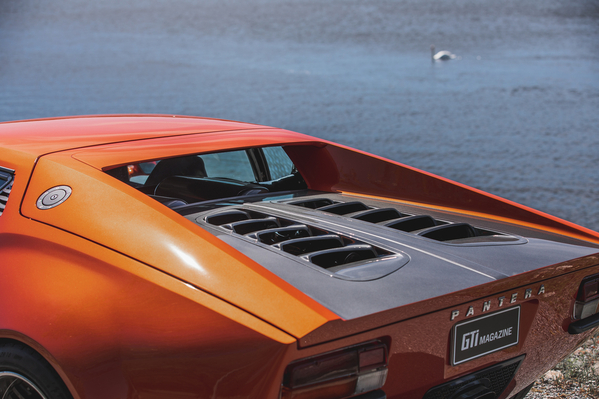
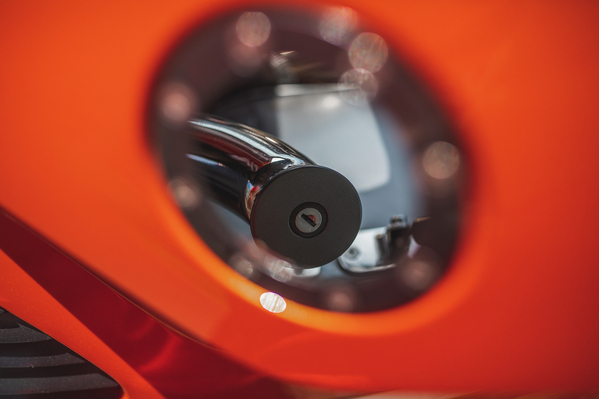
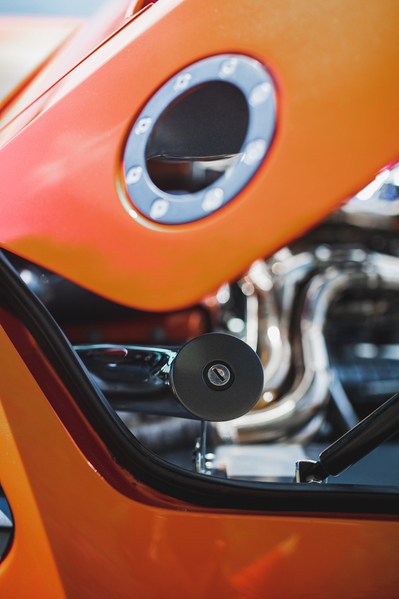
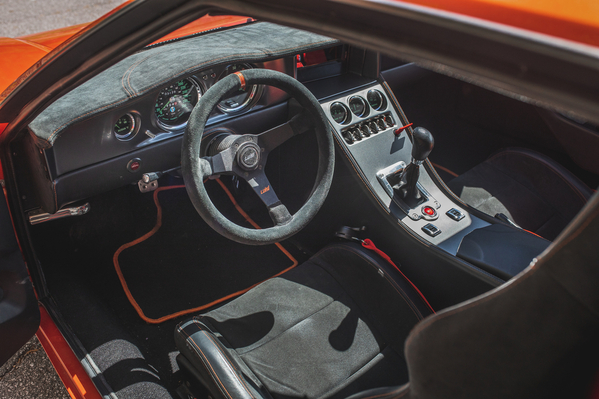
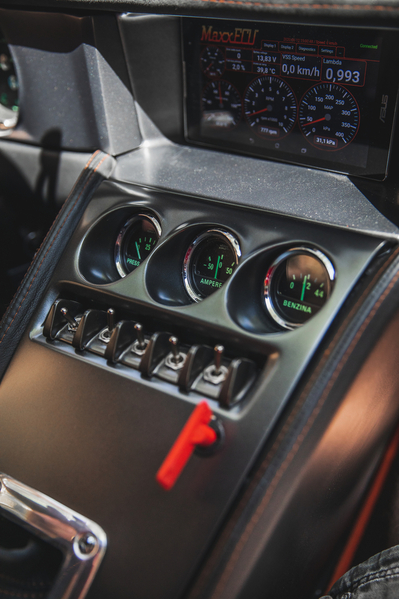
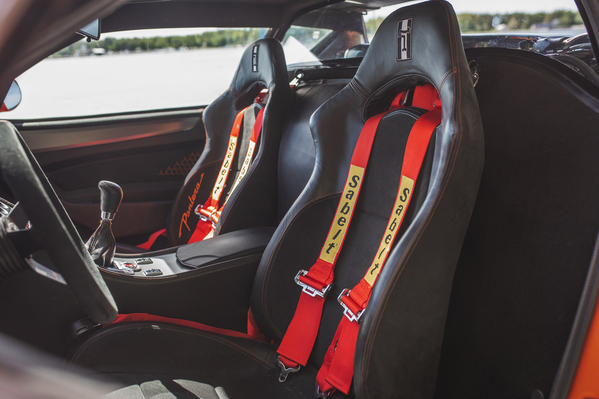
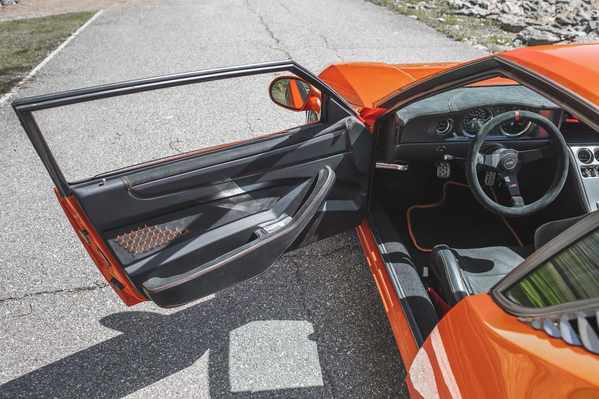
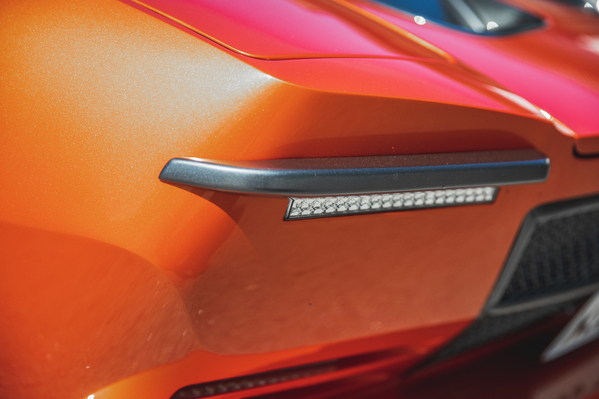
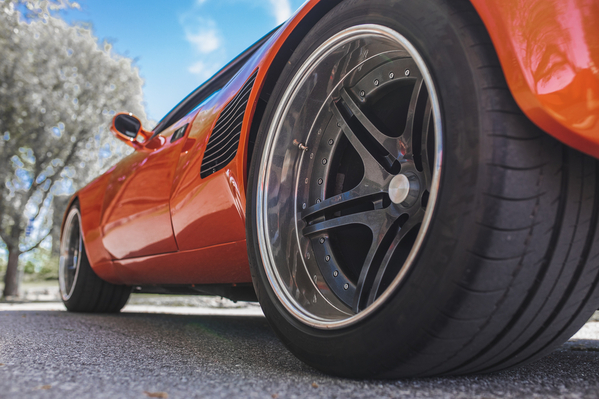
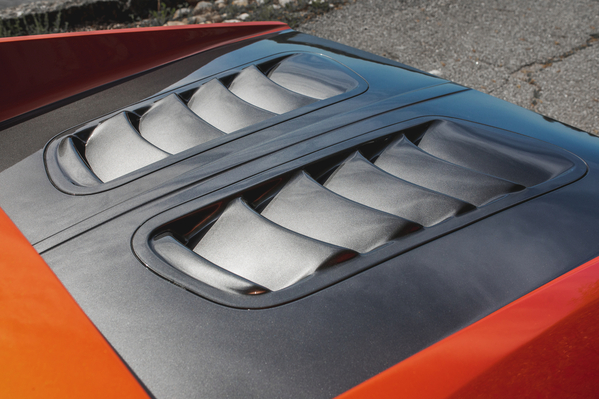
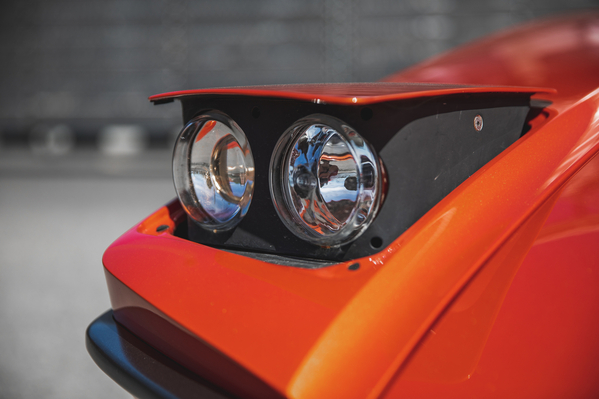
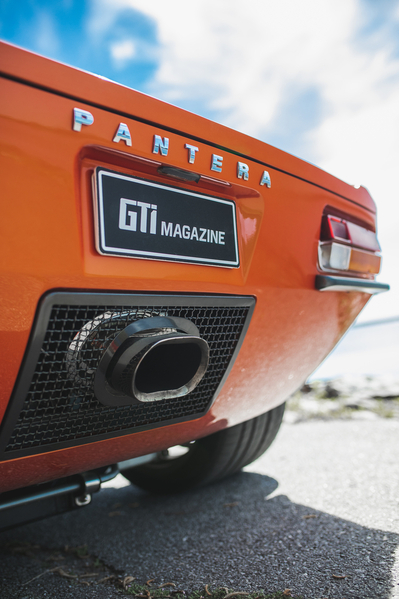
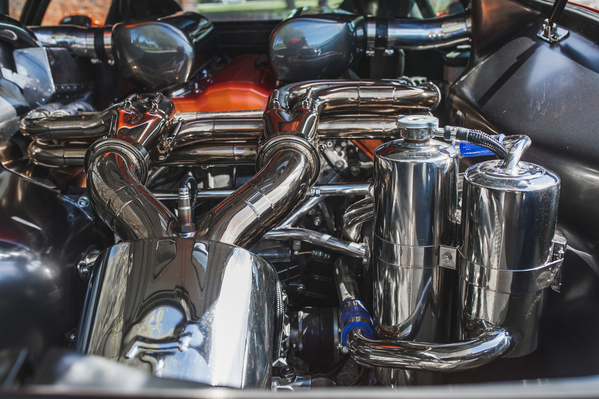
Here is some pictures from a fotoshoot for an Finnish car magazine
Wow!!!!!!! What a beautiful machine!
what a fine reinterpretation of timeless beast. Congratulations
Very nice.
How about some interior photos?
I noticed a flush fuel fill cap in the drivers side rear decklid. Studied the engine bay photo but I don’t understand how the fuel fill works in that location?
Larry
@lf-tp2511 posted:I noticed a flush fuel fill cap in the drivers side rear decklid. Studied the engine bay photo but I don’t understand how the fuel fill works in that location?
Check out the end of Page 2, and the beginning of Page 3... ;-)
Wow - very nice! Now that is how you do a wide-body. I hate the look of the bolted on fender flares or the ones that are molded in but still look like a bolt on less the bolts! They always look like dually pick-up trucks to me.
Look amazing! Good taste, beautiful work and fine details.
Of al the customized Panteras I have seen over the years. YOURS is my favorite, everything is just stunning. Thanks for the new pic of the inset fuel filler. I was wondering how that worked! Thank you for sharing such a great build. My hat is off to you and your team! I think I recognize the PANTERA letters from another vehicle, but LAND ROVER or RANGE and SILVERDAO do not have a P? Help me unscramble these?
Thank you! The letters is from VW Transporter ![]()
Kim,
I have spent the last day reading all thirteen pages of this thread, what an inspiring story. Your car is magnificent! The choices you made are exceptional, but most of all, I'm glad you're finally enjoying the "fruits of your labor." All I can say is "WOW!!"
Well done.
Thank you all! Nice that you like it!
I just did the same thing reading all 13 pages. Truly spectacular work. I would take this over both the Kindig and the Ring Bros cars. You are a master. If I had crazy money, I would have you build another for me-- ha!
SPECTACULAR!!!
![]()
as with all others on our forum I find your work amazing.
I am contemplating the single glass side windows and others have shown an interest. Would you be willing to share your template if the glass fits? Maybe your source can build windows for several of us in the US?
Thank you,
Tom
Love the Craftsmanship!! The Best! Outstanding. Like other say, now enjoy driving it. Would love to see it in person! Larry
Hi
Nice that you like it! I have sold several sets of the side windows here in Europe! It is the same factory that's make the front windshields that make this single glass side windows for me! I own the molds but they make the glass. If you like to buy them to US you need to be several or the shipping cost is to high!
They are E approved and made of hardened automotive glass just like ordinary OEM car windows
The glass fits nice in the frame, But you need to modify the door and window lift!
I used a lift motor and mechanism from a modern car that is a lot slimmer than the OEM. Because it has to fit between the glass and inner door trim when the glass is rolled down.
Kim
If we manage to get a few of us Americans organized to buy single glass window units from/through you, what might be the approximate price per set. The windows may need to be sent to more than one address depending on our addresses. I live on the wet East Coast, but the dry West Coast is infested with Panteras that may want in on the idea.
Thank you for your input.
Tom
absolutely love this one!! Amazing build
I don't have an exact price on the sets now at the moment! Because of resent rises on energy and material ! But i guess some where around 800€+shipping+packing cost for a set.
If you really are interested later i will ask the exact price from the factory before any orders.
I ship them in a wooden crate that is pretty big so if i put 1 set of glass or 5 the price is more or less the same.
So it would be best to ship all to the same place!
Thank you for your response and willingness to help. I removed front windows and love the clean look, and returning it all back to stock appears quite possible. This is not a high priority for me. I’ve owned the car for 43 years and am all for making I good improvements. I will have to get a read on the Forum regarding interest by others. The price appears fair enough, but shipping to one location only may be a problem.
Tom
I know I'm a little late to this thread, but this is just an amazing build. They make TV shows out of builds like this. I'd certainly watch it! Really a stunning build!
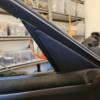
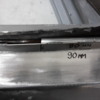
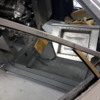
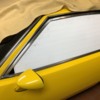
In an effort to find out what it takes to switch to single side windows I removed the thin shelf under the small sidelight and carefully built a corrugated plasic pattern for the proposed glass. It can be accomplished reasonably well if you don't object to a small black metal filler in the front lower corner (see attached). When lowereing the side window it sides forward at a greater angle than the visible angle of the widow frame, causing it to run into an obstruction that I don't to modify.
If any of you have knowledge of a better solutioon, please let me know. I like the look but I'm not sure if I want to proceed. My car is not in need of bodywork or new paint so major metal work is not in the cards.
Attachments
Looks good to me. The little metal piece is ok.
You may be correct, and I have not yet attached the plastic pattern to the lift mechanism. However, I slid the pattern down the rear track while holding it horizontal and rested it in the lowest down position. It moves forward as you indicate and just misses the box that houses the hinges. Perhaps I cheated by accident. I will attach it to the lift mechanism as soon as I form the pattern and give it the correct curve. You are doing a marvelous job with yours, so I assume you have pushed toward the front as much as possible, but you are using the left-over triangle for the mirror, something I don't want to do as my mirrors are set for now.
Thank you
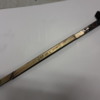
OK, here is a revised analysis of my attempt to build single side glass for my Pantera. kimk was correct, my first pattern was too large and won't fit. I continued to trim the pattern until it was able to move it up and down freely when attached to the lift mechanism. I also shaved the rear edge of the pattern because the rear post and window guide angle changes once inside the door. The front corner of the glass has to be held approximately 1-3/4" short of the corner created by the SS window trim. That empty triangle, could be filled in by a 2' deep, lined triangular black metal cup which allows the glass to slide forward as the window is lowered. My next step is to build plexiglass windows and deliberate my decisions. If that works and is to my liking, I'll look at glass. Sometimes the excitement of the moment needs time to mature into a sound decision.
Attachments
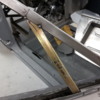
With a small amount of additional shaving, I believe I've come up with a side window glass pattern that works for a single panel of glass. currently I am using corrugated plastic that's very close to the stock glass thickness and bent it to the same curve as the glass. It's attached to the lift mechanism, and it moves up and down freely.
As shown in the image above, the small triangular opening needs to be filled with a black metal filler chanel that reaches down into the door to serve as a guide for the front edge of the glass as it drops down into the door. This channel should attach neatly to the inside of the window frame. So far, I've done nothing that's not reversable to stock.
The next step is to fabricate the same in plexiglass.


