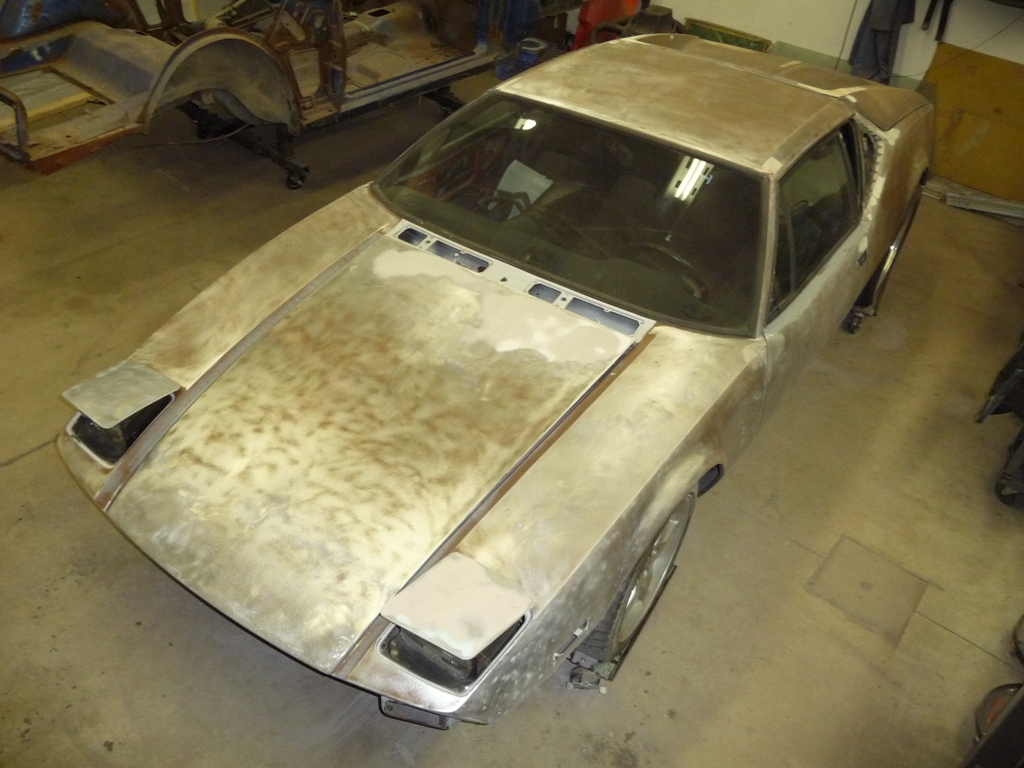
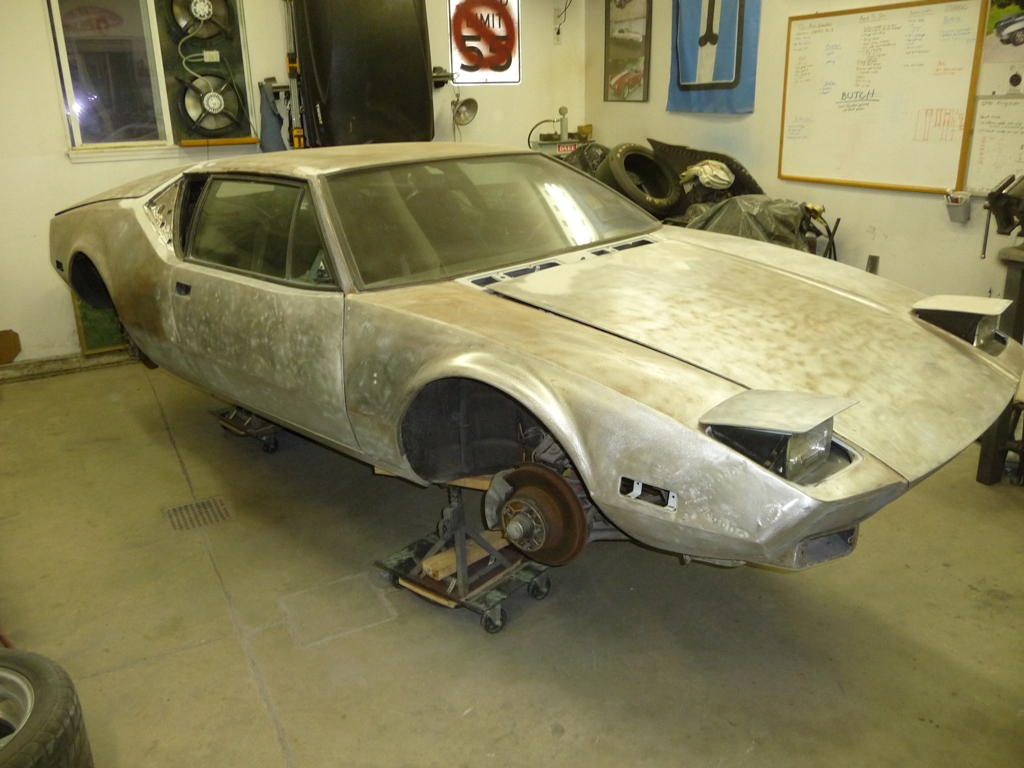
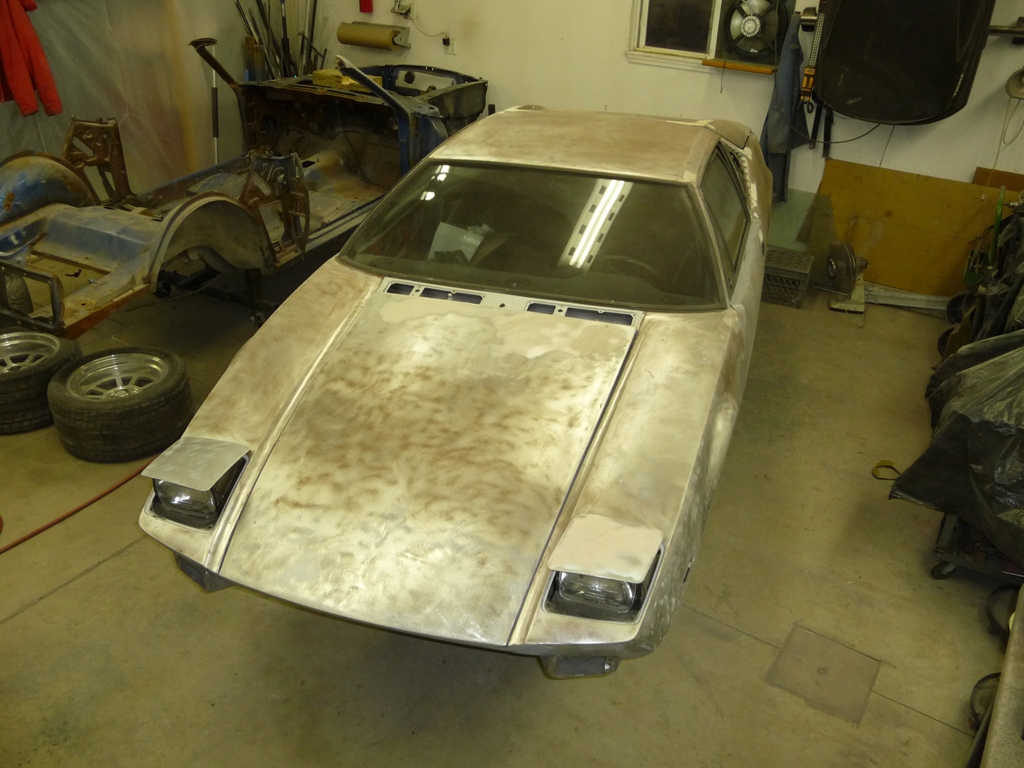
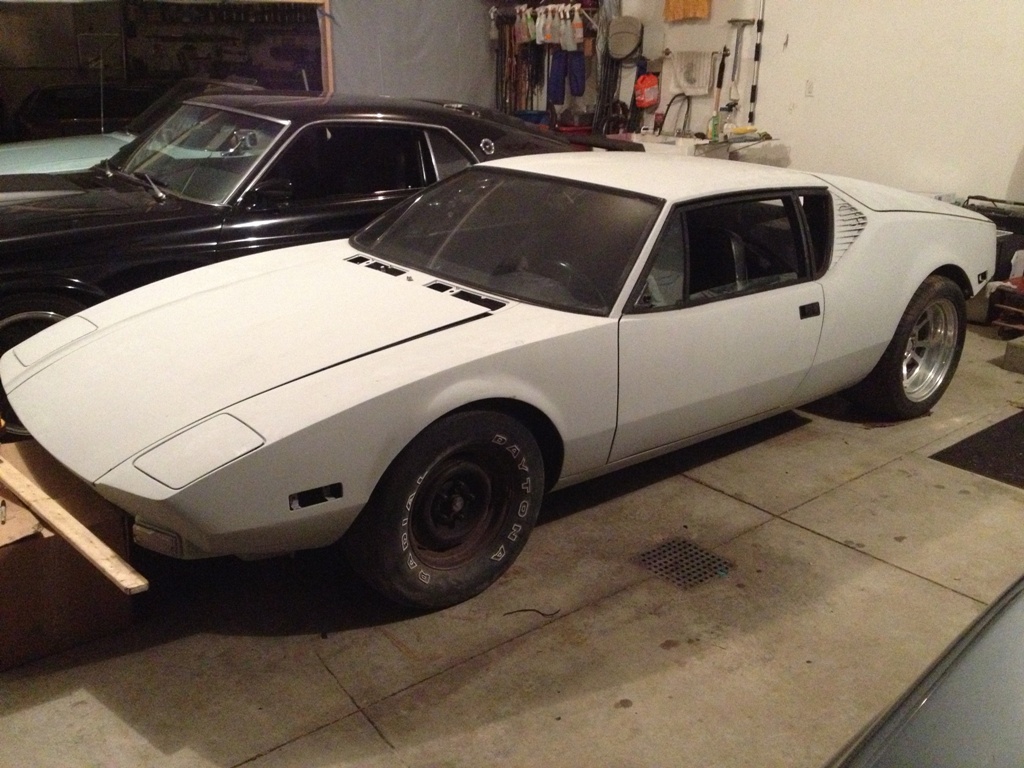
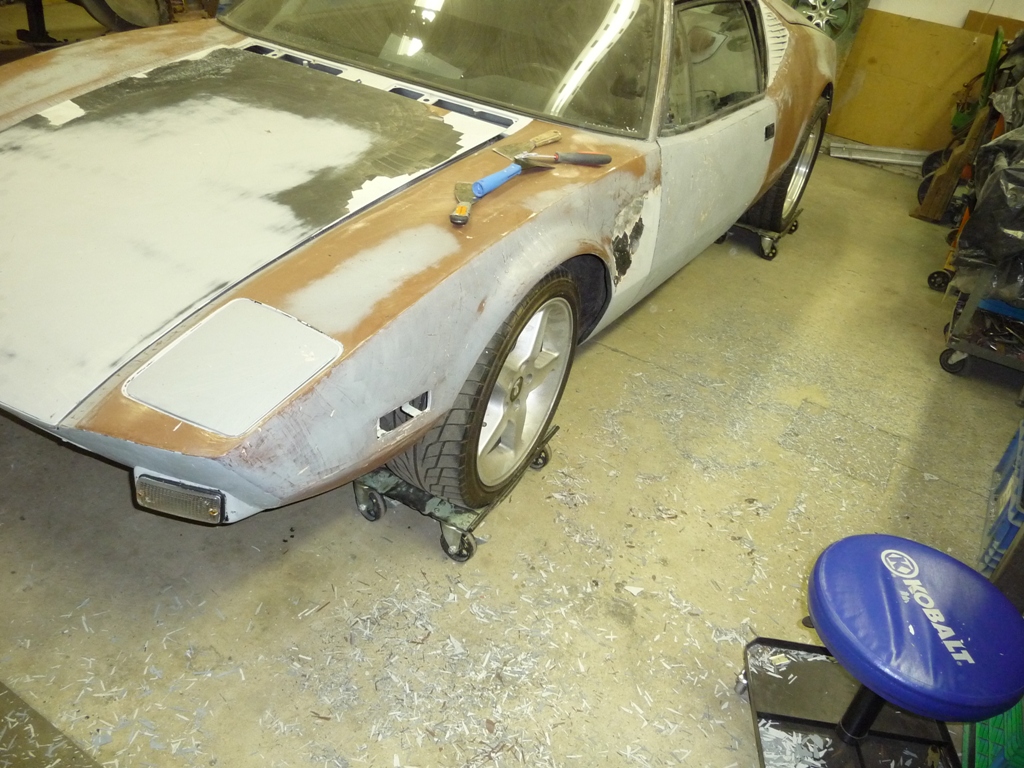
Summer is over...toys are put away...kids are back in school...time to get on a project. This winter I'm going to jump 6001 into the line up, as I'm getting a bit bummed I don't have a Pantera to actually drive. Since 4042 is quite a way away from driving condition, and 6001 is ugly...but very drive-able.....I'm going to do her body work and put her in black primer/sealer. I'll drive her with the flat black look until I finish 4042. Then...I'll put 6001 back into the shop for a proper restoration. So, this will ... I guess..be chapter 1 of 6001 restoration.
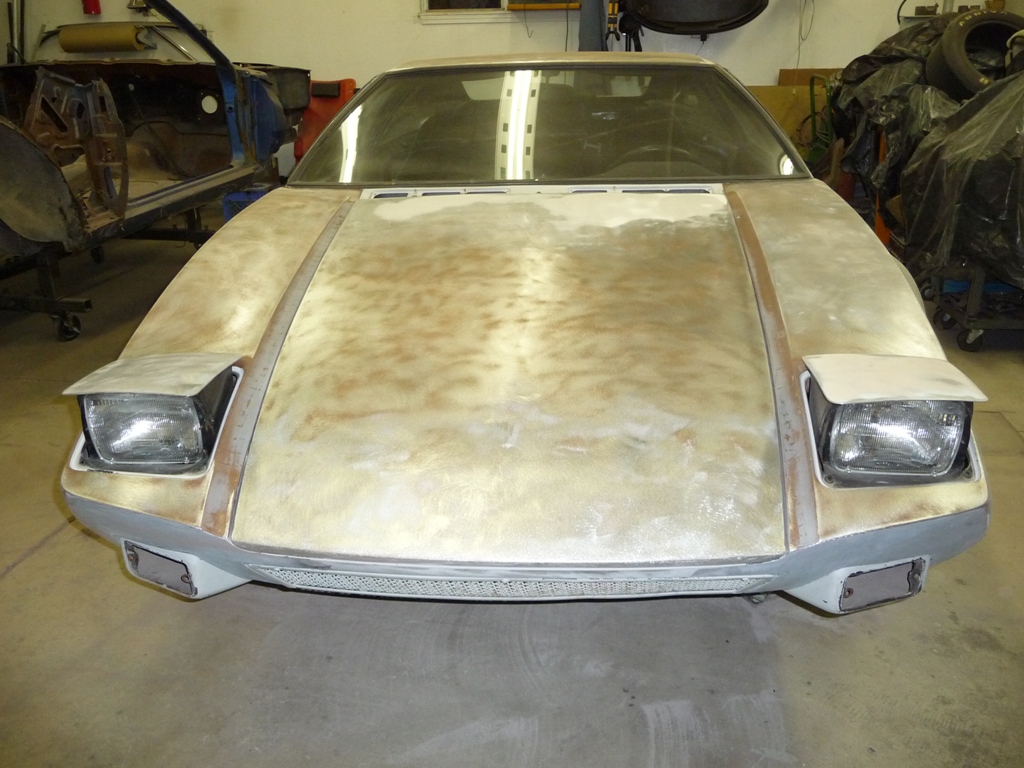
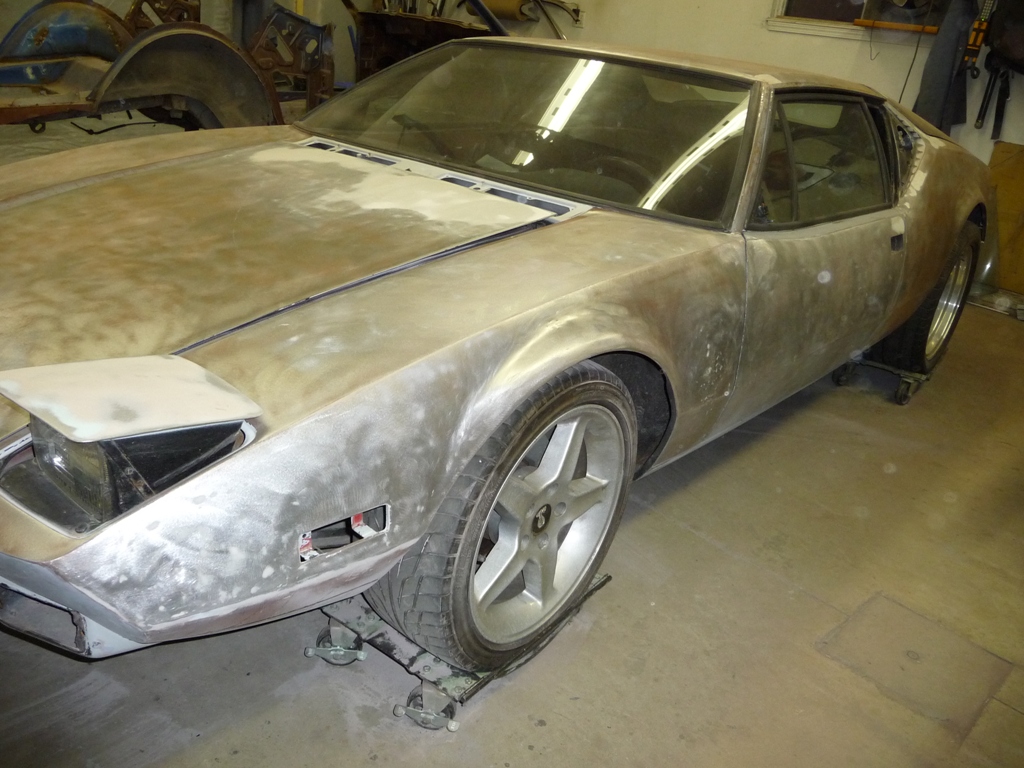
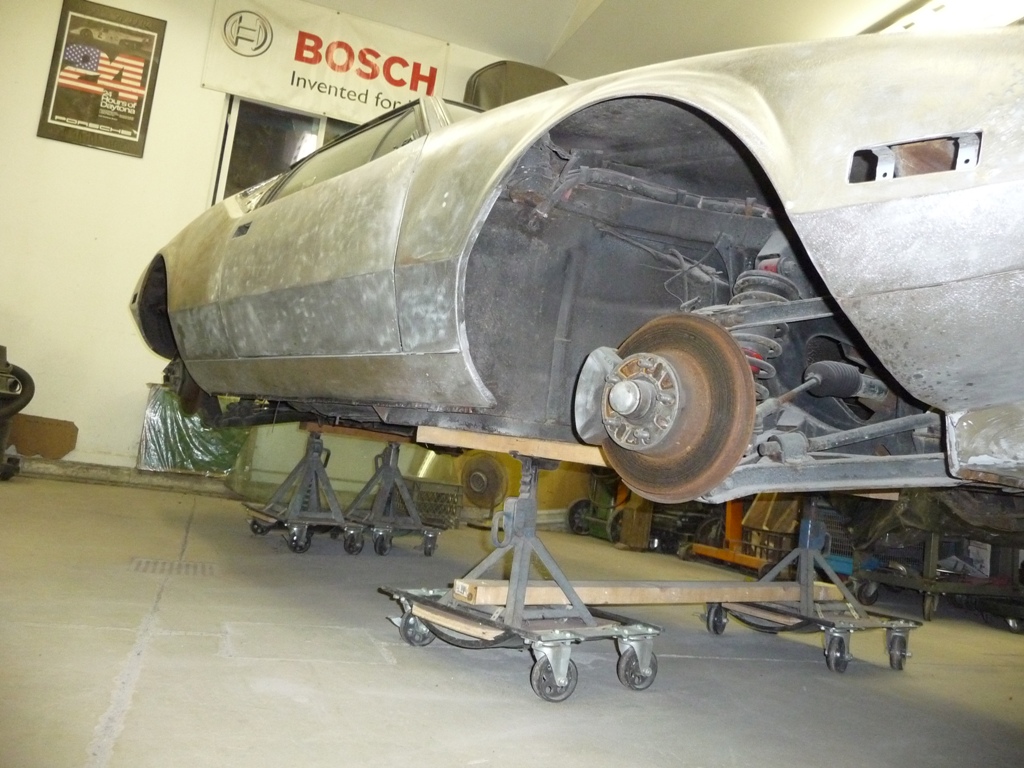
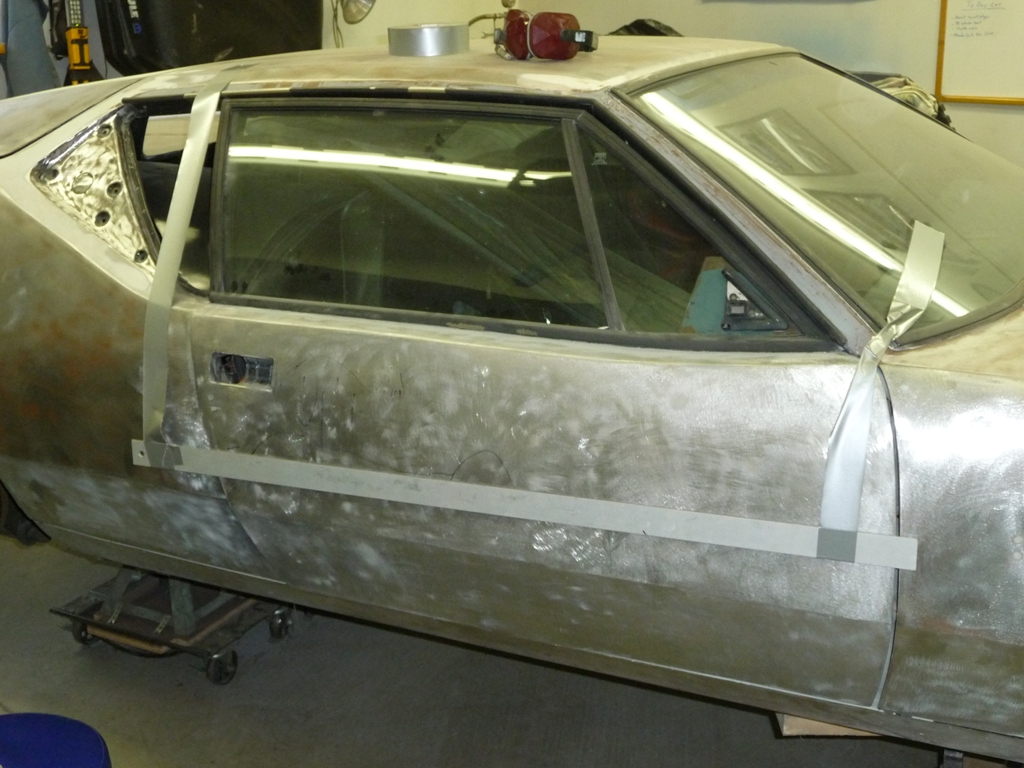
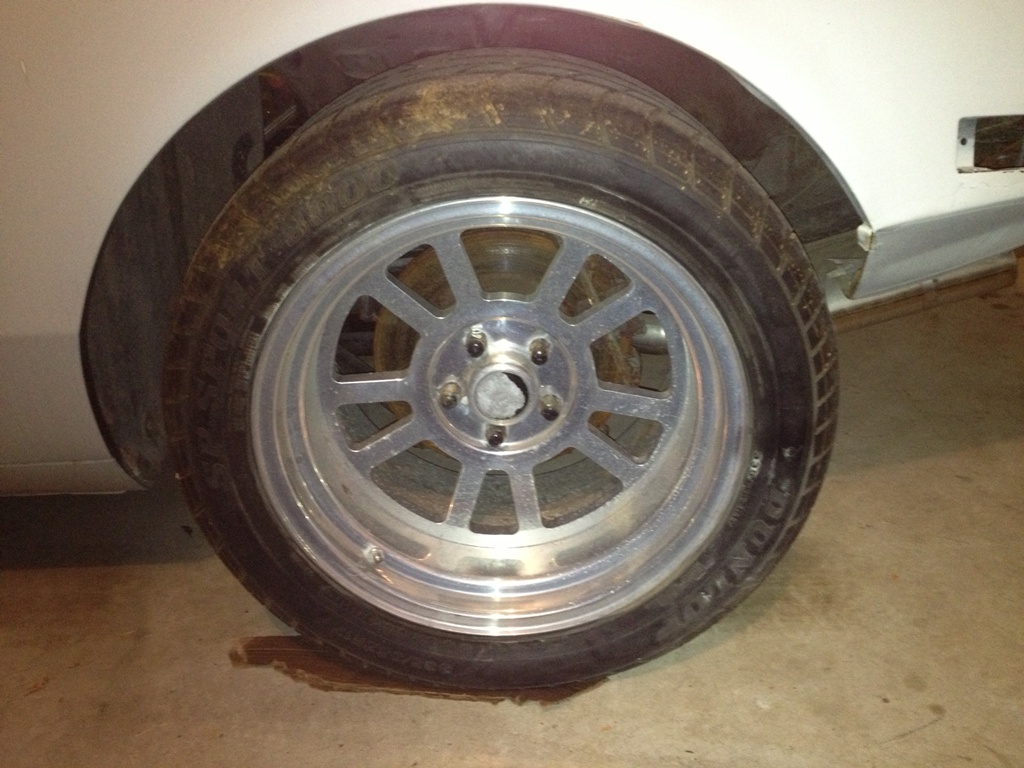
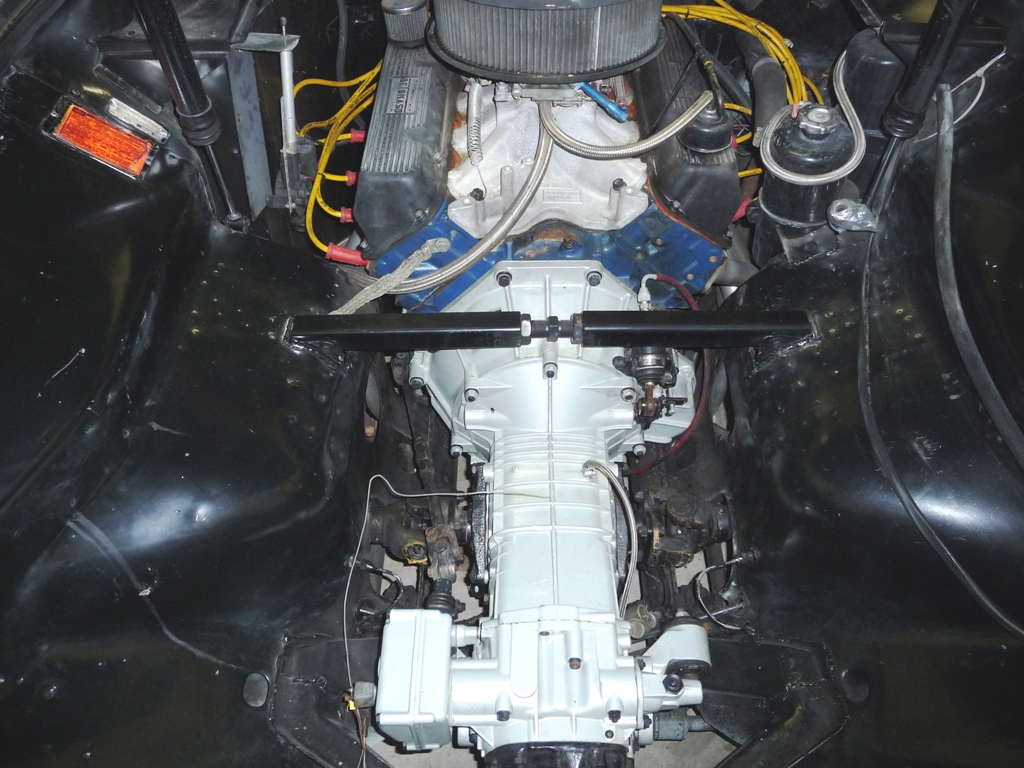
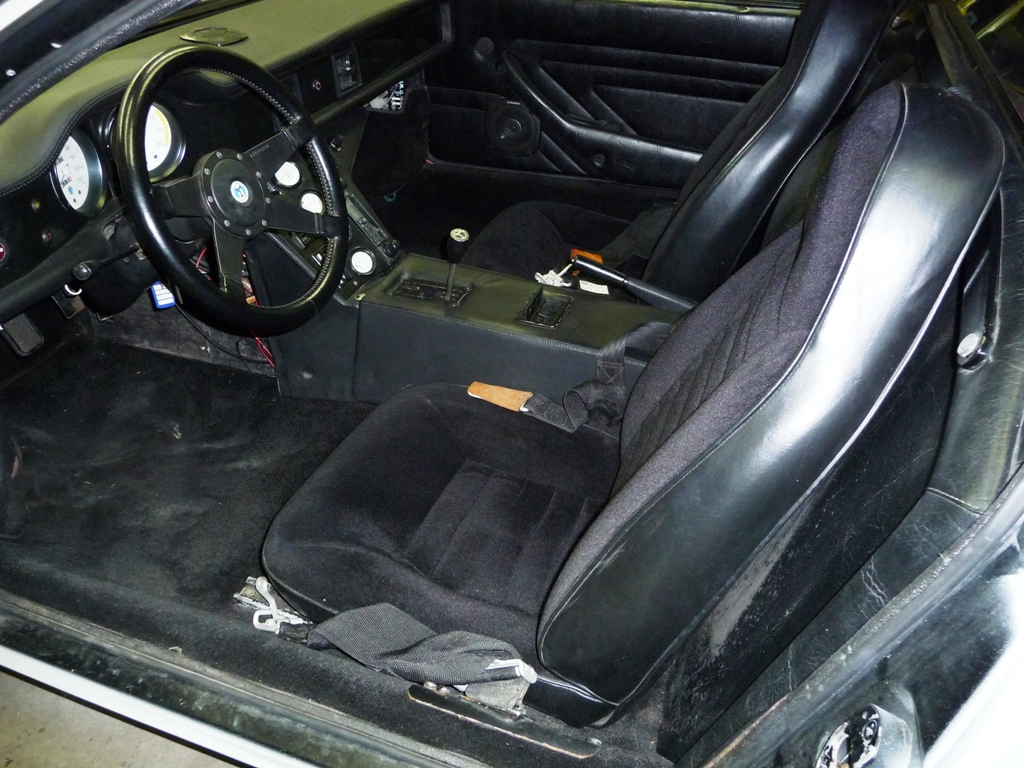
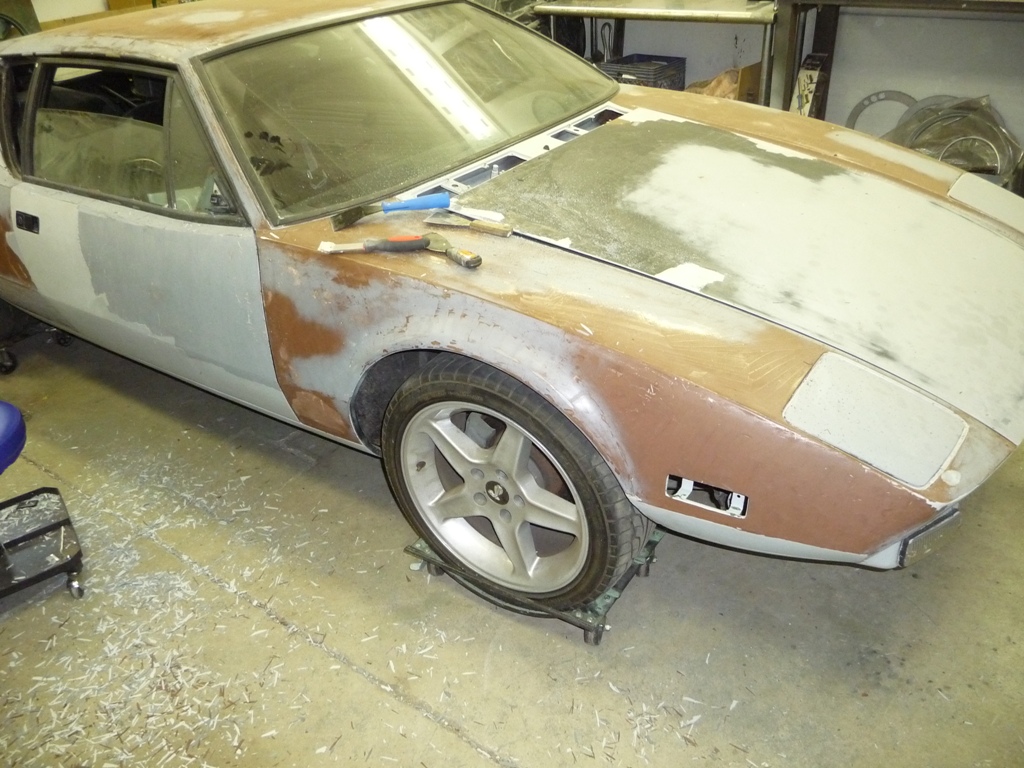
She's a solid car, with a stout motor, decent interior, nice set of wheels (though quite weathered and needing love), but the paint is quite bad. She was in grey primer when I purchased her as shown here.

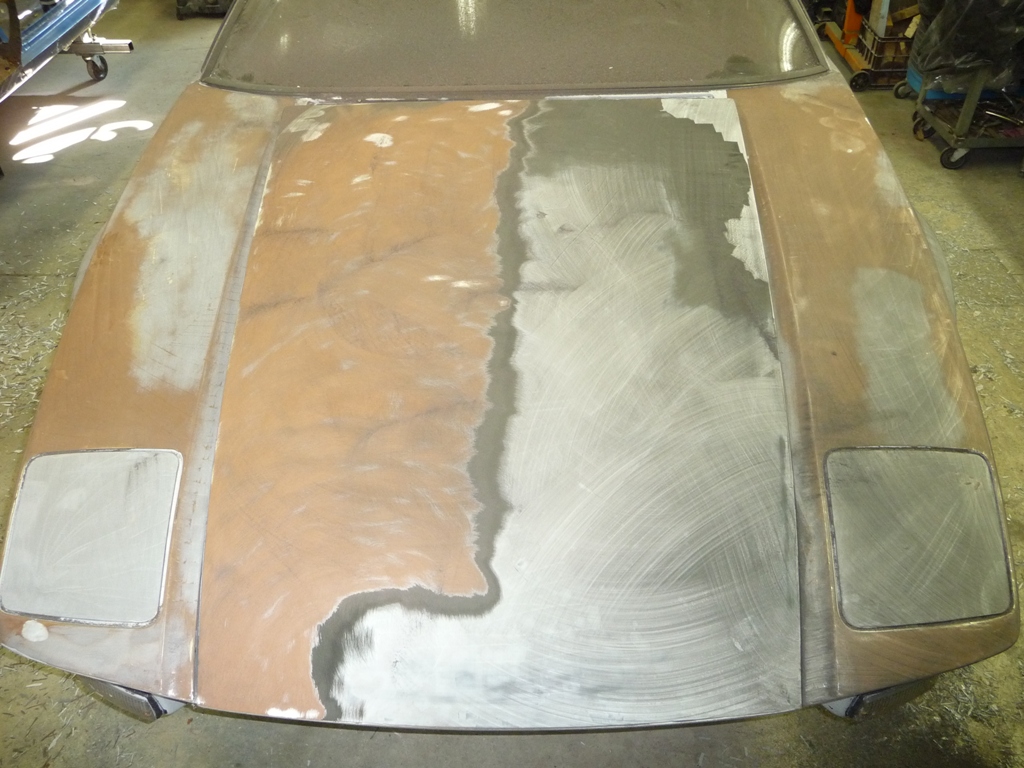
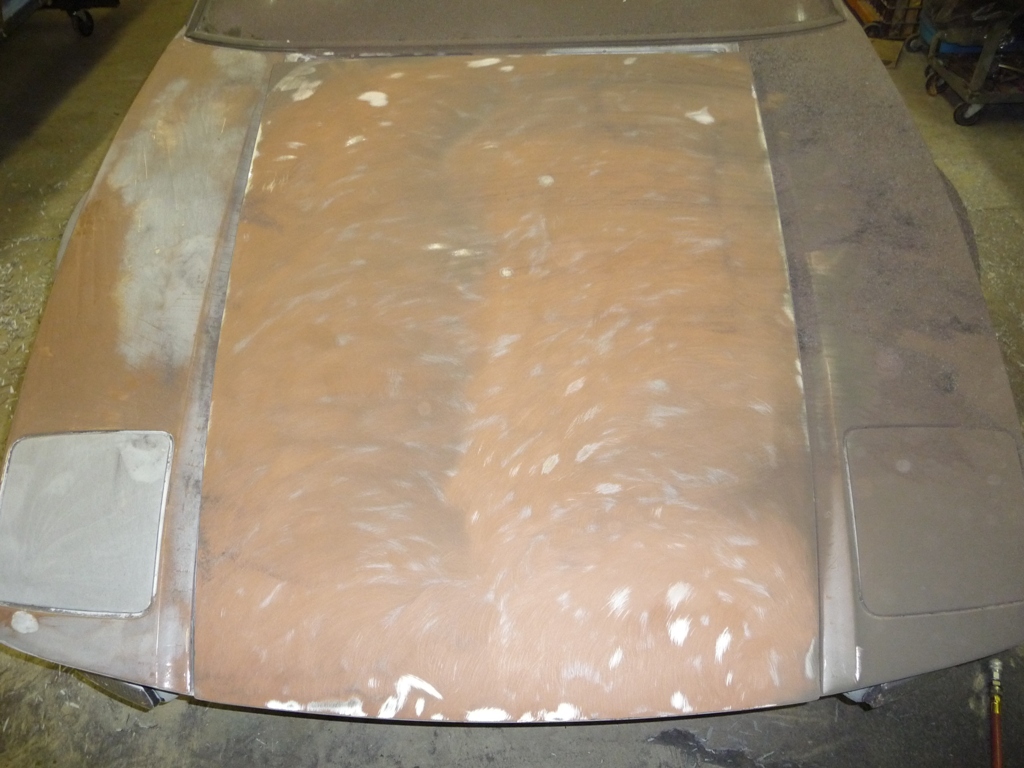
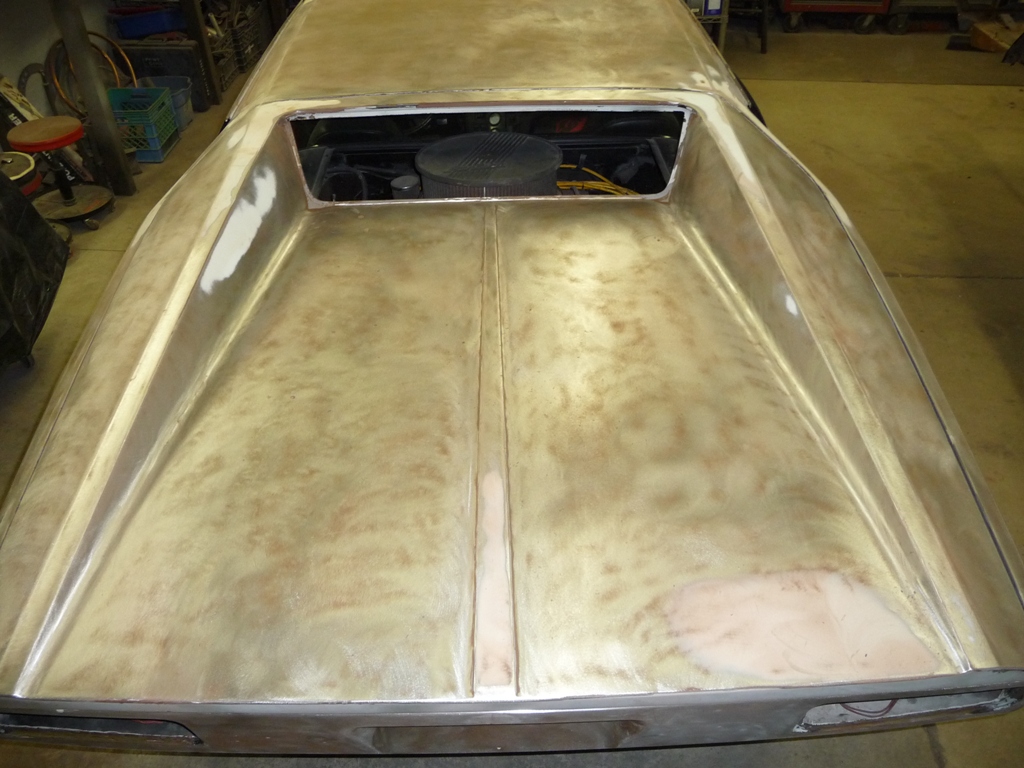
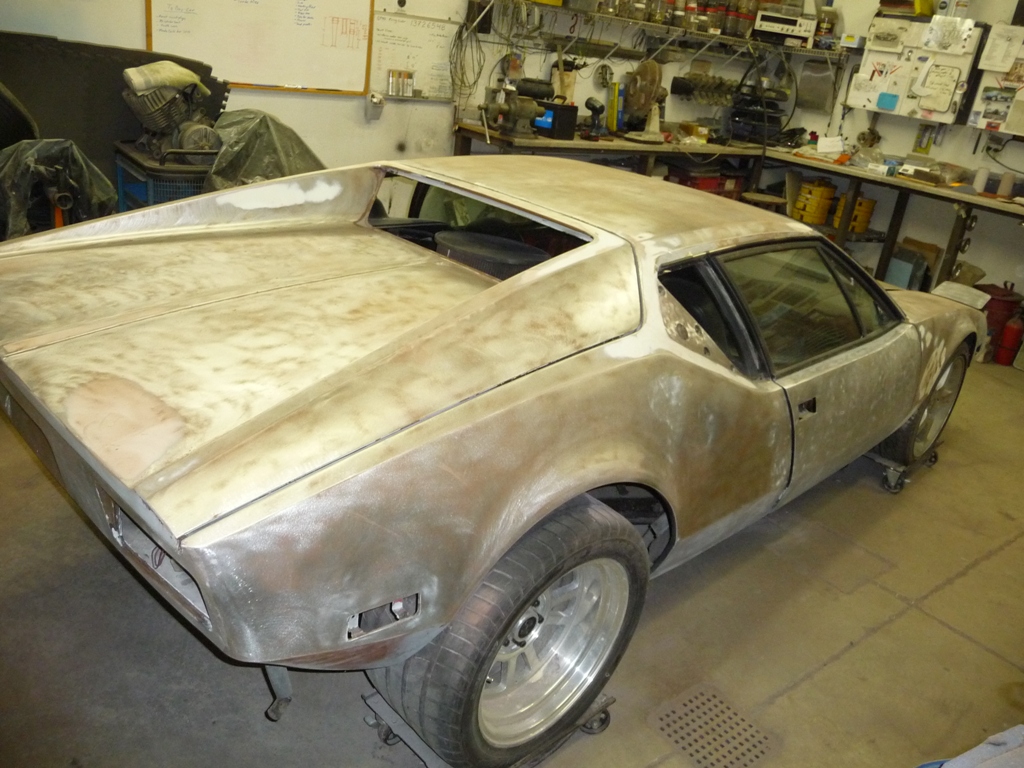
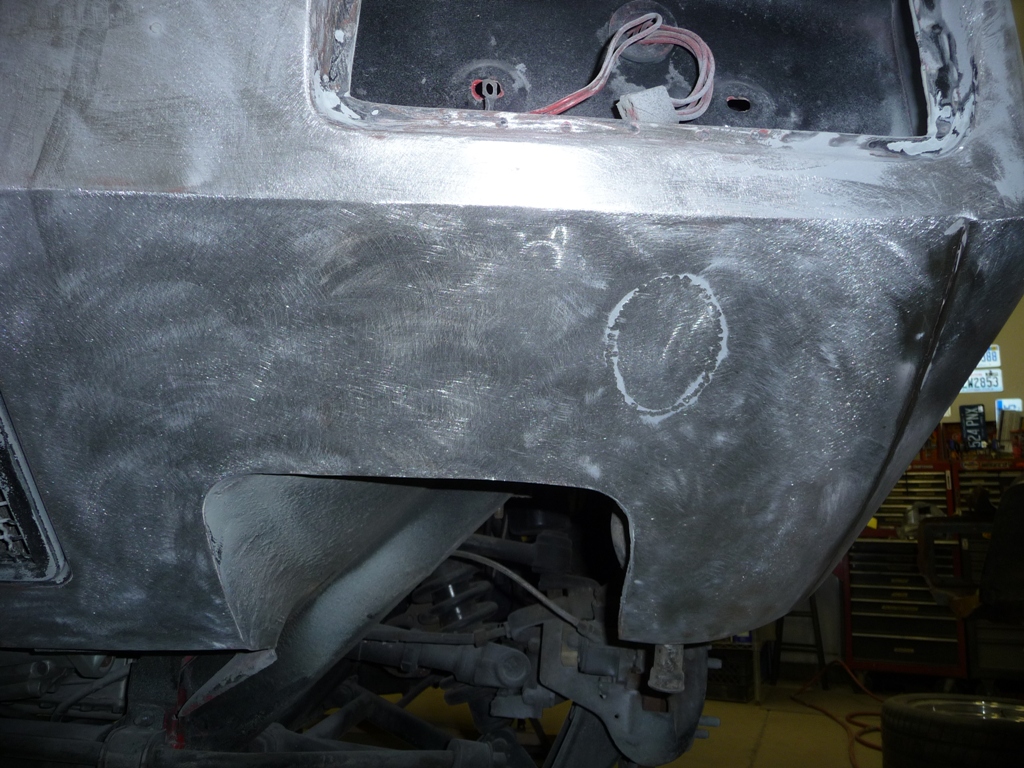
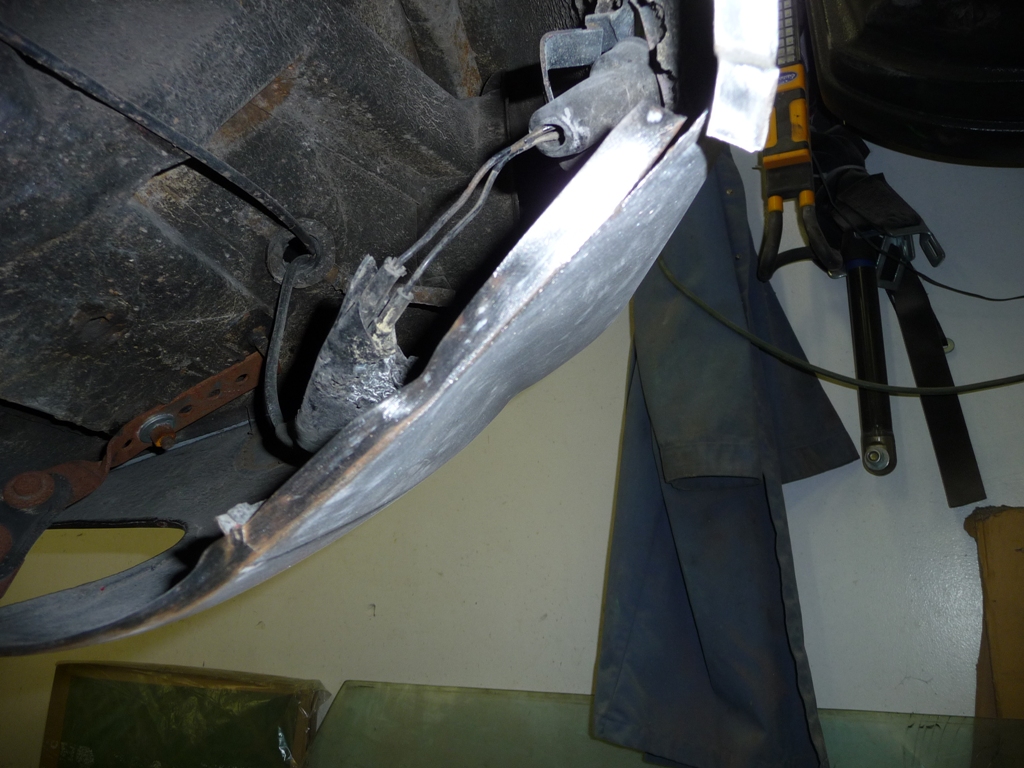
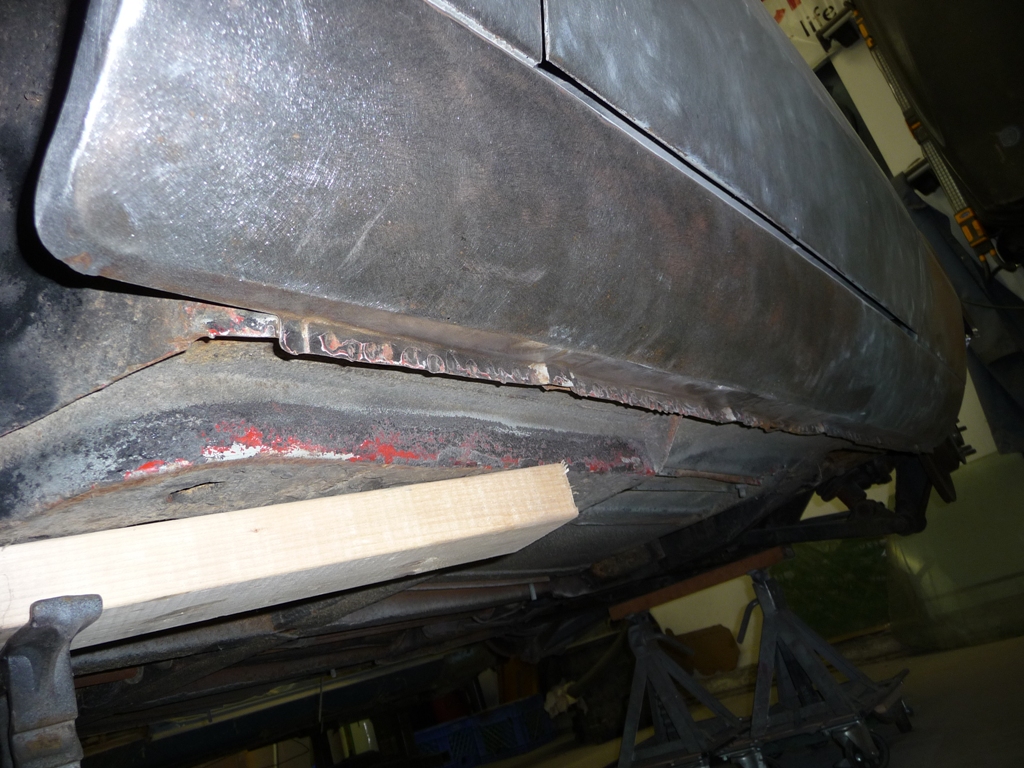
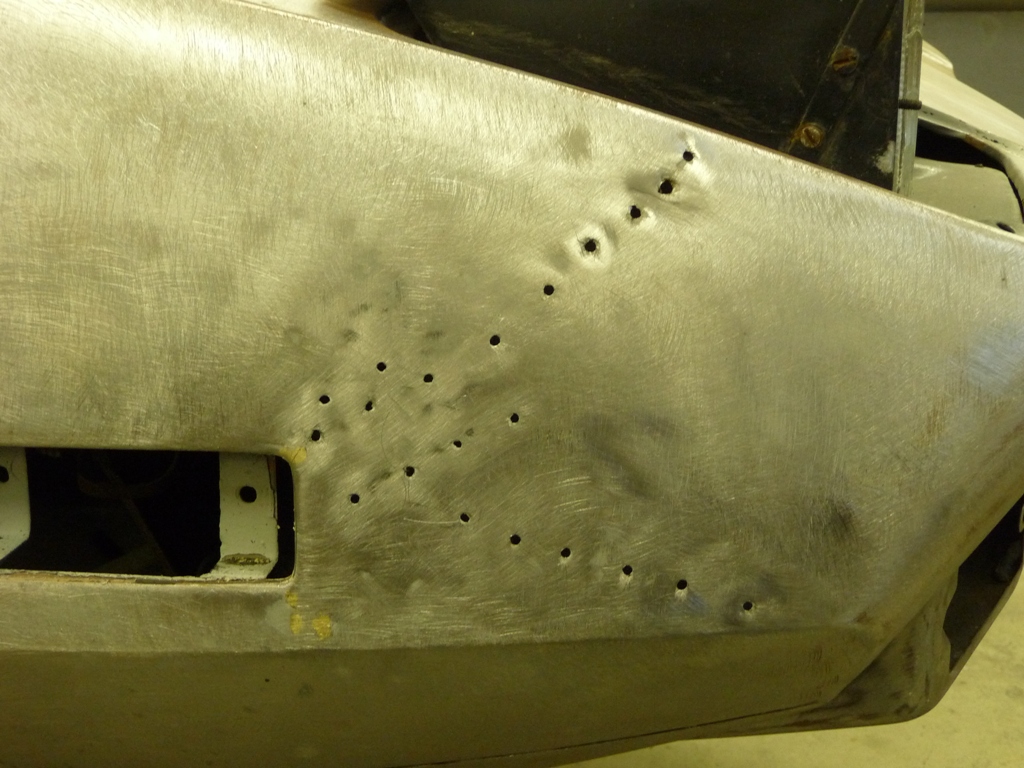
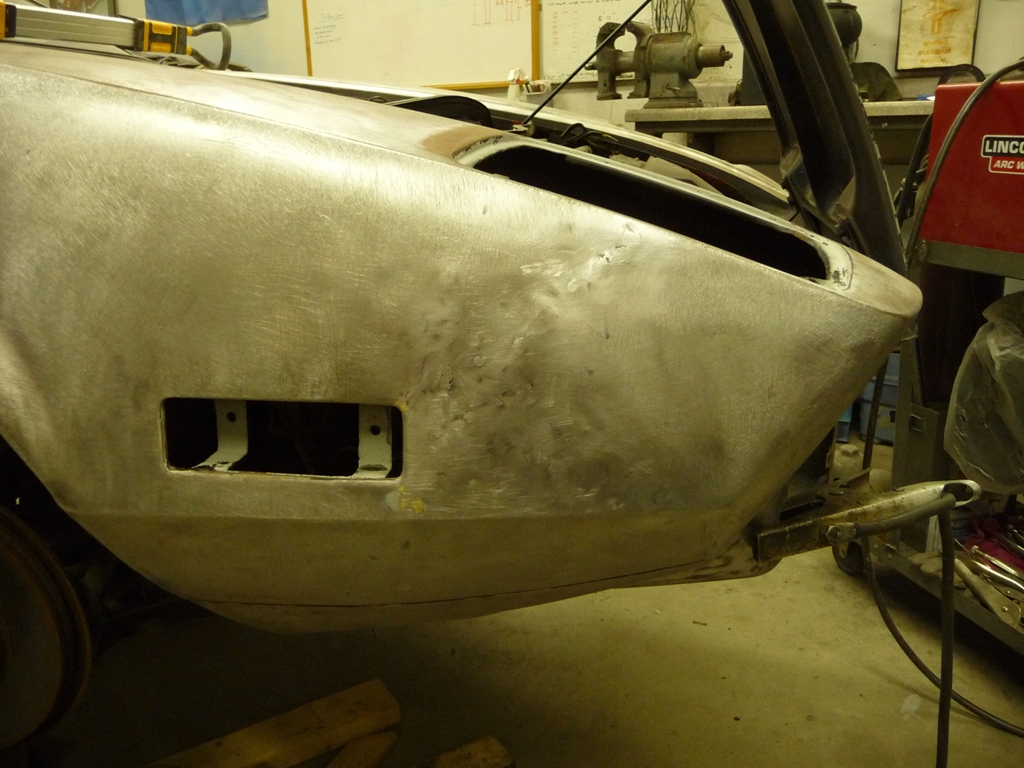
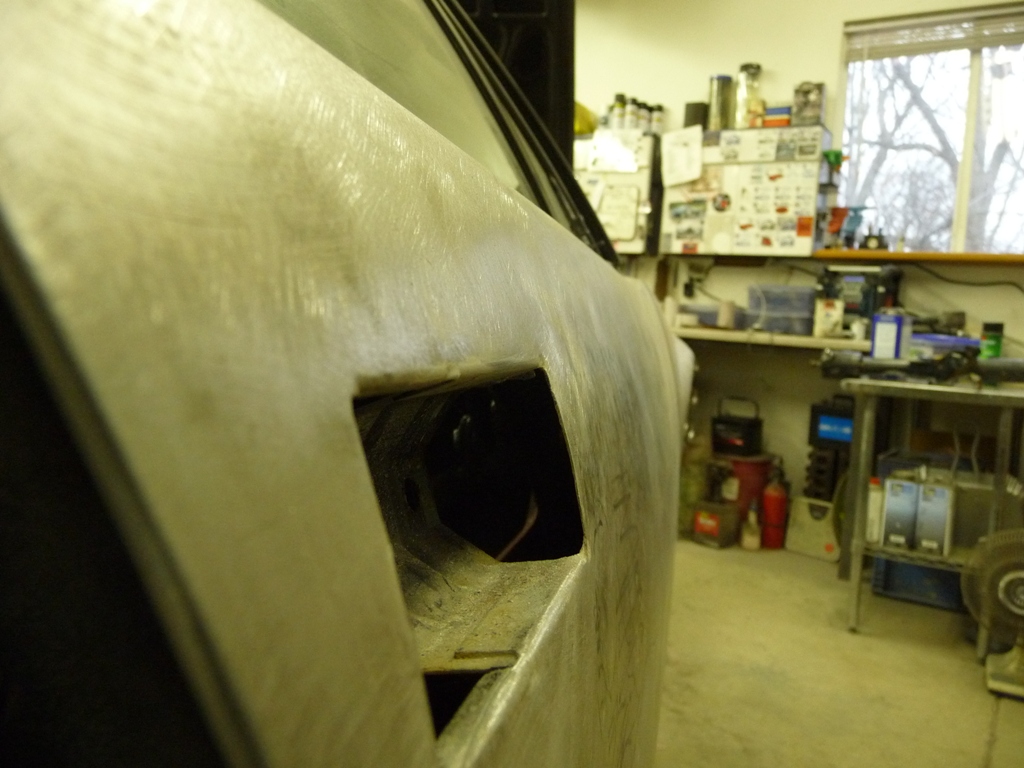
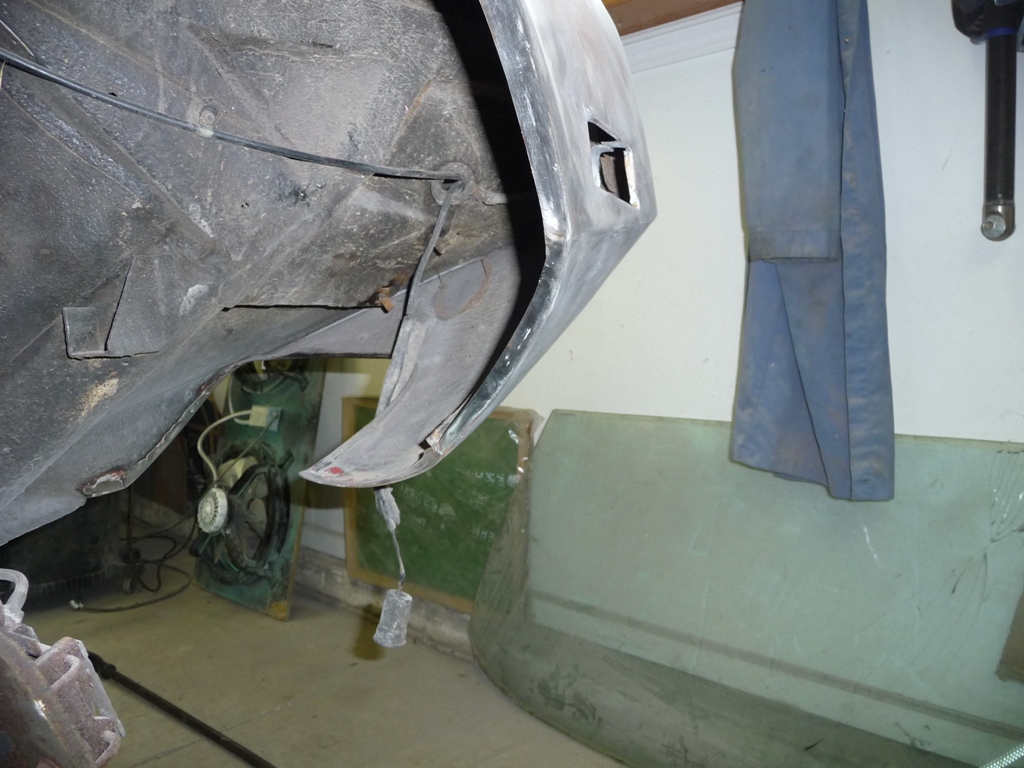
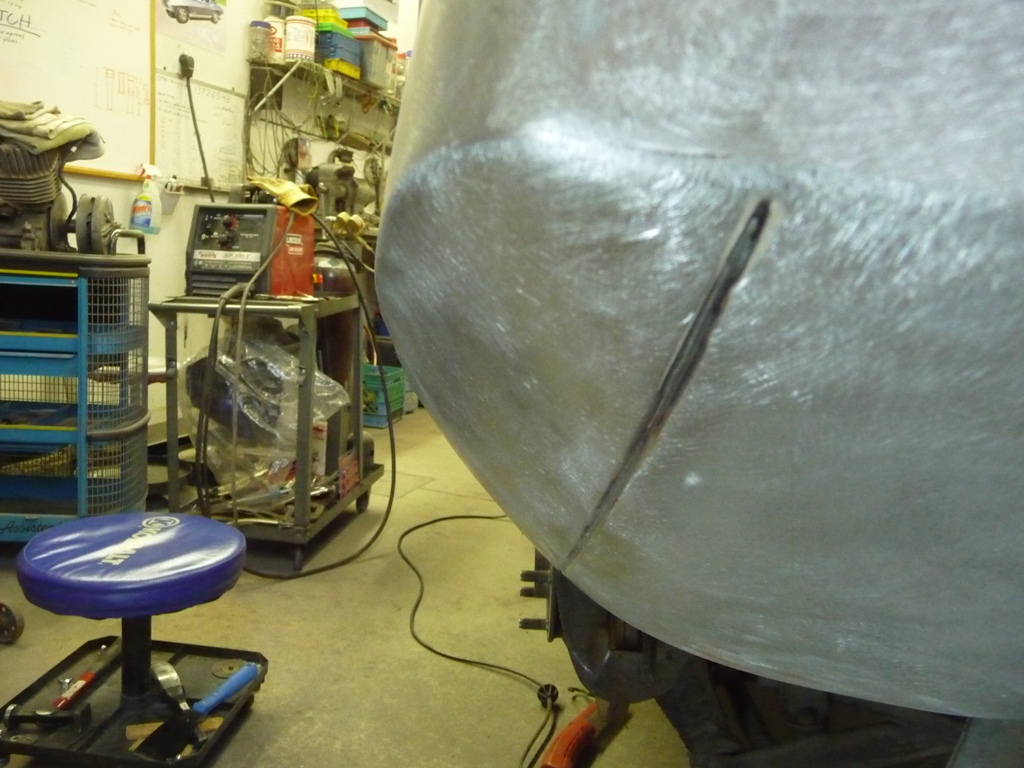
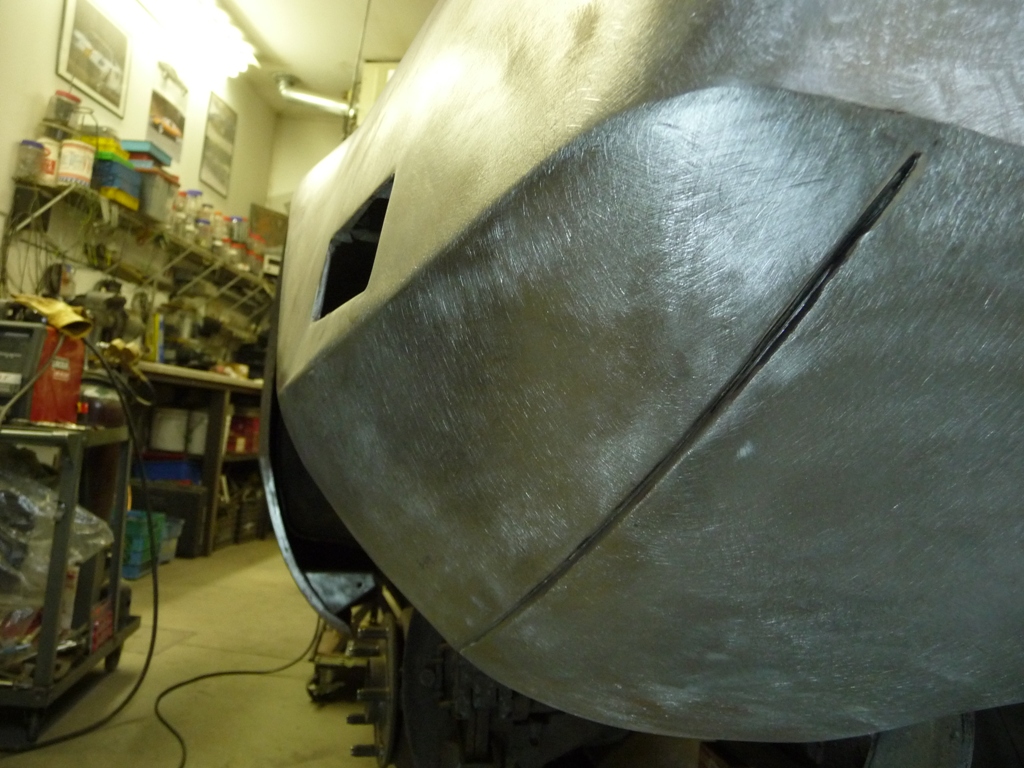
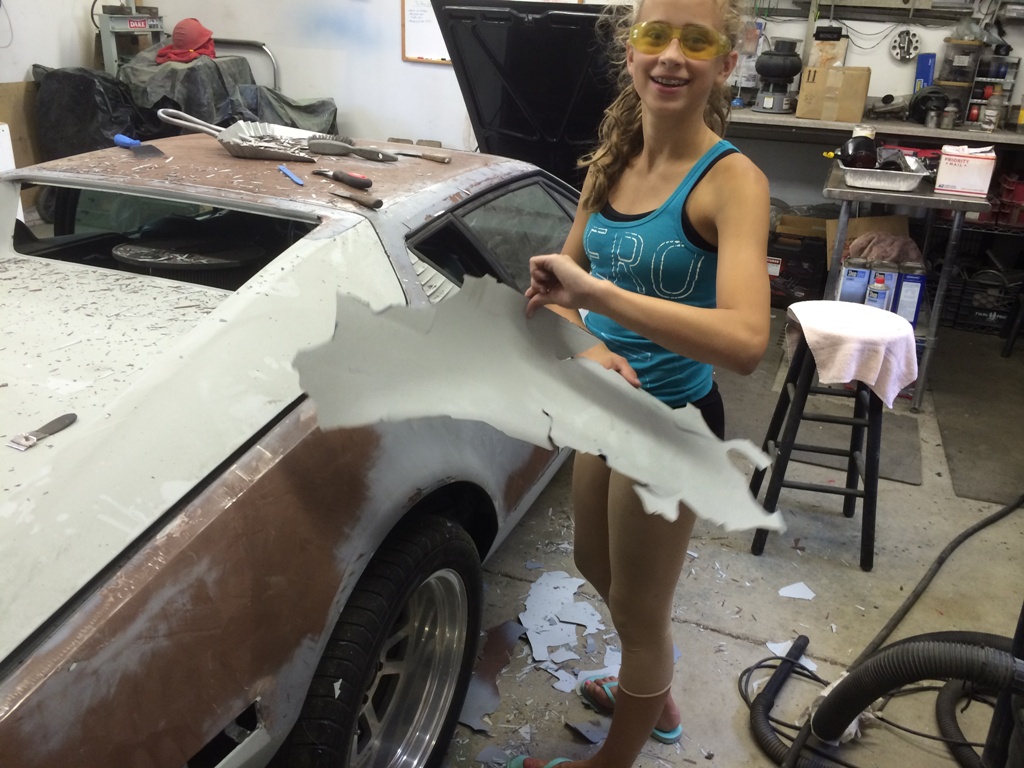
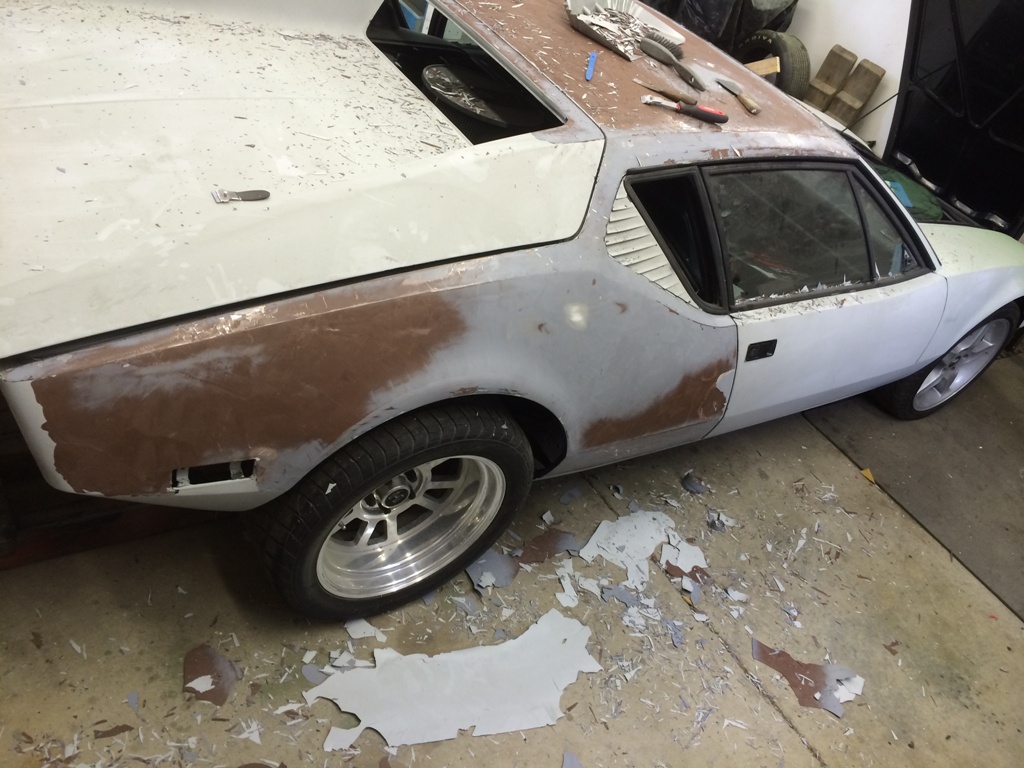
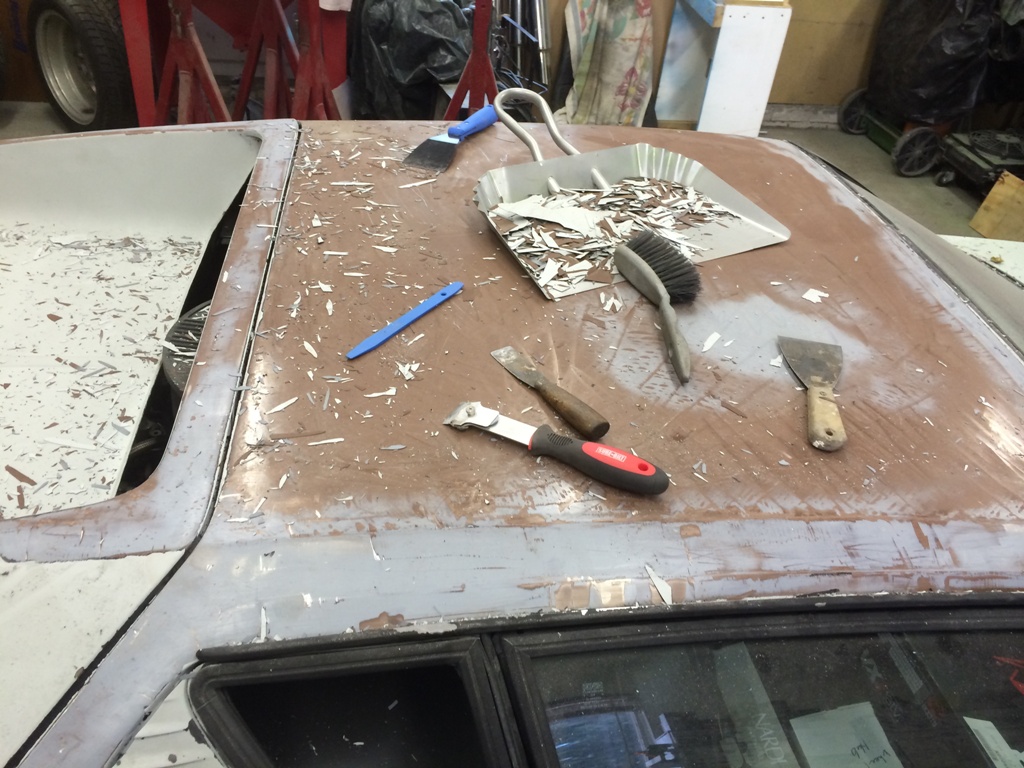
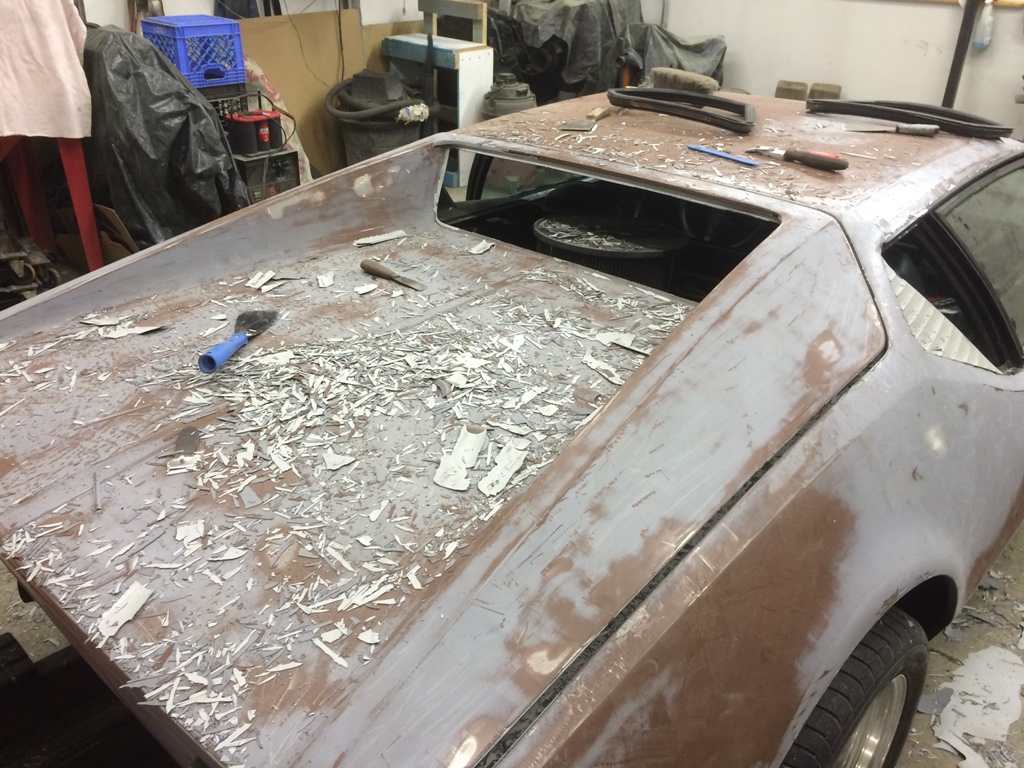
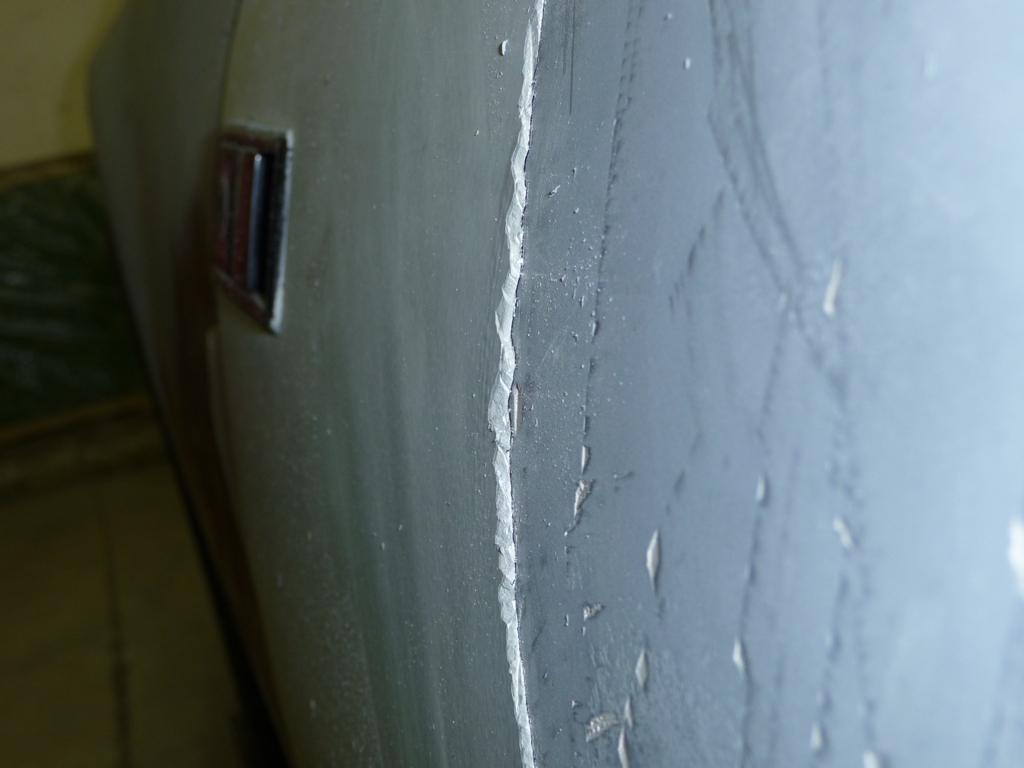
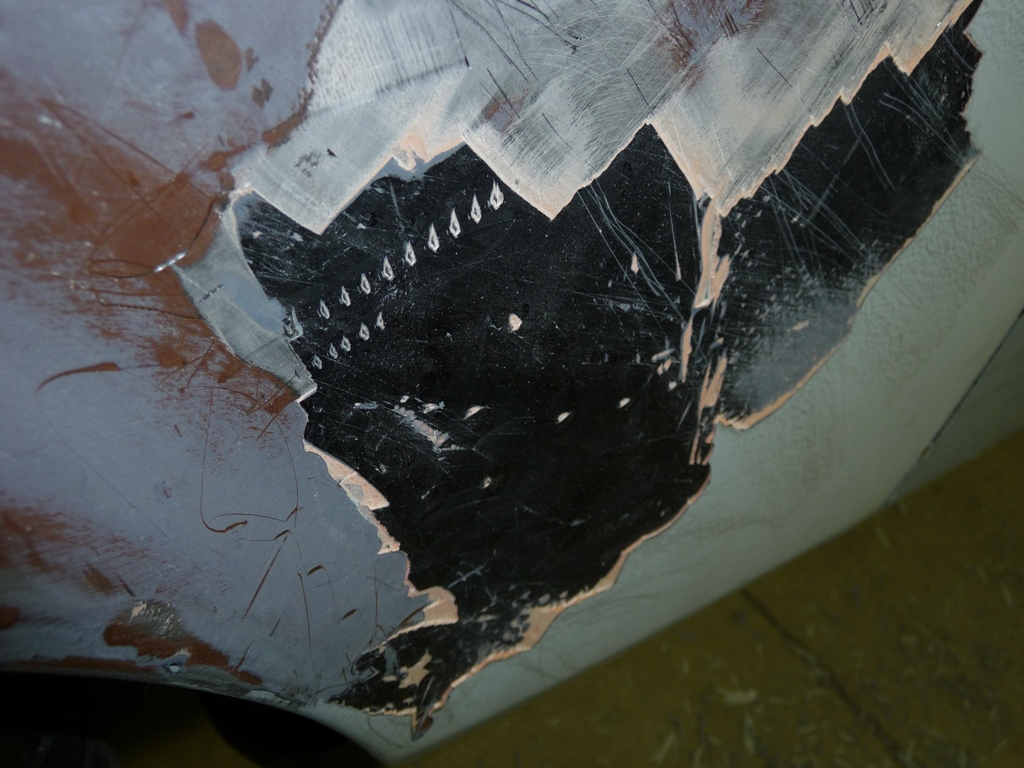
My minion and I have spent a few hours scraping paint off, and have found some interesting prep and paint work along the way..... The prep work was unbelievably terrible. There were areas we were able to separate the paint and primer and peel it off in big sections.
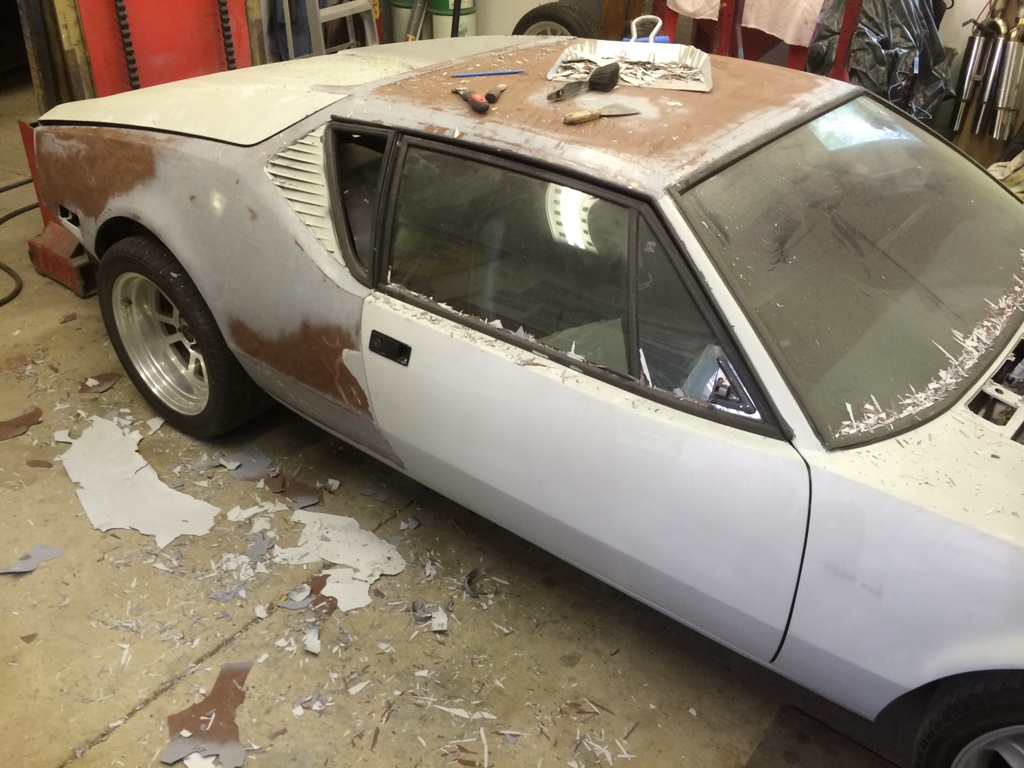
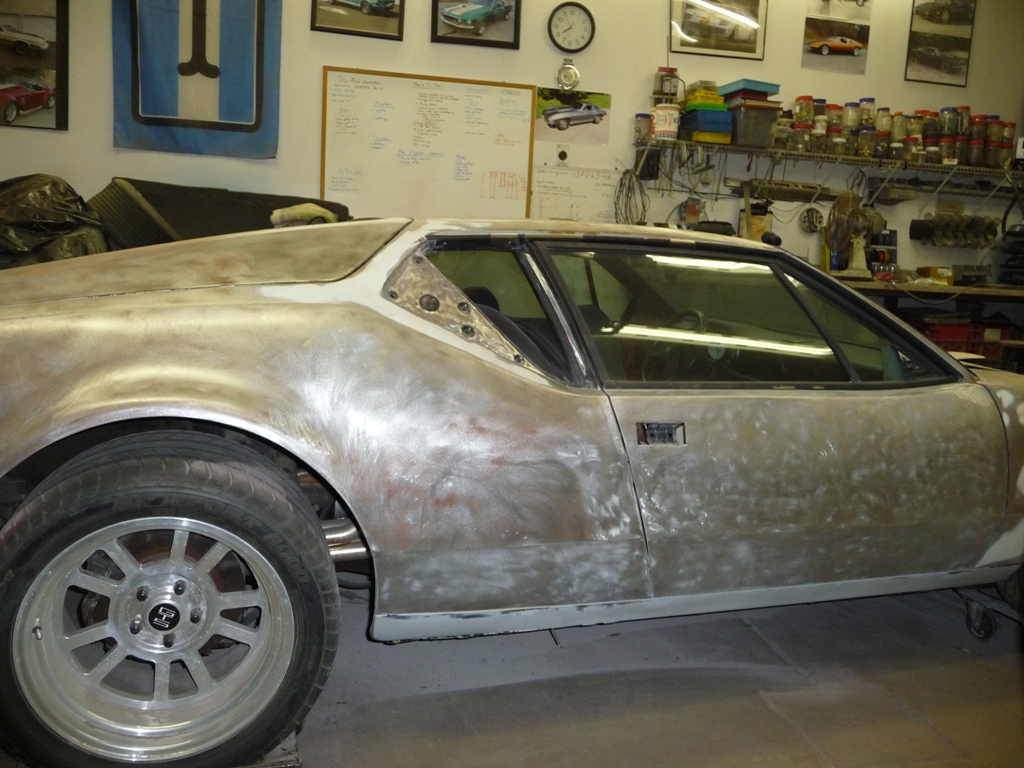
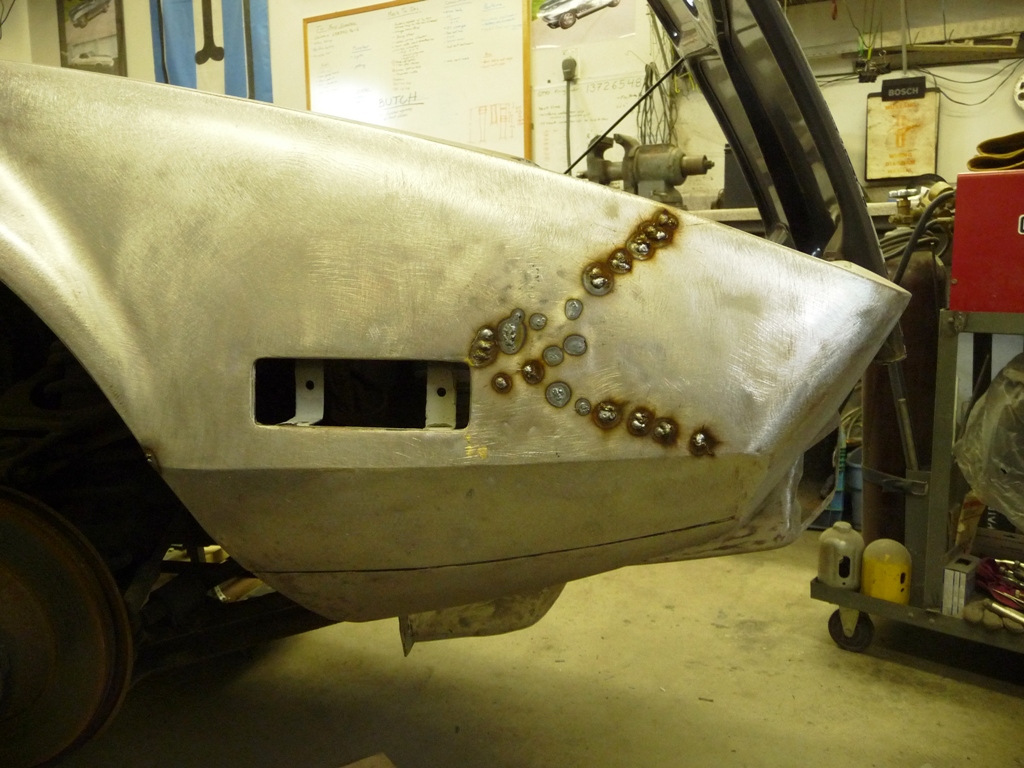
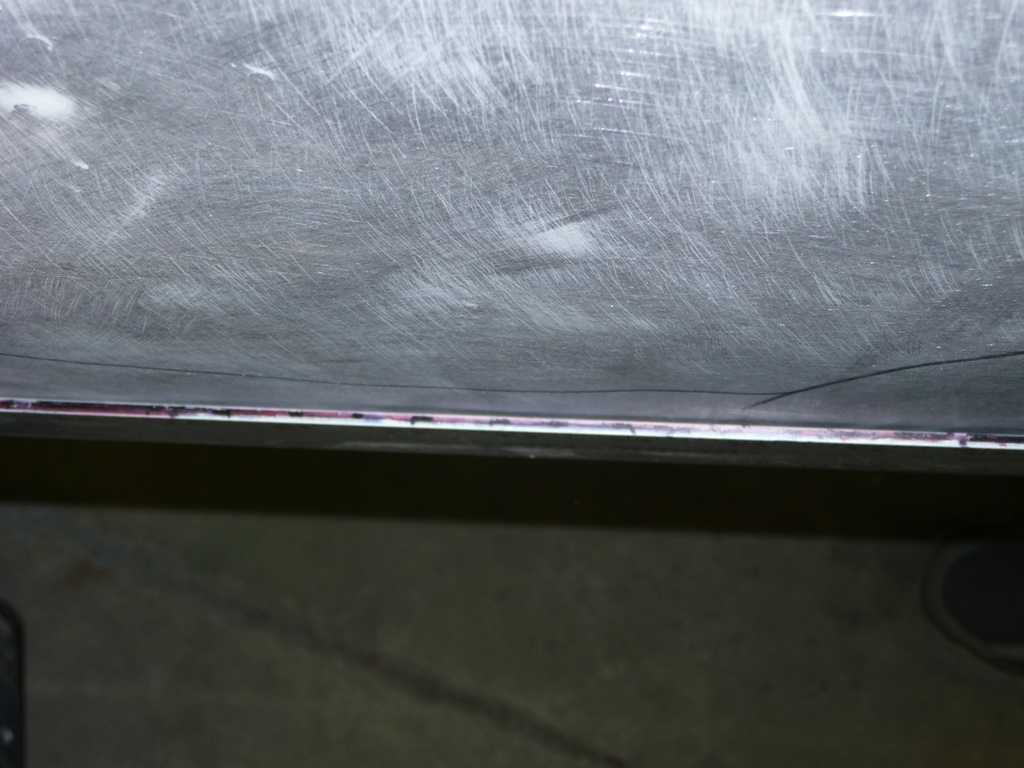
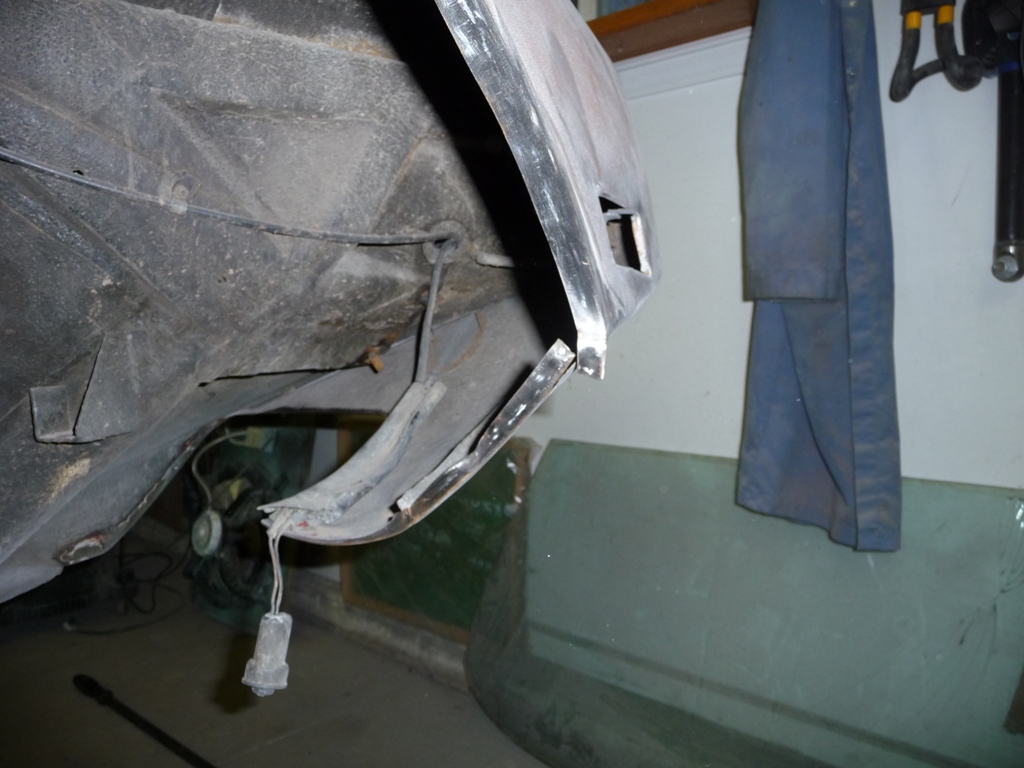
Found a section on the passenger door that had primer which was about an 1/8" thick. I didn't know it was possible to spray it so thick...???
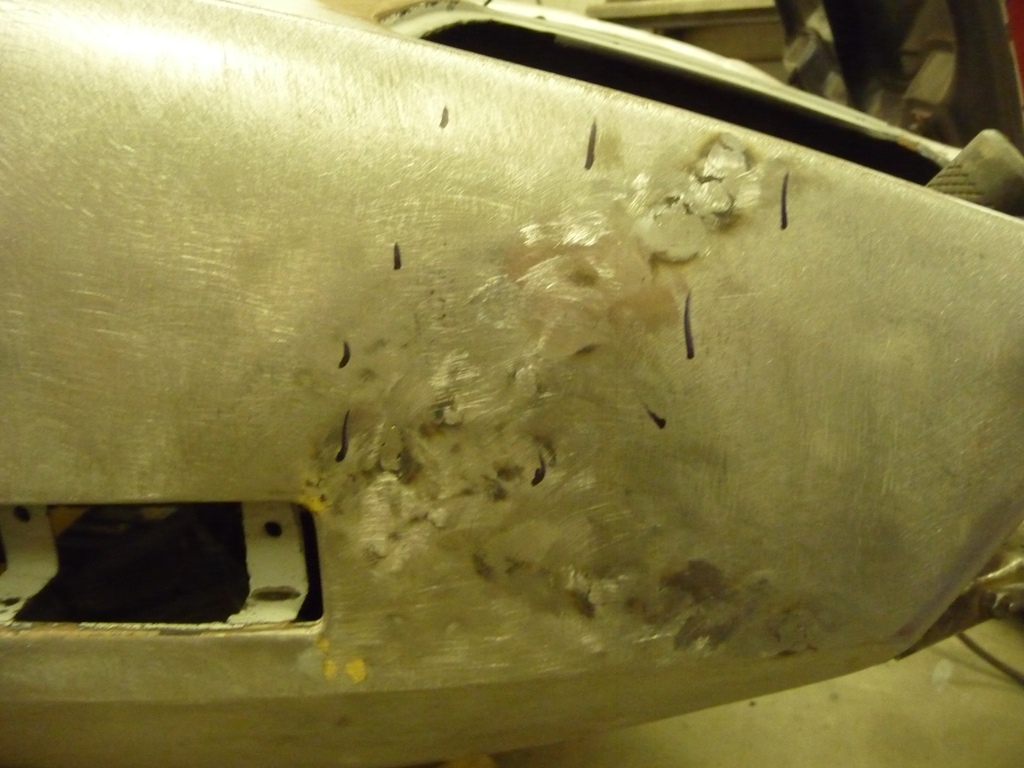
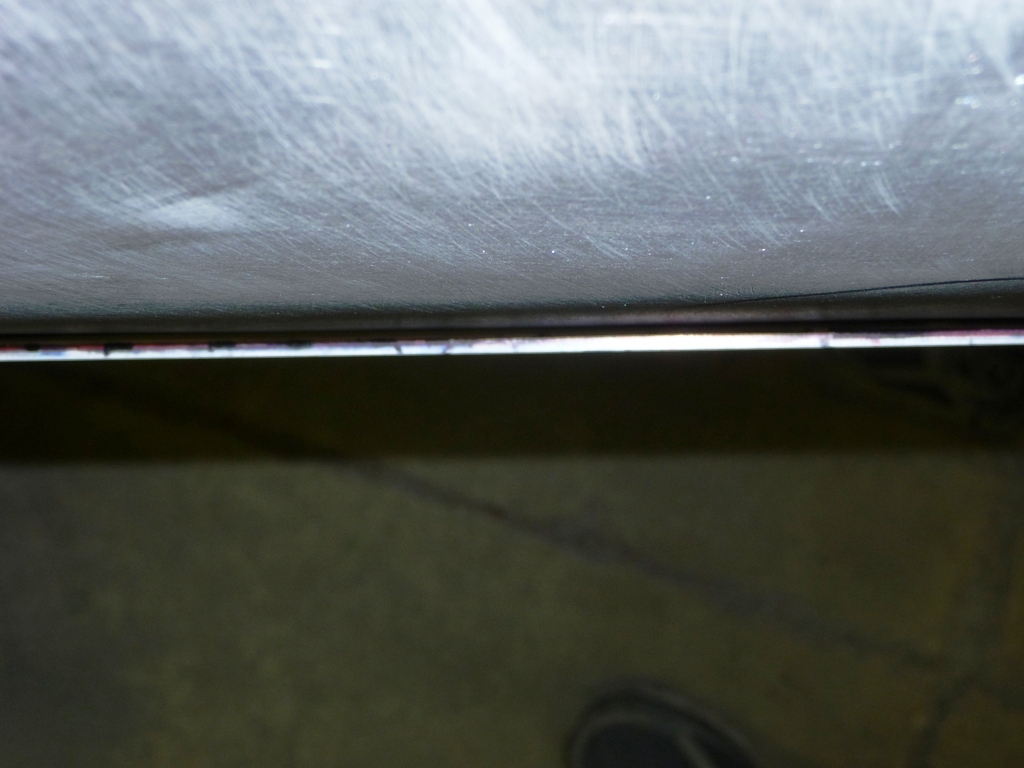
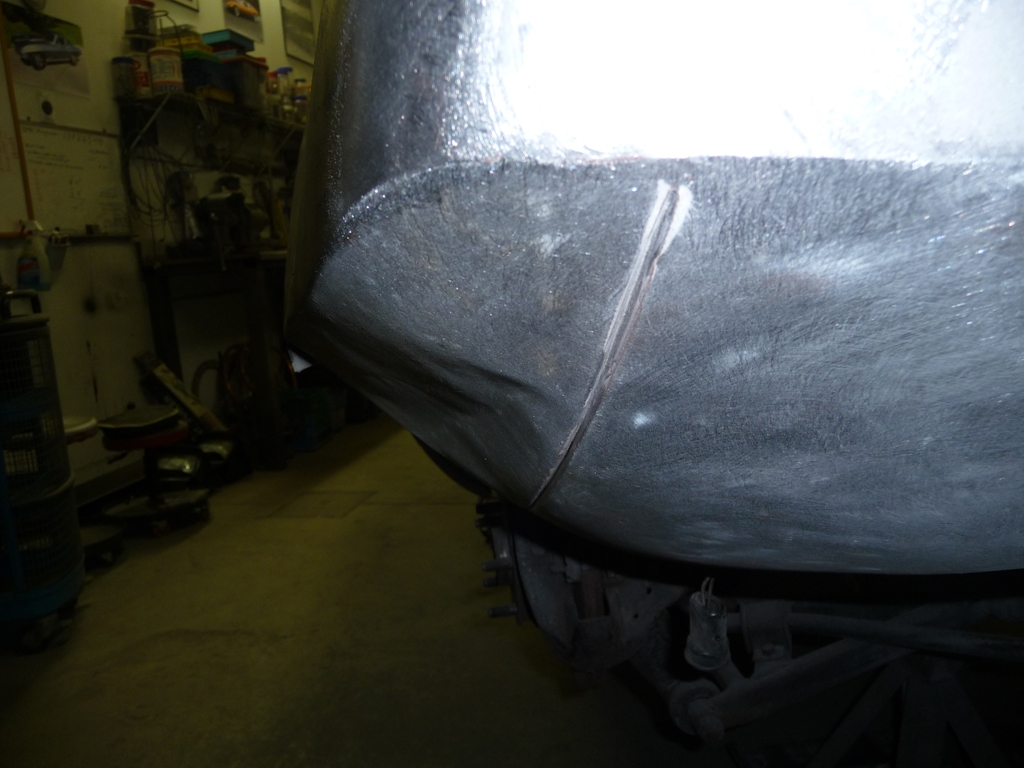
Found one area where there was gloss paint under some body filler...
I think I've done as much scraping as is feasible at this point. Will start with the DA sander in the morning.