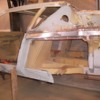
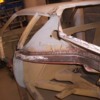
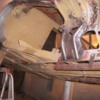
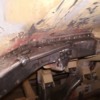
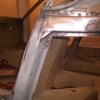
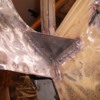
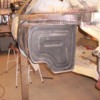
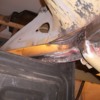
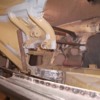
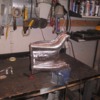
Does 1267 have similar gusseting in the rear suspension mount area too?
Would you share some photos of how that was done?
Not sure how gusseting of the early hand rear work would apply to the production stamped tubs though.
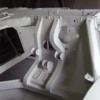
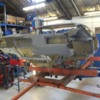
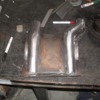
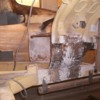
This is a shot from when 1267s chassis was zink treated a few years back. The entire rear inner structure is build up from many pieces in quite thick steel (2.5 mm in the uprights). The entire structure is all original as shown - no rust repairs. Compared to the "production" cars, with the stamped sections, the chassis seem to have been seam welded in a lot more Places from the factory (Vignale).
Attachments
Holy Cow that's alot of work! Looks great though.
quote:did you make tracings of your templetes? (that could be shared?)
No - but it should only take me 5 min to draw them up and scan them if anyone would be interested. So far I only did the passenger side, but both sides are similar except laterally reversed
I own 3840, must thank you for the time you spent posting the repairs you have made.
I have learned a lot, and your work is an inspiration to people like myself who have similar work to complete, although not on such a scale as yours.
brilliant, well done.
I have learned a lot, and your work is an inspiration to people like myself who have similar work to complete, although not on such a scale as yours.
brilliant, well done.
quote:I have learned a lot, and your work is an inspiration to people like myself who have similar work to complete, although not on such a scale as yours.
It IS a huge Work - but I really enjoy it. As long as I have the other pantera to drive I don't have pressure to finish this one in a certain time.
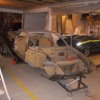
I did start on the drivers side of the car. Here I finished the center rocker and fitted inner b-pillar:
Attachments
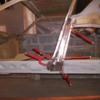
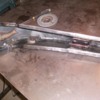
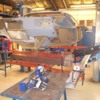
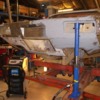
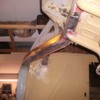
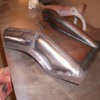
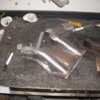
Continued re-doing earlier bad and incorrect repairs. Here the rear suspension uprights.
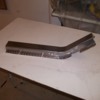
I purchased repair pieces from a US-vendor - and sorry to say, I cannot recommend that. These pieces are not right, way too narrow to fit the suspension tubes meaning that they have to be reworked to fit.
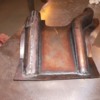
Decided to repair them, instead of reproducing them completely. Had to widen them about and inch to fit, and to make them look correctly like the original structure.
Here the difference in tube Width after welding on side of the upright
Attachments
Woooow! 
Very nice metal work
Great Job!
Great Job!
Hey Push,
Just went through your thread from the front...very nice work mate. Keep em coming. Rob
Just went through your thread from the front...very nice work mate. Keep em coming. Rob
The Reaper (Guest)
quote:Originally posted by Quickitty:
Very nice metal work
Great Job!
I agree!
Nice work - thanks for posting the pictures.
Rocky
Rocky
Terrific idea to gusset the panel intersections for added rigidity while you have unfettered access. Kudos to you.
quote:Originally posted by Push1267:
Done - sorry for the bad quality images
but the work you have done has a good quality
Really curious to what I might find/run in to, the day I start pulling mine apart...
The one thin I know for sure, is that I'll need a welding course to start with
The one thin I know for sure, is that I'll need a welding course to start with
Impressive metal work Push.
Bravo Kristian!!!!!!!
Cheers, Tim.
Cheers, Tim.
Add Reply
Sign In To Reply


