I started on my engine swap last week. Have been working on the new engine for over a year, with other stuff thrown in for fun & distraction...and it has been easier to just turn the key and drive the car....but I want to have it installed for the 40th anniversary of the production Mangusta, and drive it to Reno for the annual POCA convention in June!
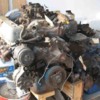
Needless to say, the process of taking out the ill fitting and worn out Boss 302, and fitting a new 5.0 based 302 has been a challenge!
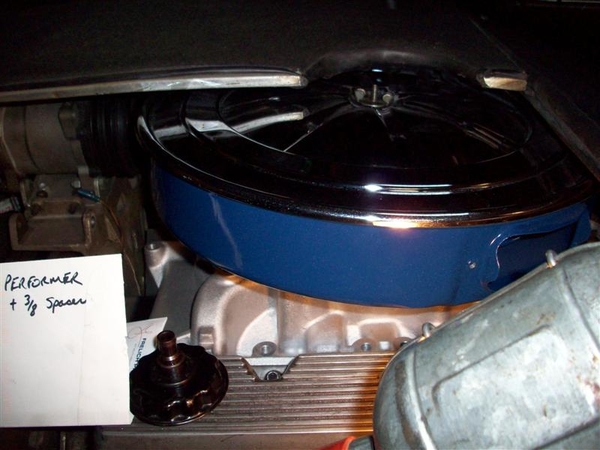
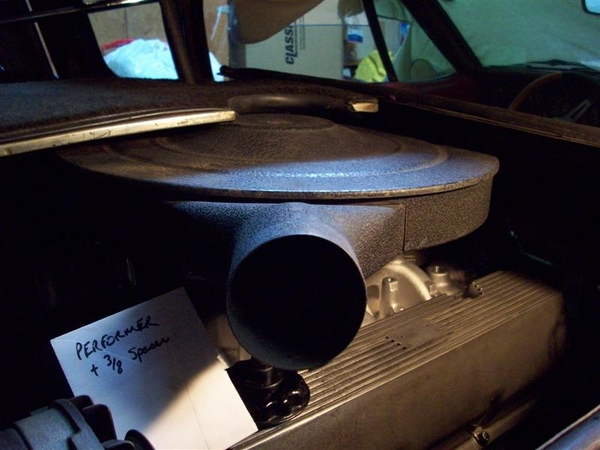
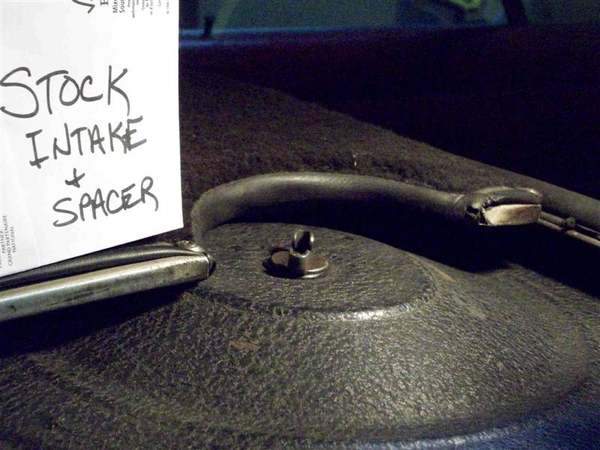
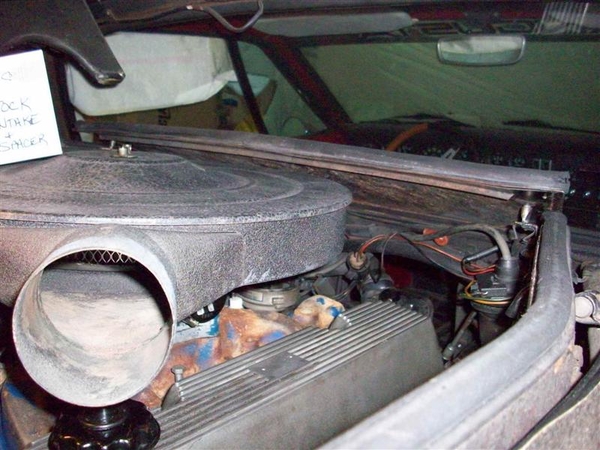
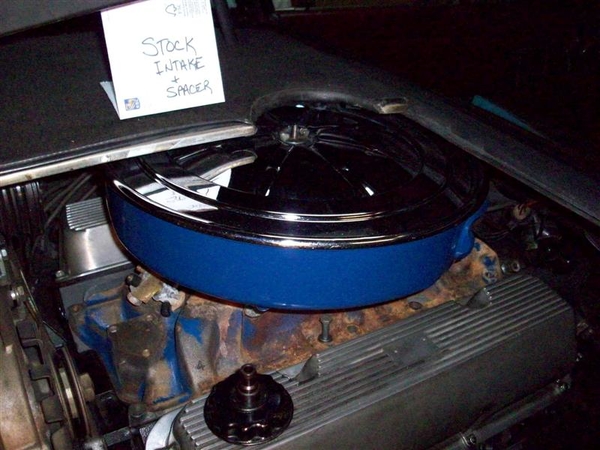
One of my major goals was to fit the stock air cleaner back under the shields, so that I can draw cool air into the engine. I always had cooling issues, exaggerated by Las Vegas temps on every visit, and this last year, found out that I need CLEAN air as well!!! Those of you that watch the DeTomaso Forum know what I speak of.... I also wanted to have the car look a little more stock, since my car came with a lot of the original parts still in tact. Perhaps chromed, but there!
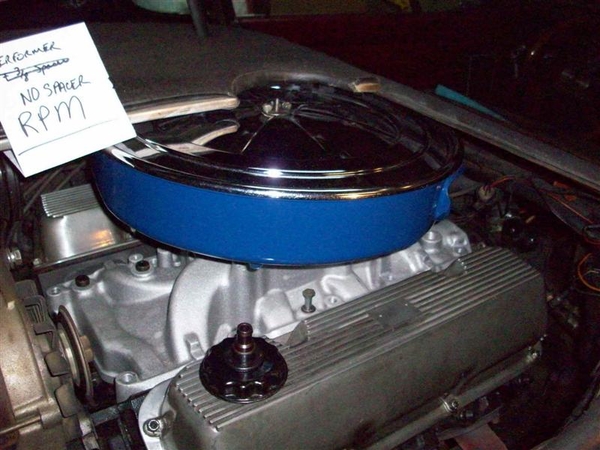
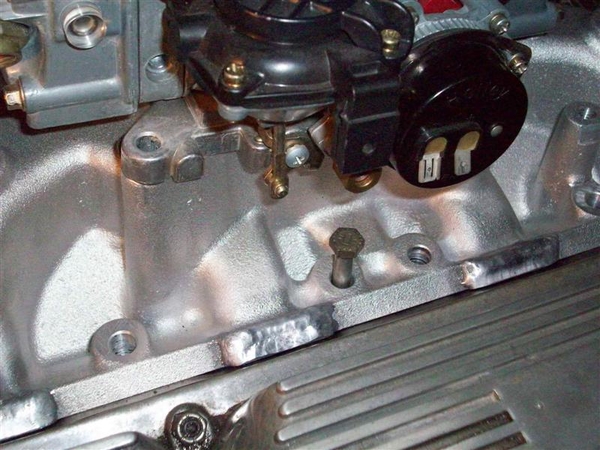
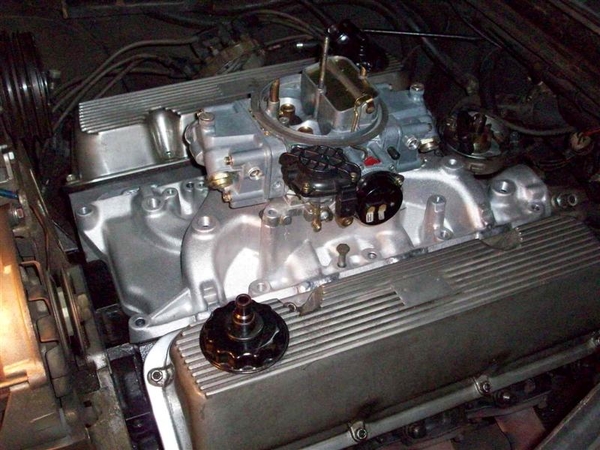
Another goal was to use a 5.0 based roller cam block and use "off the shelf" parts. In this case, aluminum Motorsports Y303 heads, and an Edelbrock RPM intake, Holley carb, and the stock air cleaner.
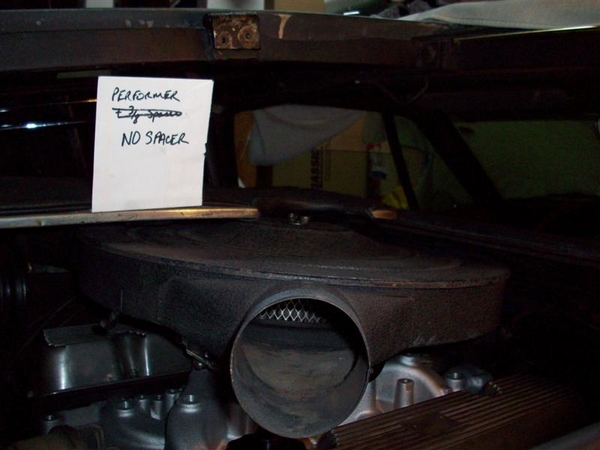
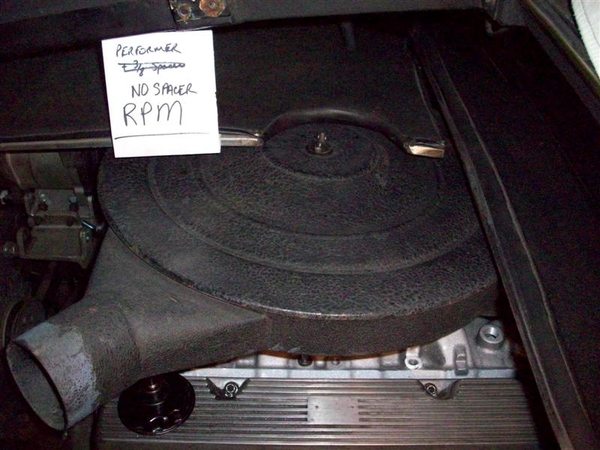
All of my calculations and measurements on the engine stand were coming up bad. The RPM model was too tall. So, I had an Edelbrock Performer modified to fit the tall port Y303 heads. It turns out to barely NOT clear the hatches according to the calculations as well!!!!
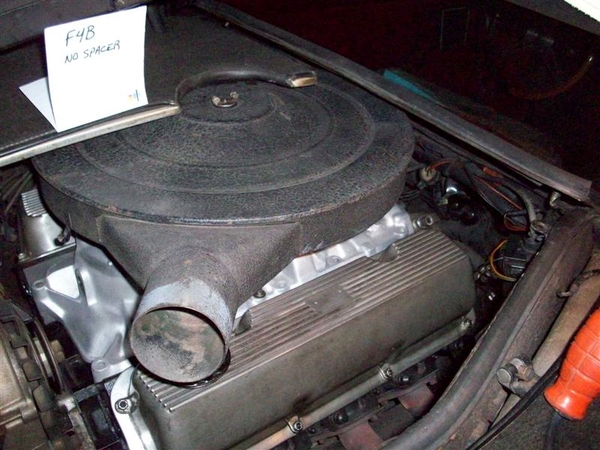
I bummed an old Edelbrock F4B from a friend after an owner up in Reno said, "yah I have an F4B and the stock air cleaner fits just fine! Well, again, my measurements said otherwise....
I was beginning to doubt my abilities to run a Stanley tape measure!!!
So, I borrowed a C8ZE (stock cast iron) intake and carb spacer from another buddy and figured that this would end all issues.... It didn't. In fact the stock setup was only a matter of thousandths of an inch shorter than the Performer RPM!!!! Something is wrong here.
So, since I was doing this all on the engine stand, and comparing measurements to known similar/same points in the car and it was only serving to frustrate me, I made the decision to begin this odyssey once again.
Last time I did this, it was 2001. That was the first time that I had the car back together, after receiving it in various boxes and loose parts, that I drove the car with any sort of confidence and any sort of distance! It turned out to be quite an adventure including bottoming out the on the bellhousing not 15 miles from the driveway, a speeding ticket 2 miles further up the road and an oil pan repair in Barstow CA on the return trip, but we made it there and home, and have done it every year since then....including more adventures!!! It has been the ONLY Mangusta in Vegas for 7 years! nudge nudge wink wink!
So, please follow along with me as I attempt to document this process in word and picture....as soon as I figure out how to add pictures properly without taking up too much server space!!! (My avatar photo was taken in 2001 as I thrashed to get the car on the road!)
Day 1. Hatch off to begin test fitting manifolds and eventually install new engine.
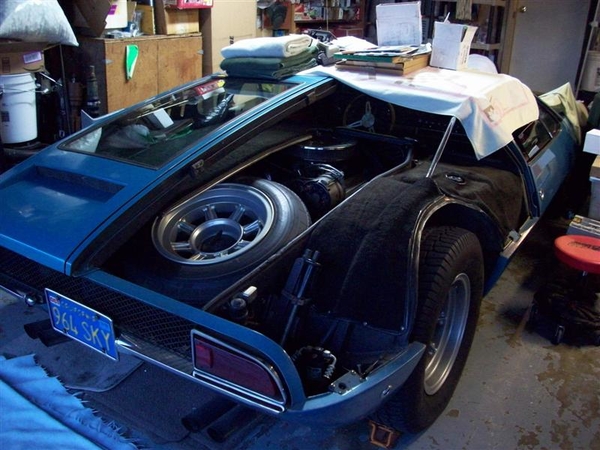
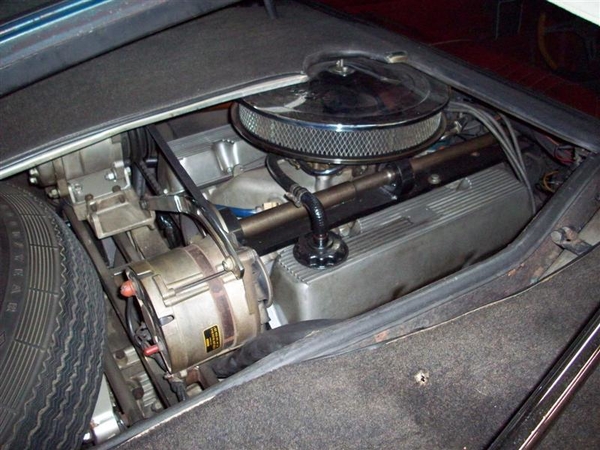
My Boss 302 installation. Note modified hatch cover and missing hatch cover stand. Also how tight the smaller diameter air cleaner is to the hatch. There is actually tension on the air cleaner by the hatch covers. (Aussie 2V heads with Street Boss intake on a Boss 302 bottom end.)
More Later!
Steve


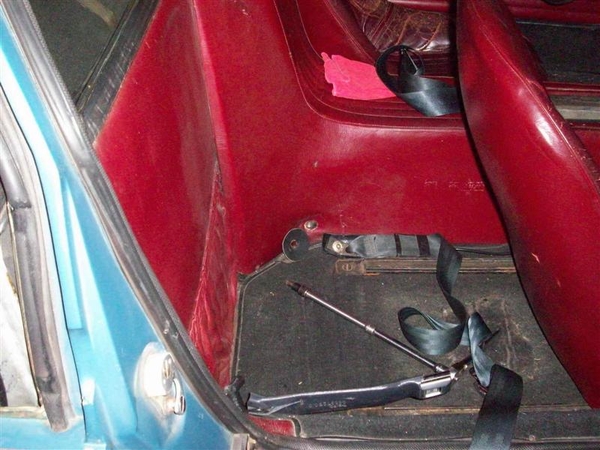
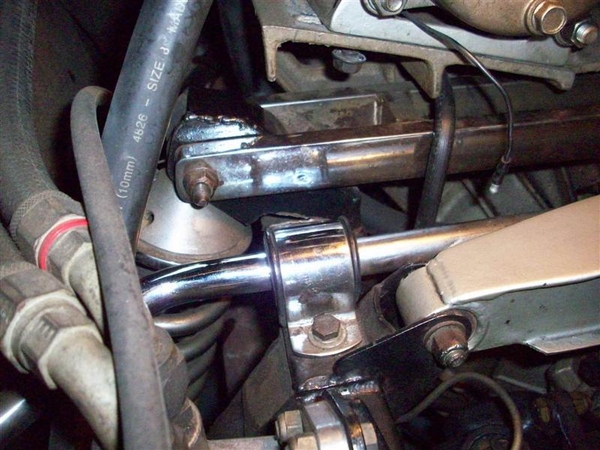
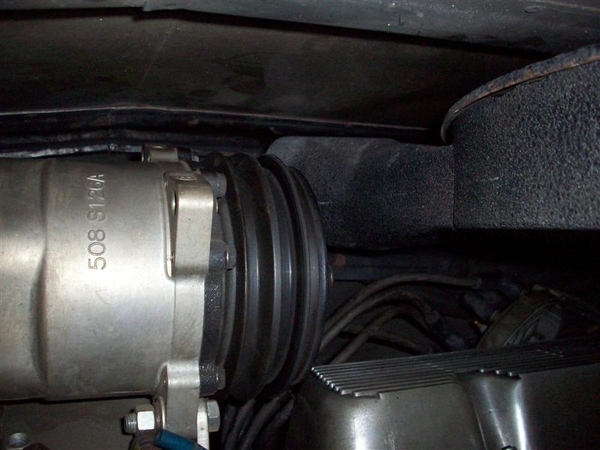






 This mirrors what the factory originally did on the RH side to make up for the notch in the frame to accommodate the shifter linkage.


